Hello! In our last lesson, we dove into the theory behind state management and clearly defined why Pinia is the ideal solution for avoiding "prop drilling." You now have a solid understanding of how a centralized store creates a more scalable and maintainable application architecture.
Today, we're putting that theory into practice by adding a powerful and common feature to our to-do app: task filtering. You will learn how to use Pinia's getters to create computed data from your store, allowing users to seamlessly switch between viewing 'all', 'active', and 'completed' tasks.
This lesson will further demonstrate the elegance of centralizing your application's logic. Your components will remain simple, focusing only on displaying data and telling the store when things happen.
Part 1: Understanding Pinia Getters
Before we start coding, let's understand our main tool for this lesson: getters.
In simple terms, a getter in Pinia is like a computed property for your store. It allows you to create derived state based on your existing state properties. For example, if your state has a list of tasks, a getter can provide a count of those tasks or a filtered list of only the completed ones, without ever changing the original task list.
To see this in action, please watch the first part of the following video from Net Ninja.
Pinia Crash Course #5 - Getters
This clip provides a clear and concise explanation of what getters are, why we use them, and how they are analogous to computed properties in Vue components.
Watch from the beginning until 01:20. Focus on the core concept: getters get a piece of state and can manipulate it before returning it, without changing the original state.
As the video explains, getters are perfect for packaging up logic that filters or transforms your state for display in your components.
Part 2: Adding Filter State and Logic to the Store
To implement filtering, our store needs to know two things:
- What is the current filter being applied? (e.g., 'all', 'active', or 'completed')
- How do we change the current filter?
This means we need to add a new state property and a new action to our taskStore.js.
The video tutorial below walks through this exact process. You'll see how to add a filterBy state variable and a setFilter function to the store.
Vue JS with Composition API & Pinia Full Tutorial
In this section of the 'Vue JS with Composition API & Pinia' tutorial, the instructor refactors the filtering logic, moving it from a component into the Pinia store where it belongs.
Watch from 01:07:52 to 01:11:05. Pay close attention to how the filterBy state and setFilter function are moved into the store and exported. You will be doing something very similar.
Let's apply this to our project.
Your Task (Part 1): Update taskStore.js
- Open your
stores/taskStore.jsfile. - Inside your
defineStoresetup function, add a new piece of state to track the current filter. Let's initialize it to'all'.const filter = ref('all'); - Create a new action (a function) that allows us to change this filter state.
function setFilter(newFilter) { filter.value = newFilter; } - Remember to expose these new items by adding
filterandsetFilterto yourreturnstatement at the end of the function.
Part 3: Creating the Filter Getters
Now for the core of our implementation. We will create a getter that returns the correct list of tasks based on the filter state we just added. The best practice is to create specific getters for each condition and one main getter that combines them.
The official Pinia documentation provides a perfect "realistic example" of this pattern.
The Pinia documentation includes an excellent example of a to-do store that implements the exact filtering logic we need.
Scroll to the section 'A more realistic example'. In the code block for stores/todos.js, carefully examine the getters object. Notice how it defines finishedTodos, unfinishedTodos, and then uses them inside filteredTodos. This is the pattern you will replicate.
This pattern is powerful because it keeps your logic clean and allows you to reuse getters within other getters.
Your Task (Part 2): Add Getters to taskStore.js
- In
stores/taskStore.js, we'll create our getters ascomputedproperties. Make sure you havecomputedimported fromvue. - First, create a getter for completed tasks. (The example uses
isFinished, you should useisCompletedto match our existing task structure).const completedTasks = computed(() => tasks.value.filter(todo => todo.isCompleted)); - Next, create a getter for active (or unfinished) tasks.
const activeTasks = computed(() => tasks.value.filter(todo => !todo.isCompleted)); - Finally, create the main
filteredTasksgetter. This getter will check the value of yourfilterstate and return the appropriate list.const filteredTasks = computed(() => { switch (filter.value) { case 'completed': return completedTasks.value; case 'active': return activeTasks.value; default: return tasks.value; } }); - Don't forget to add
completedTasks,activeTasks, andfilteredTasksto yourreturnstatement.
Part 4: Building the Filter UI
With our store logic complete, the final step is to create the UI that allows the user to trigger the filtering. This involves adding buttons and connecting them to our setFilter action.
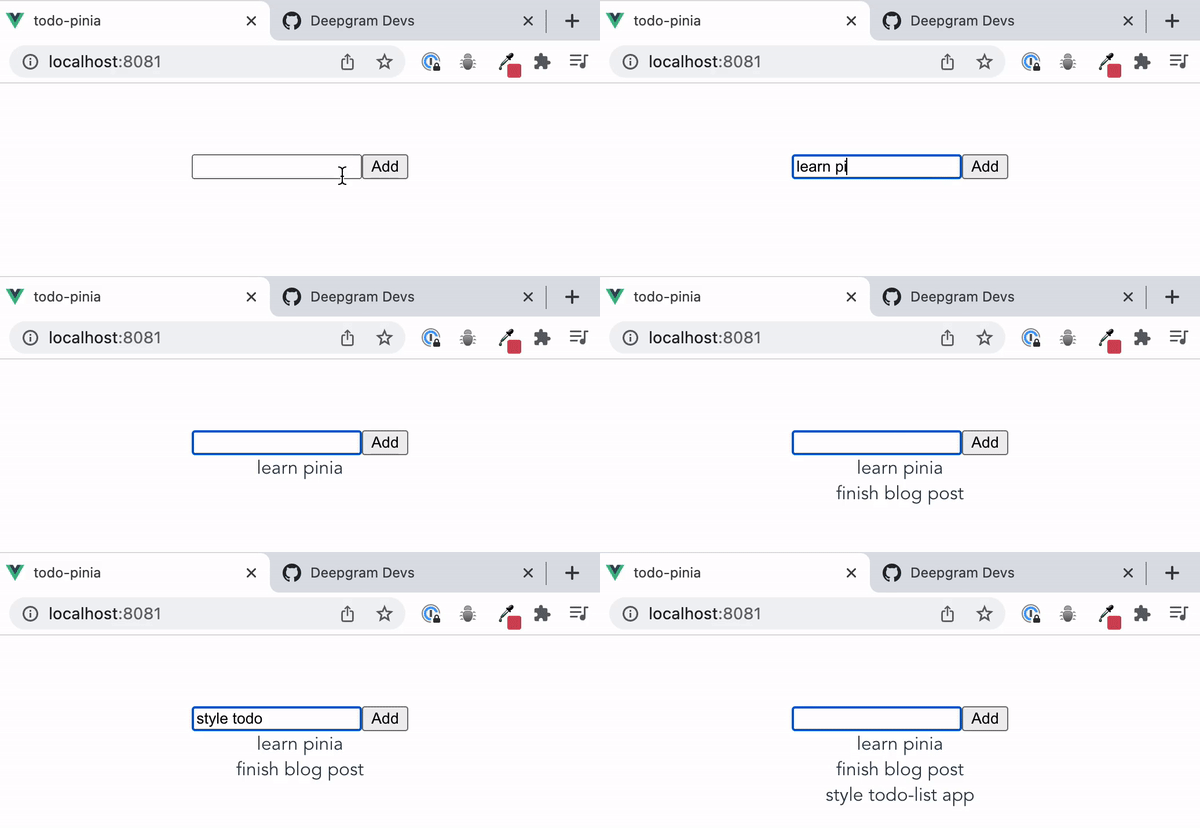
Your Task (Part 3): Implement the Filter Controls
-
You can create a new
TodoFilter.vuecomponent or add this directly toApp.vueabove the<TodoList />component. For now, let's add it toApp.vue. -
Import and set up your task store:
import { useTaskStore } from './stores/taskStore'; const taskStore = useTaskStore(); -
Add three buttons for our filters. Each button should call the
setFilteraction with the correct filter name on click.<nav class="filter"> <button @click="taskStore.setFilter('all')">All Tasks</button> <button @click="taskStore.setFilter('active')">Active Tasks</button> <button @click="taskStore.setFilter('completed')">Completed Tasks</button> </nav> -
(Optional but Recommended) Add a class to the active button so the user knows which filter is selected.
<button :class="{ active: taskStore.filter === 'all' }" @click="taskStore.setFilter('all')">All Tasks</button>You'll need to add some simple CSS for the
.activeclass to make it visually distinct. -
Finally, go to your
TodoList.vuecomponent. Find thev-forloop that displays the tasks. It's probably looping overtaskStore.tasks. Change it to loop over our new getter:taskStore.filteredTasks.Your
v-forshould now look like this:<div v-for="task in taskStore.filteredTasks" :key="task.id"> <!-- Your TodoItem component or task display logic --> </div>
And that's it! When you click the filter buttons, the filter state in the store will change. This will cause the filteredTasks getter to re-evaluate and return a new list, and your TodoList component will automatically re-render to show the filtered tasks.
Conclusion
Congratulations! You've successfully implemented a key feature using the full power of Pinia's state, actions, and getters.
Key Takeaways:
- Pinia Getters are like
computedproperties for your store. They are used to derive data from your state (e.g., creating a filtered list from a full list). - By placing filter logic inside the store (
filterstate andfilteredTasksgetter), we keep our components simple and maintain a single source of truth for our application's state and business logic. - The data flow is clean and predictable: UI events call actions (
setFilter), actions mutate state (filter), and getters (filteredTasks) reactively provide the updated data back to the UI.
In our next lesson, we'll continue our journey into building robust Vue applications by diving deeper into component architecture. We will break down our single TodoList component into a hierarchy of reusable components, using props and events in a clean, scalable way that works beautifully with our Pinia store.