Hello! In our previous lesson, you did an excellent job setting up Vue Router to create a multi-page structure for your personal profile site. You learned how to define static routes (/, /about, /contact) and link them together using <RouterLink>.
Today, we're going to address a very common and essential requirement in web development. Imagine your profile site had a portfolio section with many projects, or a blog with dozens of posts. It would be impractical to create a separate route in your router/index.js file for every single project or post. This is where dynamic routes come in.
Your goal for this lesson is to define routes for different pages, including routes with dynamic parameters (e.g., /items/:id). You will learn how to create a single route definition that can handle an infinite number of item detail pages, how to access the specific item's ID from the URL, and how to create links that navigate to these dynamic pages.
Part 1: The Concept of Dynamic Route Parameters
A dynamic route uses a placeholder, called a "param," in the URL. This allows a single route definition to match multiple URL patterns.
For example, instead of creating separate routes for /projects/1, /projects/2, and /projects/3, we can create one dynamic route: /projects/:id.
Here, :id is the dynamic parameter. Vue Router knows that whatever value comes after /projects/ in the URL should be captured as the id.
/projects/1will match, and theidparam will be1./projects/design-systemwill also match, and theidparam will bedesign-system.
This is incredibly powerful because we can now use one component, say ProjectDetailView.vue, to render the details for any project by using the id from the URL to fetch and display the correct data.
The official Vue Router documentation provides a concise explanation of this concept.
Dynamic Route Matching with Params
Let's start by reading the official definition of dynamic route matching. This will give you the foundational syntax.
Read the first section, 'Dynamic Route Matching with Params'. Focus on the syntax for defining a dynamic segment (the colon :) and the table showing how different patterns are matched.
Part 2: Defining a Dynamic Route
Let's apply this to the personal profile site you started in the last lesson. We will add a new view for showing a single project's details.
Your Task:
-
Create a New View:
In yoursrc/viewsfolder, create a new file namedProjectDetailView.vue. For now, just put a simple template inside so we can see when it's working.// src/views/ProjectDetailView.vue <template> <div> <h1>Project Details</h1> </div> </template> -
Define the Dynamic Route:
Now, open your router configuration file atsrc/router/index.js. We're going to add a new route object to theroutesarray.This video demonstrates how to add a route that accepts a dynamic parameter.
Vue JS 3 Tutorial for Beginners #8 - The Vue Router
This segment from The Net Ninja's tutorial clearly shows how to add a new object to the routes array for a dynamic route.
Watch from 24:46 to 27:24. Follow along and add a similar route definition to your router/index.js file for your ProjectDetailView component.
Following the video's pattern, import your new `ProjectDetailView.vue` component at the top of `router/index.js`. Then, add this route object to your `routes` array:

```javascript
// Add this to your routes array in router/index.js
{
  path: '/projects/:id', // The dynamic path
  name: 'project-detail', // A unique name for the route
  component: ProjectDetailView // The component to show
}
```
After saving the file, your router is now configured. If you manually type a URL like http://localhost:5173/projects/123 or http://localhost:5173/projects/my-first-project into your browser's address bar, you should see your "Project Details" heading appear.
Part 3: Accessing the Parameter in Your Component
Defining the route is only half the battle. Now we need to get that dynamic id from the URL so we can use it inside our ProjectDetailView.vue component.
Since you are using the modern <script setup> syntax, the correct way to access route information is with the useRoute composable function from vue-router.
This next video shows exactly how to do this. It first demonstrates accessing the param in the template, then shows the proper <script setup> way using useRoute.
Vue 3 Composition API Tutorial #6 - Vue Router
This tutorial by 'Make Apps with Danny' is perfect because it uses the Vue 3 Composition API. It will show you the modern way to access route parameters.
Watch from 06:11 to 06:58 to see how to access the param in the template using $route.params.id. Then, watch from 09:08 to 10:50 to learn the correct way to get the param in your script using the useRoute composable.
Your Task:
Update your ProjectDetailView.vue to import and use the useRoute composable to get the id from the URL and display it on the page.
// src/views/ProjectDetailView.vue
<script setup>
import { useRoute } from 'vue-router'

// Get the current route object
const route = useRoute()

// Get the 'id' param from the route
const projectId = route.params.id
</script>

<template>
  <div>
    <h1>Project Details</h1>
    <p>You are viewing the project with ID: {{ projectId }}</p>
    <!-- You can also access it directly in the template -->
    <p>(Also accessible directly: {{ $route.params.id }})</p>
  </div>
</template>
After saving, go back to your browser and try a few different URLs like /projects/1 and /projects/awesome-app. You should see the ID on the page change accordingly!
This is what it looks like in practice:
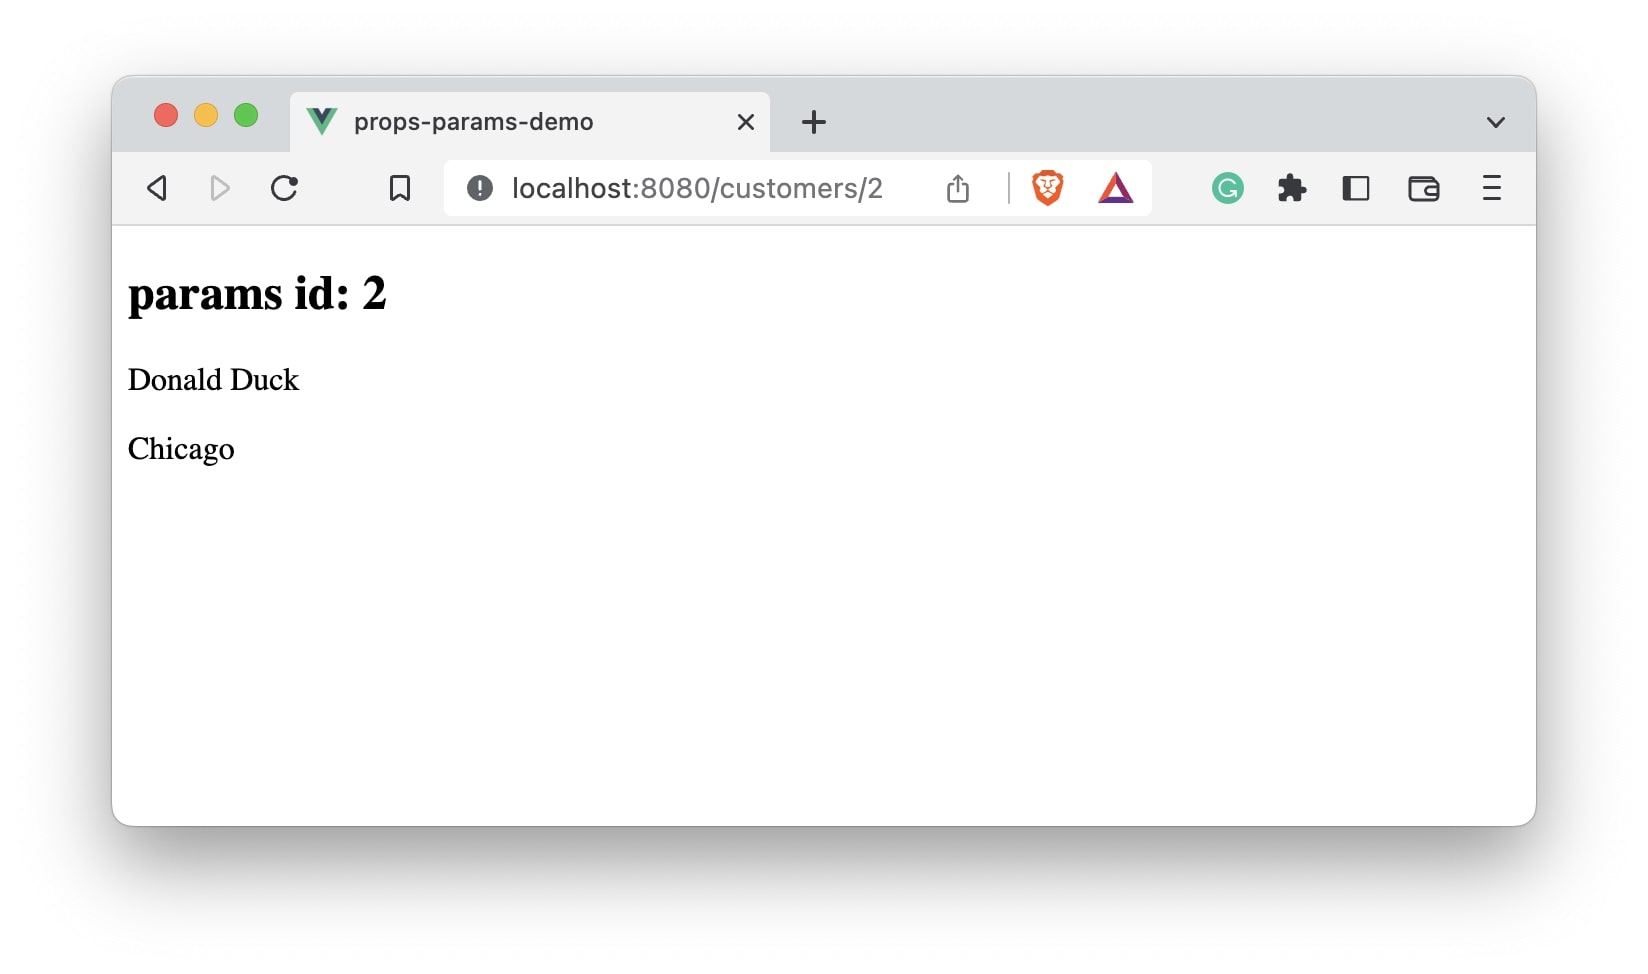
You can also use Vue DevTools to inspect the current route object and its parameters, which is very helpful for debugging.

Part 4: Linking to Dynamic Routes
Manually typing URLs isn't practical. We need to create <RouterLink> components that point to our new dynamic routes.
While you could build the path string yourself (e.g., :to="'/projects/' + project.id"), the recommended best practice is to use a named route. This is why we included name: 'project-detail' in our route definition. Using a name is more robust; if you ever change the URL structure (e.g., to /portfolio/:id), you only have to update it in router/index.js, and all your <RouterLink> components will still work without any changes.
To link to a named route with parameters, you pass an object to the to prop. This object specifies the name of the route and a params object containing the dynamic parts.
This video clip demonstrates this technique perfectly.
Vue JS 3 Tutorial for Beginners #8 - The Vue Router
Let's go back to The Net Ninja video to see how to create a <RouterLink> that dynamically passes a parameter to a named route.
Watch from 30:56 to 33:48. Focus on the object structure used in the :to prop: { name: '...', params: { id: ... } }.
Your Task:
For practice, let's add a few temporary links to your HomeView.vue that navigate to specific project detail pages.
// src/views/HomeView.vue
<template>
  <div>
    <h1>Home Page</h1>
    <p>Welcome to my portfolio.</p>

    <h2>Quick Links to Projects:</h2>
    <nav>
      <RouterLink :to="{ name: 'project-detail', params: { id: 1 } }">
        Project 1
      </RouterLink>
      <br>
      <RouterLink :to="{ name: 'project-detail', params: { id: 'cool-new-app' } }">
        Project "Cool New App"
      </RouterLink>
    </nav>
  </div>
</template>
Now, when you go to your home page, you should see two links. Clicking them will take you to the correct detail page, and you'll see the corresponding ID rendered.
A Better Way: Parameters as Props
There's one final improvement we can make. In ProjectDetailView.vue, we used useRoute() to get the id. This works, but it tightly couples our component to the router. The component "knows" it's being used in a routing context and has to reach out to get its data.
A cleaner pattern is to have Vue Router pass the parameters as props to the component. This makes the component more reusable and easier to test, as it just receives data via props and doesn't care where it came from.
To enable this, you only need to do two things:
- Add
props: trueto the route definition inrouter/index.js. - Declare the prop in your component's
<script setup>usingdefineProps.
Vue JS 3 Tutorial for Beginners #8 - The Vue Router
This last clip from The Net Ninja explains this powerful props: true feature. It's a best practice that aligns with your goal of understanding the 'why' behind coding conventions.
Watch from 33:48 to 35:47 to see how to configure the route and accept the parameter as a prop in the component.
Your Final Task:
Refactor your code to use this props pattern.
-
In
src/router/index.js:// Update your project detail route { path: '/projects/:id', name: 'project-detail', component: ProjectDetailView, props: true // Add this line! } -
In
src/views/ProjectDetailView.vue:
You no longer needuseRoutejust for this parameter!<script setup> // The 'id' is now passed as a prop! const props = defineProps({ id: String // Or Number, depending on what you expect }) </script> <template> <div> <h1>Project Details</h1> <p>You are viewing the project with ID: {{ props.id }}</p> </div> </template>
Test it again. Everything should work exactly as before, but your component code is now cleaner and more decoupled from the router.
Conclusion
Great work! You have now mastered one of the most fundamental features of Vue Router. Being able to create dynamic pages is crucial for building almost any real-world application.
Key Takeaways:
- Dynamic routes use placeholders (e.g.,
/:id) in thepathto match multiple URLs with a single component. - You can access route params inside your template with
$route.params.id. - In
<script setup>, theuseRoute()composable gives you access to the current route object and its parameters. - The best practice for linking to dynamic routes is with a named route and a
paramsobject:<RouterLink :to="{ name: '...', params: {...} }">. - Setting
props: trueon a route definition allows you to receive URL parameters as component props, which is a cleaner and more maintainable pattern.
In our next lesson, we will put this id to good use. You will learn how to fetch data from an API within a component's lifecycle hook. We'll use the id from the route to request specific data and display it on our project detail page.