Hello! Let's get started with your next lesson.
In our last session, we explored the "why" behind asynchronous JavaScript. You learned that synchronous, or "blocking," code can freeze the user interface, and how the Event Loop, Web APIs, and the Callback Queue work together to run tasks like setTimeout without interrupting the user experience.
Today, we'll apply that foundational knowledge to a real-world scenario: fetching data from a server. Our learning outcome is to use the Fetch API with async/await to retrieve data from a public REST API. This is one of the most common and essential tasks in modern web development. You'll see how the principles of the Event Loop apply directly to fetch, and you'll learn a clean, modern syntax for handling the entire process.
This skill is the final piece of the puzzle you'll need for this module's mini-project: building a live weather widget.
1. From Callbacks to async/await
The fetch() function is a Web API, just like setTimeout. When you call it, the browser starts a network request in the background, and your JavaScript code can continue running. fetch() returns an object called a Promise, which is a placeholder for the future result of the request.
In the past, developers handled Promises using methods like .then() and .catch(), which could lead to nested chains of code that were hard to read. To solve this, modern JavaScript introduced the async/await syntax. It's "syntactic sugar" over Promises, allowing us to write asynchronous code that looks and reads almost like synchronous code.
Let's start with a clear, textual explanation of what the async and await keywords actually do.
Async/await - The Modern JavaScript Tutorial
This article from the highly-respected javascript.info tutorial is a fantastic reference for the fundamentals of async/await.
Read the first two sections, 'Async functions' and 'Await'. Focus on understanding these two key points: What does adding the async keyword to a function declaration do? What does the await keyword do when placed in front of a promise?
To summarize the key points from that reading:
- An
asyncfunction always returns a Promise. - The
awaitkeyword can only be used inside anasyncfunction. It pauses the function's execution until the Promise it's "awaiting" is settled (either resolved or rejected), and then it returns the result.
2. Making an API Call with fetch
Now let's see how these keywords work with the fetch function. When you fetch data, it's a two-step process:
- You initiate the network request and wait for the response headers. This initial response tells you if the request was successful, but it doesn't contain the actual data yet.
- You then need to parse the body of the response, for example, as a JSON object. This parsing step is also an asynchronous operation.
This means we will need to use await twice.
Master Async Await Javascript in an easy way
This video provides a concise demonstration of how to combine async, await, and fetch to get data from a public API. It clearly shows the two-step process.
Watch the segment from 00:59 to 02:04. Pay close attention to the two await keywords. The first await is for the network request itself, and the second is for parsing the response body into usable JSON data.
Here is the core pattern you just saw, which you will use frequently:
// A function to fetch user data from the JSONPlaceholder API
async function fetchUser() {
  // 1. Start the request and wait for the response object
  const response = await fetch('https://jsonplaceholder.typicode.com/users/1');

  // 2. Parse the response body as JSON and wait for the result
  const user = await response.json();

  // Now you can use the data!
  console.log(user);
}

// Call the function to execute it
fetchUser();
This code is much cleaner and easier to follow than nested .then() chains. It reads like a simple, synchronous set of instructions.
3. Handling Potential Errors
What happens if the network is down, or if we request a URL that doesn't exist? In programming, we can't assume everything will work perfectly. This is where error handling comes in. With async/await, the standard way to handle errors is with a try...catch block.
There's a very important nuance to how fetch handles errors that you need to be aware of.
How to Use Fetch with async/await
This article explains a critical detail about fetch and how to properly check for errors. Understanding this will prevent common bugs in your applications.
Read section 3, 'Handling fetch errors'. Focus on the difference between a network failure (which causes fetch to throw an error) and a bad HTTP status like 404 (which it does not). Understand why checking the response.ok property is so important.
As the article explains, fetch only fails if there's a network error. An HTTP error (like 404 Not Found or 500 Internal Server Error) is still considered a "successful" network request, so fetch won't automatically throw an error. We must check for this ourselves using the response.ok property.
Here is the robust, production-ready pattern for using fetch with async/await:
async function fetchData(url) {
  try {
    const response = await fetch(url);

    // Check if the response was successful (HTTP status 200-299)
    if (!response.ok) {
      // If not, create a new error with the status text to be caught below
      throw new Error(`HTTP error! Status: ${response.status}`);
    }

    const data = await response.json();
    console.log("Data received:", data);

  } catch (error) {
    // This block will catch both network errors and the error we threw above
    console.error("Could not fetch data:", error);
  }
}

// A valid request
fetchData('https://jsonplaceholder.typicode.com/posts/1');

// An invalid request that will result in a 404
fetchData('https://jsonplaceholder.typicode.com/posts/999999');
This pattern ensures you handle both network failures and bad server responses correctly.
4. Hands-On: Build a Pokémon Fetcher
Now it's your turn to build something. You'll create a simple page that lets you type in a Pokémon's name and fetch its picture from a public API. This will solidify everything we've just covered.
How to FETCH data from an API using JavaScript ↩️
Let's put theory into practice. This video walks through building a small application that fetches data from the PokéAPI and displays it on the page. I encourage you to code along to get a real feel for the workflow.
Watch from 06:20 to 14:18. The first part (until 08:54) reviews the async/await and try/catch structure. The second part (from 08:54) shows how to connect this JavaScript logic to an HTML front-end. Follow along and build your own version.
To get you started, here is the basic HTML. Create an index.html and app.js file in a new project folder.
index.html:
<!DOCTYPE html>
<html lang="en">
<head>
  <meta charset="UTF-8">
  <meta name="viewport" content="width=device-width, initial-scale=1.0">
  <title>Poké-Fetcher</title>
  <style>
    body { font-family: sans-serif; text-align: center; margin-top: 50px; }
    input { padding: 8px; }
    button { padding: 8px 12px; }
    img { margin-top: 20px; width: 150px; height: 150px; }
  </style>
</head>
<body>
  <h1>Poké-Fetcher</h1>
  <input type="text" id="pokemonName" placeholder="Enter Pokémon name">
  <button onclick="fetchData()">Fetch Pokémon</button>
  <br>
  <img src="" alt="Pokemon Sprite" id="pokemonSprite" style="display: none;">

  <script src="app.js"></script>
</body>
</html>
Your task for app.js:
Write the fetchData function. It should:
- Be an
asyncfunction. - Use a
try...catchblock. - Get the Pokémon name from the input field.
- Fetch data from the API:
https://pokeapi.co/api/v2/pokemon/{POKEMON_NAME}. Remember to make the name lowercase. - Check if
response.okis true. - Parse the JSON.
- Get the sprite URL from the data:
data.sprites.front_default. - Update the
srcof the<img>element and change its display style toblock. - In the
catchblock, log any errors to the console.
Give it a try! You can check your work against the code in the video.
Conclusion
Excellent work! You've successfully fetched data from a remote server using the most modern JavaScript syntax available. This workflow is fundamental to building dynamic, data-driven applications.
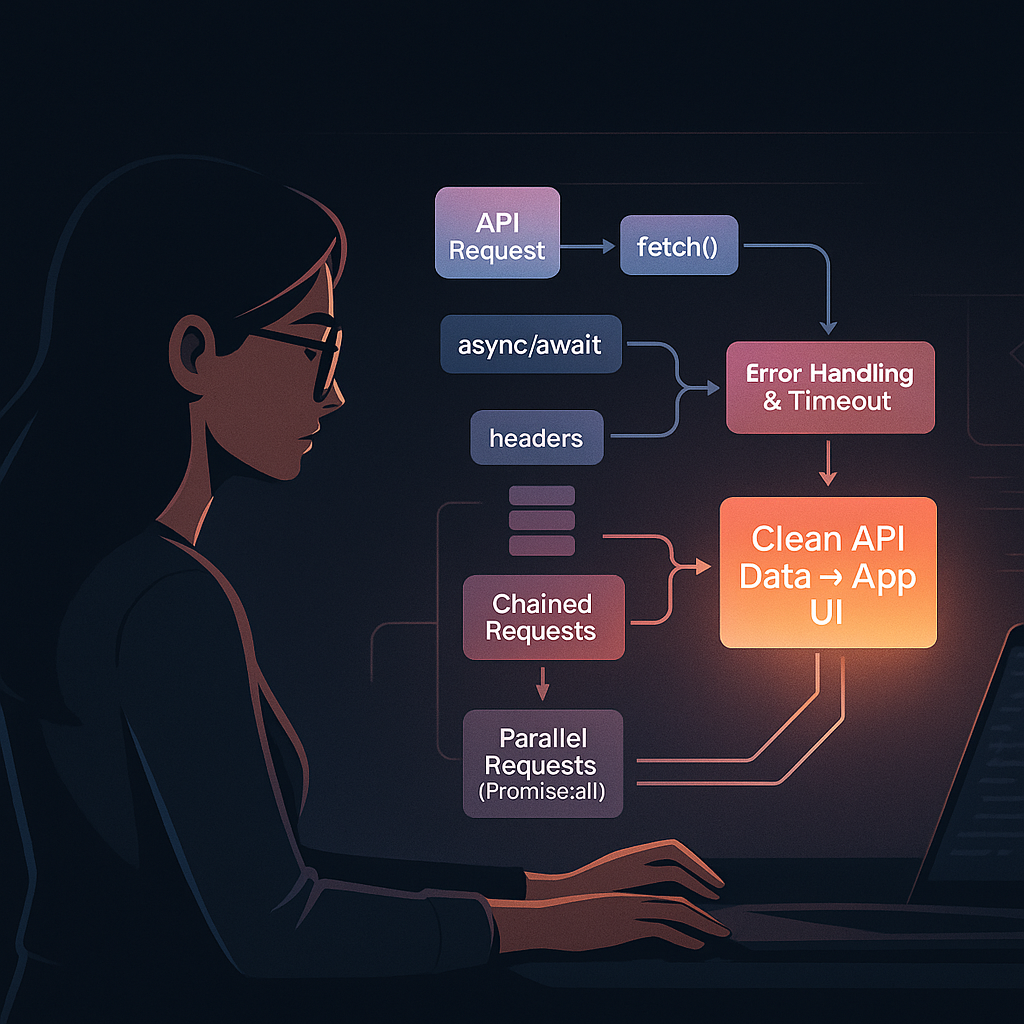
Key Takeaways:
fetch()is the browser's built-in function for making network requests. It returns a Promise.async/awaitis the modern syntax for handling Promises, making asynchronous code easier to read and write.- The standard fetch process requires two
awaitcalls: one forfetch()itself and one for parsing the response body (e.g.,response.json()). - Robust error handling involves using a
try...catchblock and manually checking theresponse.okproperty to handle bad HTTP statuses.
In our next lesson, we will focus on handling API errors gracefully. Instead of just logging an error to the console, you will learn how to display user-friendly messages on the page, which is crucial for a good user experience.