Hello! Welcome to the third lesson in our module on Composer.
In the last lesson, you did the essential groundwork: you learned how to initialize a Composer project with composer init and how to read and understand the composer.json file. We established that this file declares your project's dependencies, and that composer.lock records the exact versions installed.
Today, we'll build directly on that foundation. We're moving from declaring dependencies to actively managing them. This lesson focuses on the practical, day-to-day workflow of a PHP developer: finding, installing, and updating the external code libraries that power modern applications. By the end of this lesson, you will be able to install and update project dependencies from Packagist.
1. Discovering Packages on Packagist
Before you can install a dependency, you need to find it. The primary place the PHP community shares and discovers packages is Packagist. Think of it as the central app store for PHP libraries.
Whatever task you need to accomplish—sending emails, manipulating images, creating slugs for URLs—there's a high probability that someone has already written, tested, and shared a package for it on Packagist.
The following short video clip introduces Packagist and shows you how to search for a package.
Use Composer to Easily Manage PHP Packages
This video from Dave Hollingworth's channel will give you a quick tour of Packagist.org, the main Composer repository.
Watch from 01:12 to 01:48. Pay attention to how to search for a package and what indicators (installs, stars) can help you judge its popularity and quality.
When you find a package on Packagist, its page will give you all the information you need, most importantly, the exact command to install it.
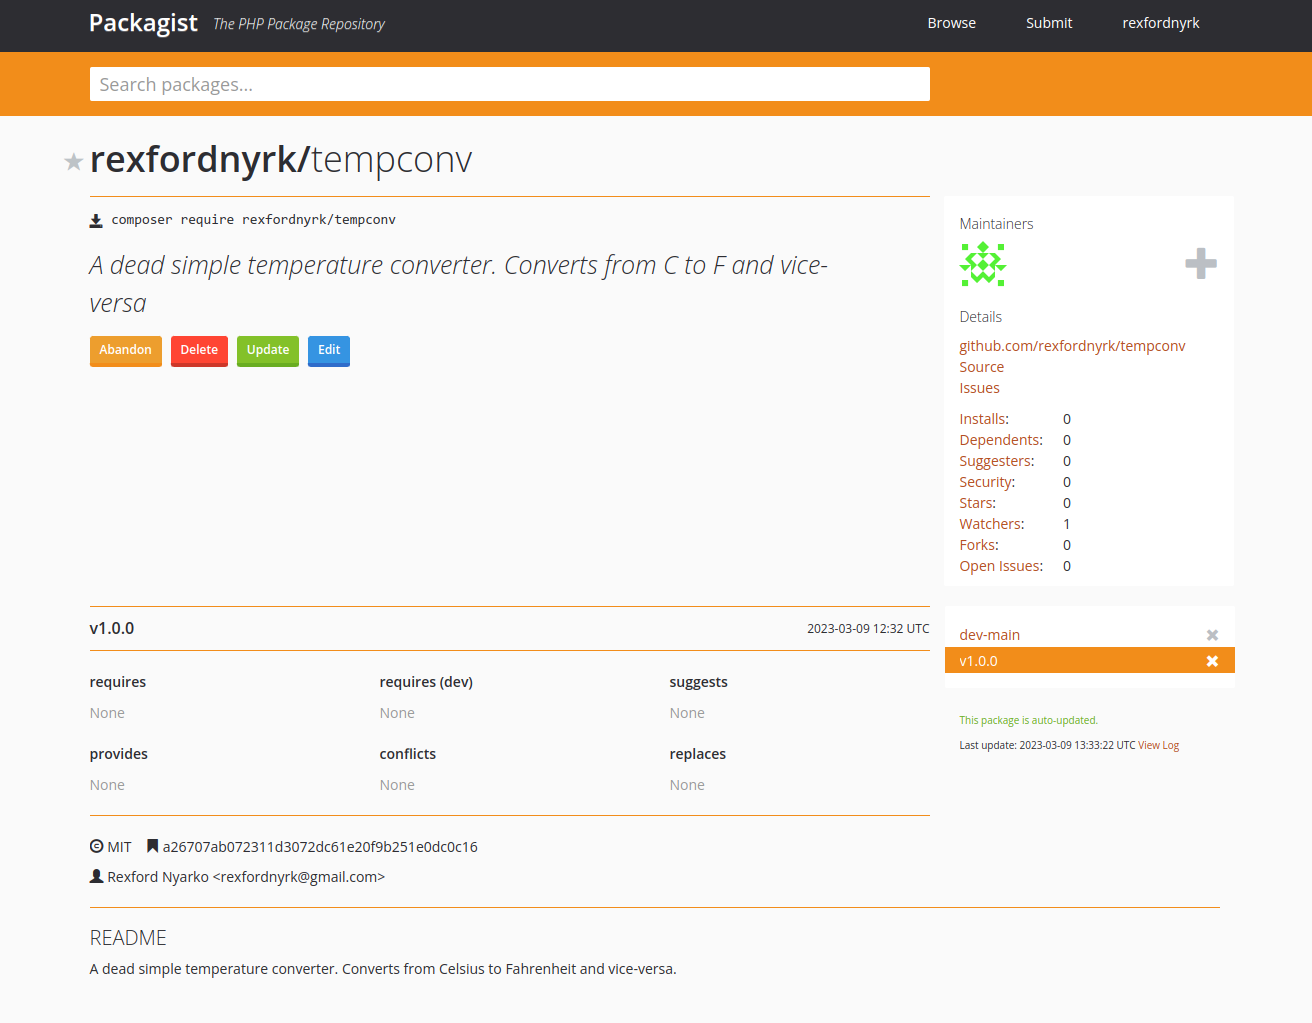
Action Step:
Take a moment to explore. Go to Packagist.org and search for a few things you might need in a web application:
logging(you'll likely seemonolog/monolog)http client(you'll likely seeguzzlehttp/guzzle)slug(you'll find libraries that convert text like "Hello World" into "hello-world")
Click on a few results and get familiar with the layout of a package page.
2. Installing a New Dependency with composer require
While you can manually add dependencies to your composer.json file and then run composer update, there is a much more direct and common way: the composer require command.
This single command automates the entire process for you:
- It finds the package on Packagist.
- It determines the latest stable version and adds the package to your
composer.jsonfile with an appropriate version constraint (usually the caret^). - It downloads the package and any of its own dependencies into the
vendordirectory. - It updates your
composer.lockfile with the exact versions that were installed.
Let's watch this in action.
Use Composer to Easily Manage PHP Packages
This clip demonstrates the composer require command. It clearly shows the files that are created and modified during the process.
Watch from 04:17 to 05:06. Observe how running composer require phpmailer/phpmailer automatically updates composer.json, creates composer.lock, and populates the vendor directory.
Hands-on Practice
Now, let's try it yourself. Open a terminal in the project directory you created in the previous lesson. We'll install a simple and useful package called cocur/slugify which converts strings into URL-friendly slugs.
Run the following command:
composer require cocur/slugify
After the command finishes, inspect your project files:
composer.json: You will see a new line in the"require"section for"cocur/slugify".composer.lock: This file will have been created or updated with the exact version ofcocur/slugify(and its dependencies) that was installed.vendordirectory: You will now find acocurdirectory inside, containing theslugifypackage code.
Composer is also smart enough to manage dependencies of dependencies. If you require a package that itself requires other packages, Composer handles the entire chain for you.
Use Composer to Easily Manage PHP Packages
This short segment shows how Composer automatically pulls in a package's own dependencies, simplifying what would be a complex manual task.
Watch from 06:04 to 06:47 to see an example of Composer installing a package along with its multiple underlying dependencies automatically.
3. The install vs. update Commands
You now have two core commands for managing your vendor directory: composer install and composer update. It is critical to understand the difference.
-
composer install: Reads thecomposer.lockfile. It installs the exact versions specified in the lock file. This is the command you use to set up a project on a new machine or for deployment, ensuring everyone has the same dependencies. If nocomposer.lockfile exists, it will run anupdateto create one. -
composer update: Reads thecomposer.jsonfile. It looks for the latest versions available that match your version constraints (e.g.,^1.2.3), installs them, and then writes the new versions into thecomposer.lockfile. You use this when you want to upgrade your project's dependencies to newer versions.
For a detailed explanation, please read the following guide.
Guide to PHP Dependency Management Using Composer - Zend
This article from Zend provides an excellent summary of the core Composer commands. It clearly articulates the distinct roles of require, update, and install.
Read the sections under the heading 'Core Composer Commands to Know for PHP Dependency Management', focusing on the descriptions for composer require, composer update, and composer install. This will solidify your understanding of when to use each command.
The Team Workflow
This distinction is the key to consistent team development and reliable deployments:
- A developer uses
composer require <new-package>to add a feature. This updatescomposer.jsonandcomposer.lock. - They commit both
composer.jsonandcomposer.lockto version control. - Other team members pull the latest code. They now have the updated lock file.
- They run
composer install. Composer reads the updatedcomposer.lockand installs the exact same version of<new-package>, ensuring the entire team is synchronized.
The following video provides an excellent summary of this workflow and the importance of committing your composer.lock file.
Use Composer to Easily Manage PHP Packages
This final video explains the purpose of the composer.lock file in detail and demonstrates the composer install command, which is crucial for creating reproducible builds.
Watch from 11:29 to 13:58. This is one of the most important concepts for professional Composer usage. Pay close attention to the distinction between update (for upgrading) and install (for synchronizing).
Conclusion
You have now mastered the essential, practical commands for dependency management in PHP. You can find, add, and update the building blocks for any modern application.
Key Takeaways:
- Packagist.org is the main repository where you can find thousands of reusable PHP packages.
composer require <vendor>/<package>is the command to add a new dependency to your project. It automatically updatescomposer.jsonandcomposer.lock.composer updateis used to upgrade your project's dependencies to the latest versions allowed bycomposer.json, and it regenerates thecomposer.lockfile.composer installis used to install the exact dependency versions listed in thecomposer.lockfile, ensuring consistency across all environments and team members.
Preview of the Next Lesson:
We've successfully downloaded external code into our vendor directory. But how do we actually use it in our PHP files? The next lesson, "Configure and use a PSR-4 autoloader to automatically load class files", will answer that question. You will learn how to set up Composer's powerful autoloader, which eliminates the need for manual require or include statements.