Introduction
Welcome back! In our last lesson, we successfully set up our project environment, installed all the necessary dependencies with uv, and launched a basic FastAPI server. We now have a solid foundation to build upon.
This lesson focuses on defining the first "tool" that an AI model will eventually use. In the context of FastAPI and MCP, a tool is simply a standard API endpoint. Your experience with Rasa actions will be helpful here; think of this endpoint as the underlying implementation of a custom action.
Our goal is to define a single API endpoint with a Pydantic response model and a descriptive operation_id. To achieve this, we will:
- Define a structured data model for our API's response using Pydantic.
- Create the FastAPI endpoint function itself.
- Assign a clear
operation_idto make the tool easily identifiable.
This step is crucial because before we can add the complex pre- and post-tool hooks you're interested in, we need a well-defined tool to attach them to.
1. Defining the Response Schema with Pydantic
When an AI model calls a tool, it needs to know precisely what kind of data to expect in return. Hardcoding dictionaries is risky and error-prone. This is where Pydantic models come in. They enforce a strict data structure, acting as a contract for your API's output. This provides the validation and predictability essential for reliable AI integrations.
Let's start by defining a Pydantic model for an Order. This model will specify the fields and data types for the information we want to return about a customer's order.
The article we're following provides an excellent example of this.
How To Build a MCP Server with FastAPI (FastAPI-MCP)
The How To Build a MCP Server with FastAPI article shows how to create Pydantic models for Order and Customer. We will implement the Order model.
Locate 'Step 3: Add and Expose Tools' in the article. Find the Order class definition and add it to the top of your main.py file, just after the import statements. You'll also need to import BaseModel from pydantic.
After adding the code, your main.py file should start like this:
# main.py
from fastapi import FastAPI
from pydantic import BaseModel


# You'll need more imports later, but let's add them as we go.

app = FastAPI(
    title="My Awesome MCP Server",
    description="An API providing tools for an AI assistant.",
)

class Order(BaseModel):
    order_id: str
    customer_id: int
    status: str
    total_amount: float
    currency: str

@app.get("/")
async def root():
    """A simple endpoint to confirm the server is running."""
    return {"message": "Server is running"}


# More code will go here...
To better understand the benefits of using Pydantic models with FastAPI, the following video provides a clear explanation. It highlights how they enable automatic data validation and significantly improve API documentation, which is invaluable for both developers and AI models.
FastAPI and Pydantic - Model Classes and Nested Models
This video from BugBytes, 'FastAPI and Pydantic', explains the fundamentals of using Pydantic models as response models.
Watch from 02:14 to 06:35. The first part (02:14 - 04:56) shows how to create a model and use it. The second part (05:03 - 06:35) explains the key benefits of this approach, such as automatic validation and enhanced documentation.
2. Creating the API Endpoint
Now that we have a response model, let's create the FastAPI endpoint that will use it. This endpoint will serve as our first tool, get_order_details. It will take an order_id as input and return the corresponding order details, conforming to the Order model we just defined.
We'll again use the code from the main tutorial article.
How To Build a MCP Server with FastAPI (FastAPI-MCP)
Let's add the get_order_details endpoint from the tutorial. This code demonstrates how to link our Pydantic Order model to a GET request.
From the same 'Step 3' section, copy the entire @app.get("/orders/{order_id}", ...) function and add it to your main.py file below the Order model definition. You will need to add Dict, Any, HTTPException to your imports from typing and fastapi respectively.
Your main.py file will now contain the new endpoint. Let's break down the key parameters in the @app.get decorator:
/orders/{order_id}: The URL path for the endpoint.{order_id}is a path parameter.operation_id="get_order_details": A unique, descriptive name for this operation.description="...": A human-readable explanation of what the tool does.response_model=Order: This is where we link our Pydantic model. FastAPI will use this to validate the output and generate documentation.
3. The Importance of operation_id
The operation_id is critically important. When fastapi-mcp scans your application for tools, it uses the operation_id as the official tool name.
If you omit it, FastAPI generates a default ID like get_order_details_orders__order_id__get, which is not user-friendly. For building predictable and maintainable AI systems, having explicit and clean tool names like get_order_details is non-negotiable. This is directly analogous to how you would define action names in a Rasa domain.yml file.
The fastapi-mcp documentation explains this well.
The official fastapi-mcp documentation page explains why setting an explicit operation_id is a best practice.
Please read the short section titled 'Tool Naming'. It provides a clear before-and-after code example that illustrates the difference between an auto-generated and an explicit operation_id.
4. Verify Your Endpoint
With the Pydantic model and the endpoint added to main.py, your code is now complete for this lesson. Make sure your server is still running with uv run uvicorn main:app --reload.
FastAPI provides automatic, interactive API documentation (using Swagger UI). This is the perfect way to verify that our endpoint and model are set up correctly.
Open your browser and navigate to http://127.0.0.1:8000/docs.
You should see your new endpoint, /orders/{order_id}, listed. If you expand it, you will find:
- The description you provided.
- A "Try it out" button to test the endpoint directly.
- A "Responses" section showing a
200success response with an example and a schema matching yourOrderPydantic model.
The documentation page should look similar to this example, which shows how a Pydantic model (UserOut) is displayed as a response schema.
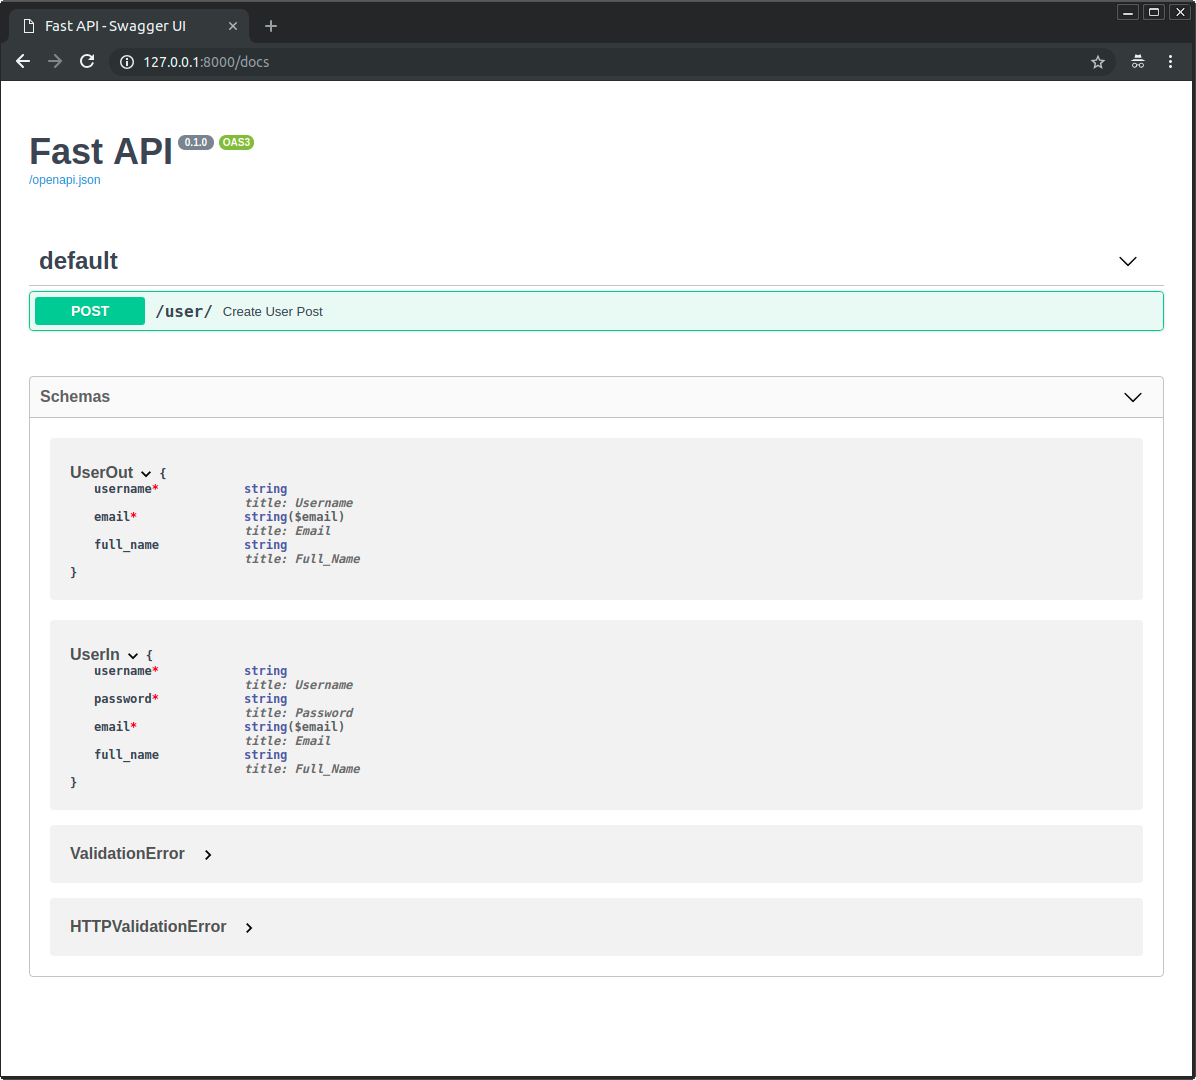
Go ahead and test it:
- Click on the
/orders/{order_id}endpoint in the docs. - Click "Try it out".
- Enter
ORD12345into theorder_idfield. - Click "Execute".
You should receive a 200 response with the placeholder order data, correctly formatted according to your Order model.
Conclusion
Great work! In this lesson, we have successfully defined our first functional tool. You have learned to:
- Define a response schema using a Pydantic
BaseModelto ensure predictable and validated output. - Create a FastAPI endpoint that serves as the core logic for an AI tool.
- Assign a descriptive
operation_id, which is the key to giving your tool a stable and readable name for the MCP server. - Verify the endpoint and its schema using FastAPI's automatic documentation.
You now have a concrete API endpoint that is ready to be exposed to an AI. In our next lesson, we will finally integrate the fastapi_mcp library to expose this endpoint, officially turning it into an MCP tool. We will also add a second tool and learn how to selectively control which endpoints become part of our toolset.