Introduction
Welcome to the final lesson in our first module on Power BI fundamentals. In our last session, we explored the critical differences between the Import and DirectQuery connection modes, concluding that using Import mode is the best practice for most analytical scenarios due to its superior performance and flexibility.
So far, you have successfully:
- Installed Power BI Desktop and navigated its interface.
- Connected to data from Excel, CSV, and a SQL database.
- Learned the strategic importance of choosing the right data connection mode.
All this work—your data connections, the choices you've made, and any transformations (which we'll cover soon)—needs to be saved. Today's lesson focuses on a simple but essential skill: saving your work as a Power BI project file (.pbix) and reopening it. This is the final step in setting up your project environment before we dive into data transformation.
Understanding the Power BI Project File
Just as Excel has its .xlsx file, Power BI has a primary file type for saving your projects: the .pbix file. Think of this file as a self-contained briefcase for your entire report.
A .pbix file bundles together everything related to your project:
- Data Connections: Information on where your data comes from (e.g., the path to your Excel file or the server details for your SQL database).
- The Data Itself: When using Import mode, a highly compressed copy of your data is stored directly inside the
.pbixfile. - Data Model: The relationships you define between your tables.
- Queries & Transformations: Every step you take to clean and shape your data in the Power Query Editor.
- Report Visuals: All the charts, tables, and slicers you build on your report canvas, including their formatting.
- DAX Calculations: Any custom columns or measures you write.
To get a formal understanding of the .pbix file and a related file type, the Power BI Template (.pbit), please read the following article.
The article 'How to Save Power BI Report' from Graphed Blog clearly explains the two main file types. Pay close attention to the description of the .PBIX file, as this is what you will use for all your project work.
Read the section titled 'First, Understand Power BI Report File Types', focusing on the explanations for '.PBIX' and '.PBIT' files.
As you read, notice the distinction with .pbit files. While a .pbix contains everything including the data, a .pbit is a template that contains the report structure without the data. In a corporate finance or F1 context, you could design a standard financial performance report, save it as a .pbit template, and then distribute it. Each department or team could then open the template, connect it to their own specific data, and instantly populate your pre-designed report, ensuring consistency.
Saving Your Power BI Project
Saving your project is as straightforward as in any other application like Excel or Word. You can either use the save icon in the top-left corner or go through the File menu.

For a quick demonstration of this process, the following short video is helpful.
Your first 10 minutes of Power BI - A no-nonsense getting started tutorial for beginners
This clip from a tutorial by Chandoo quickly shows the two main ways to save your file.
Watch from 09:26 to 09:48 to see the saving process in action.
Practice: Save Your First Project
Now it's your turn to apply this. If you have a Power BI project open from our previous lessons, you can use that. If not, simply open Power BI Desktop.
- Go to File in the top-left corner.
- Select Save As.
- Navigate to a folder on your computer where you want to store your course projects.
- Name your file
Motorsport Analysis V1.pbix. - Click Save.
That's it! You have now created a persistent Power BI project file that contains all your work so far. It's a good habit to save your work frequently.
Reopening a Power BI Project
Once your project is saved, you can close Power BI Desktop. When you're ready to continue working, you can reopen your project in a couple of ways:
- From your file system: Navigate to where you saved the
.pbixfile and simply double-click it. Windows will automatically open it with Power BI Desktop. - From Power BI Desktop: Open the Power BI Desktop application. The start screen will show a list of your recent files. You can also go to File > Open report and browse for your file.
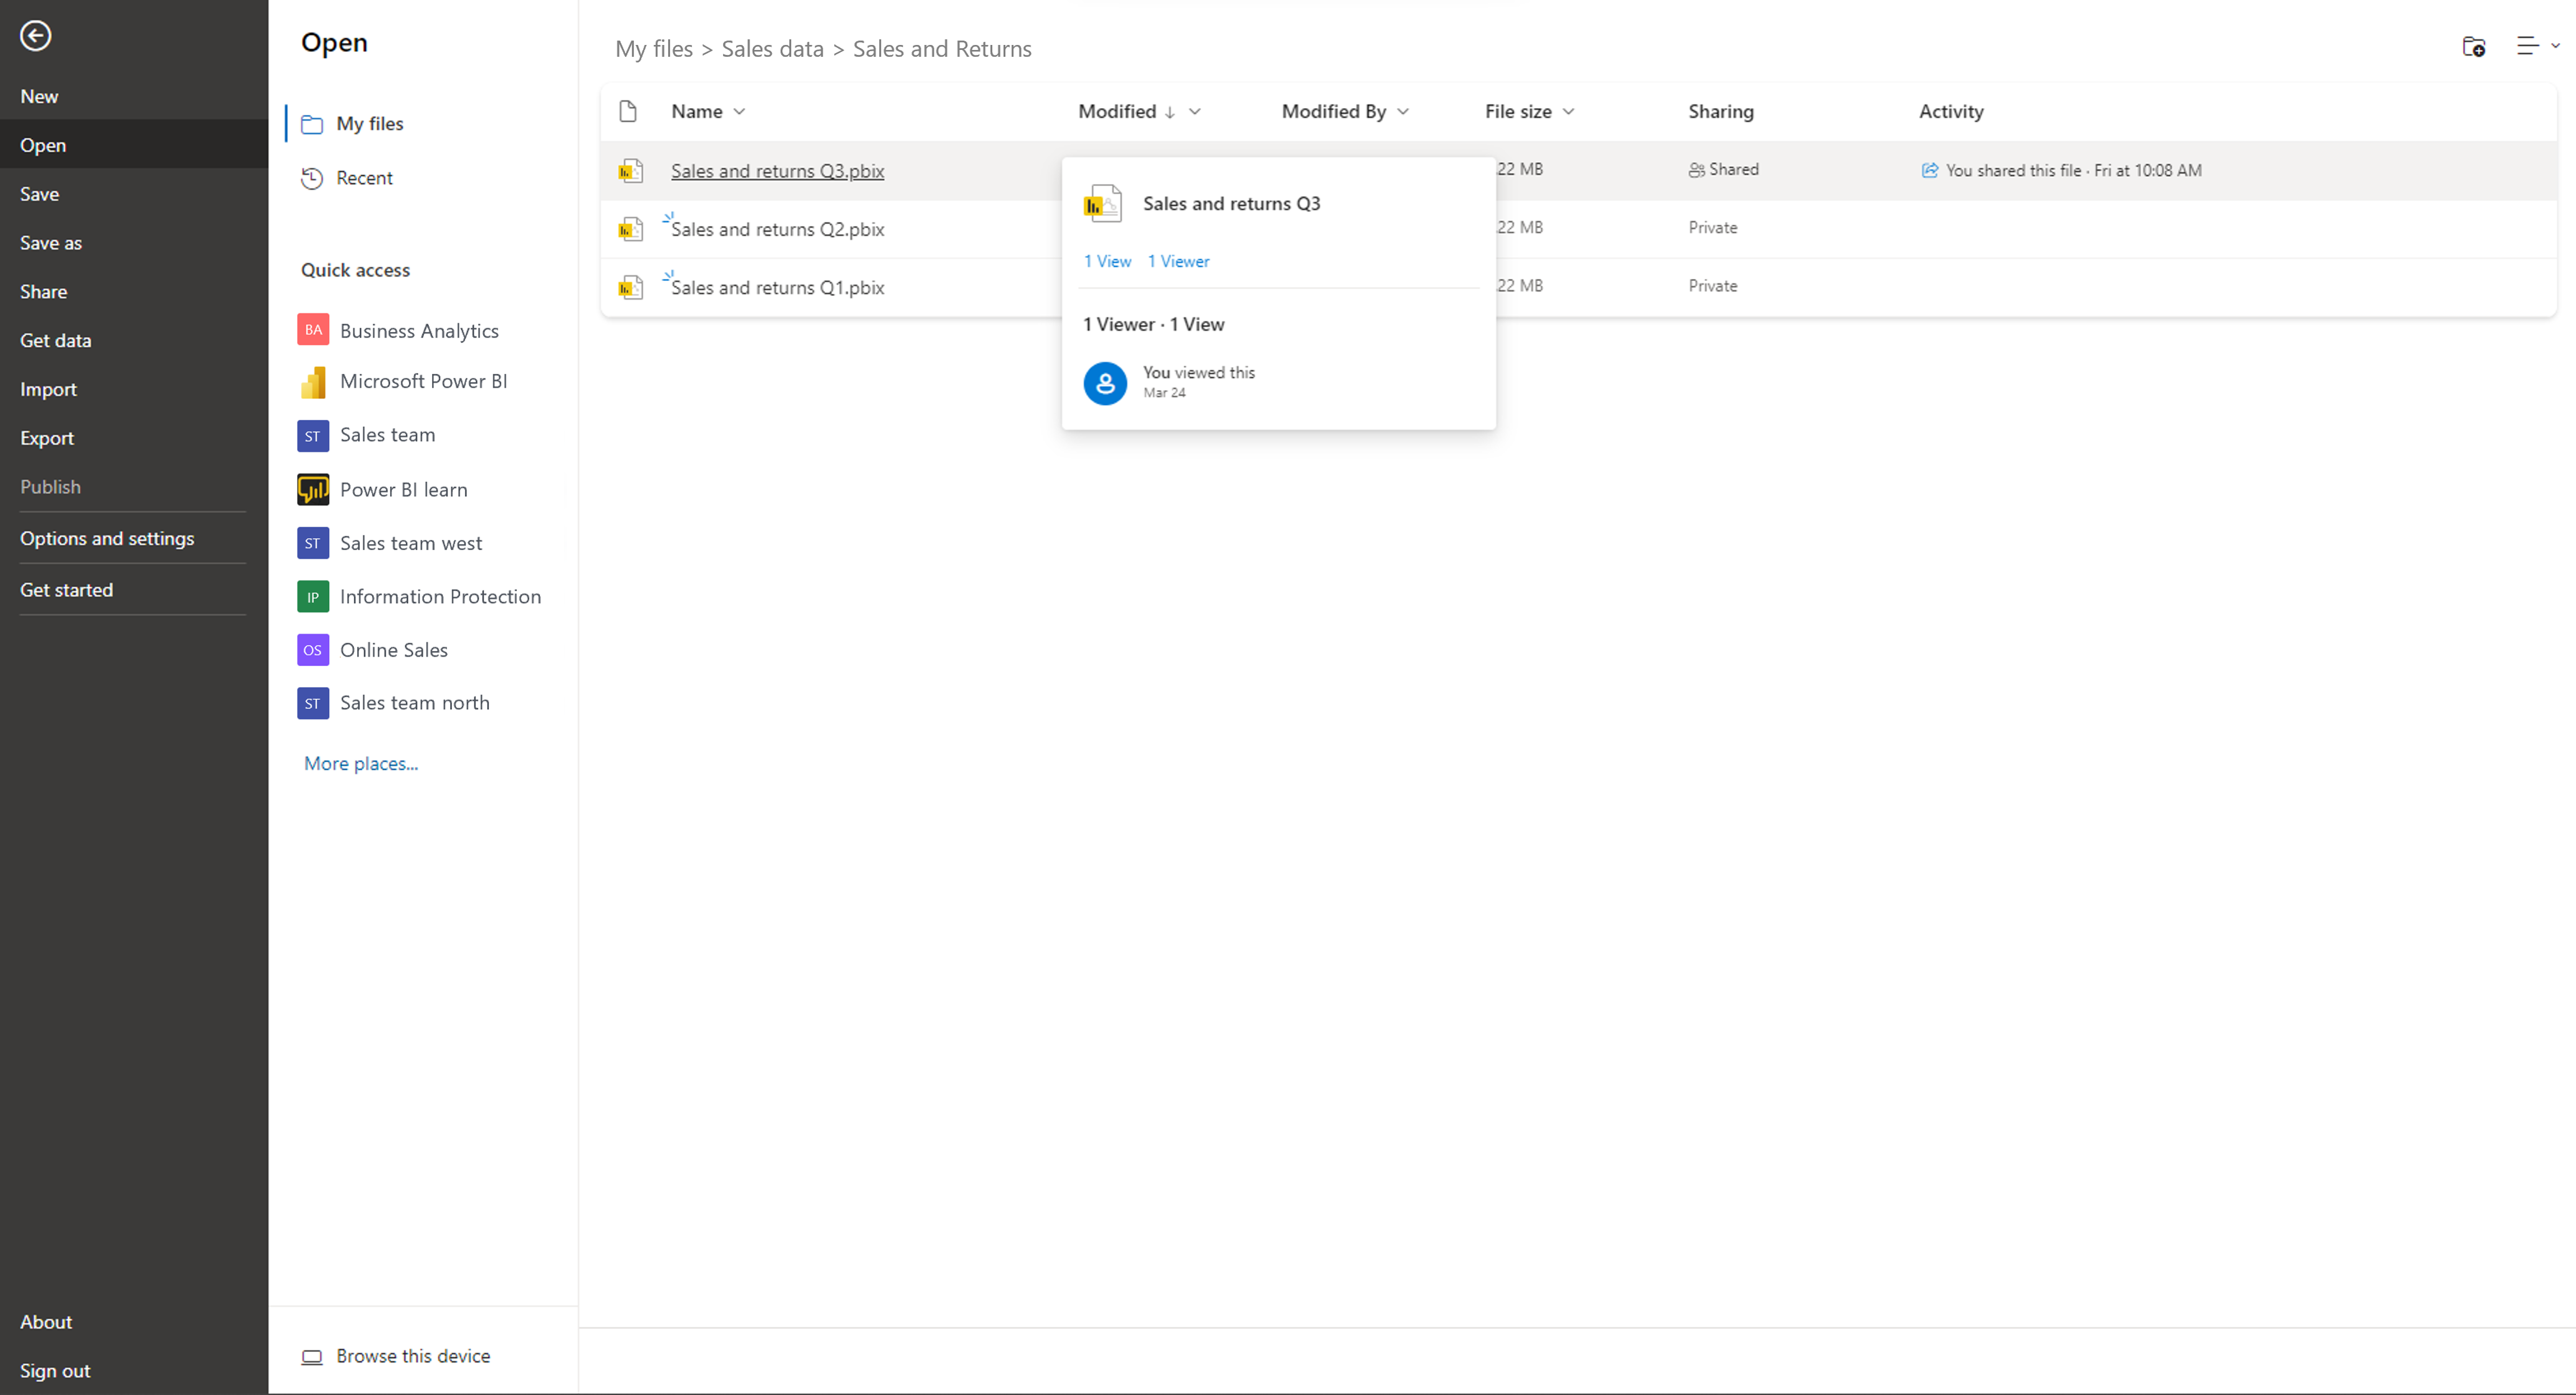
The image below shows the "Open" screen within Power BI, which lists recently used .pbix files for quick access.
Practice: Close and Reopen
Let's complete the workflow to ensure you're comfortable with it.
- If it's still open, close Power BI Desktop completely.
- Find the
Motorsport Analysis V1.pbixfile you saved on your computer. - Double-click the file to open it.
- Verify that everything loads as you left it.
You have now mastered the fundamental process of managing your Power BI project files.
Conclusion
In this lesson, you learned the final core skill of our introductory module. You now understand what a .pbix file is and how it acts as the central container for your entire Power BI project. Most importantly, you have practiced the essential workflow of saving and reopening your work.
Key Takeaways:
- The
.pbixfile is the standard Power BI project file, containing all data connections, data (in Import mode), transformations, the model, and visuals. - Saving is done via
File > Saveor the save icon, just like in other familiar applications. - You can reopen a project by double-clicking the
.pbixfile or by opening it from within Power BI Desktop. - The
.pbittemplate file is a useful tool for creating standardized reports without sharing the underlying data.
Preview of the Next Lesson:
With this, we conclude Module 1. You have successfully set up your environment and learned how to bring data into Power BI. Now, the real work of shaping that data begins.
In our next lesson, we will start Module 2 by launching the Power Query Editor. This is the data transformation engine inside Power BI, and it is where you will spend a significant amount of your time as a report developer. We will begin with fundamental cleaning operations, such as removing unwanted columns and rows, and ensuring your data has the correct data types.