Hello! Welcome to your first lesson in Module 2.
In the previous module, we got acquainted with the Fusion 360 environment. We wrapped up by looking at the main workspaces: Design, Render, and Manufacture. You learned that the Design workspace is where you'll build your models, making it our home base for the foreseeable future.
Today, we take the first and most fundamental step inside the Design workspace. This lesson covers how to create a new sketch on a selected plane or face. Every complex 3D model you'll eventually design, from a simple phone stand to your ambitious gaming desk, starts its life as a simple 2D sketch. This is the digital equivalent of taping a sheet of paper to a drafting board, but as you'll see, it's far more powerful.
What is a Sketch?
In CAD software like Fusion 360, a sketch is a 2D drawing that contains the geometric profile of a feature. You draw shapes like lines, circles, and rectangles, and then use 3D tools to give them depth and volume.
To create a sketch, you first need a flat surface to draw on. In a new, empty file, these surfaces are the default origin planes.
Given your mechanical engineering background, you'll be familiar with the concept of a 3D Cartesian coordinate system. Fusion 360 represents this with three default planes:
- XY plane (often considered the "top" view)
- XZ plane (often considered the "front" view)
- YZ plane (often considered the "side" view)
Let's see how to start a sketch on one of these planes.
Day 1 of Learn Fusion 360 in 30 Days for Complete Beginners! - 2023 EDITION
This video from Product Design Online demonstrates the fundamental process of starting a new sketch. Pay close attention to how the interface changes once the sketch environment is active.
Watch from 02:43 to 03:43. The video shows how to select the 'Create Sketch' command and choose one of the origin planes. Notice that the view automatically rotates to look directly at the plane you select.
As the video showed, initiating a sketch is a two-step process:
- Activate the Create Sketch tool from the toolbar.
- Select the plane you want to draw on.
Once you do this, Fusion 360 enters the Sketch environment. You'll see the toolbar change to display a new set of tools specifically for drawing, such as Line, Rectangle, and Circle. You are now "inside" the sketch. To leave, you would click "Finish Sketch".
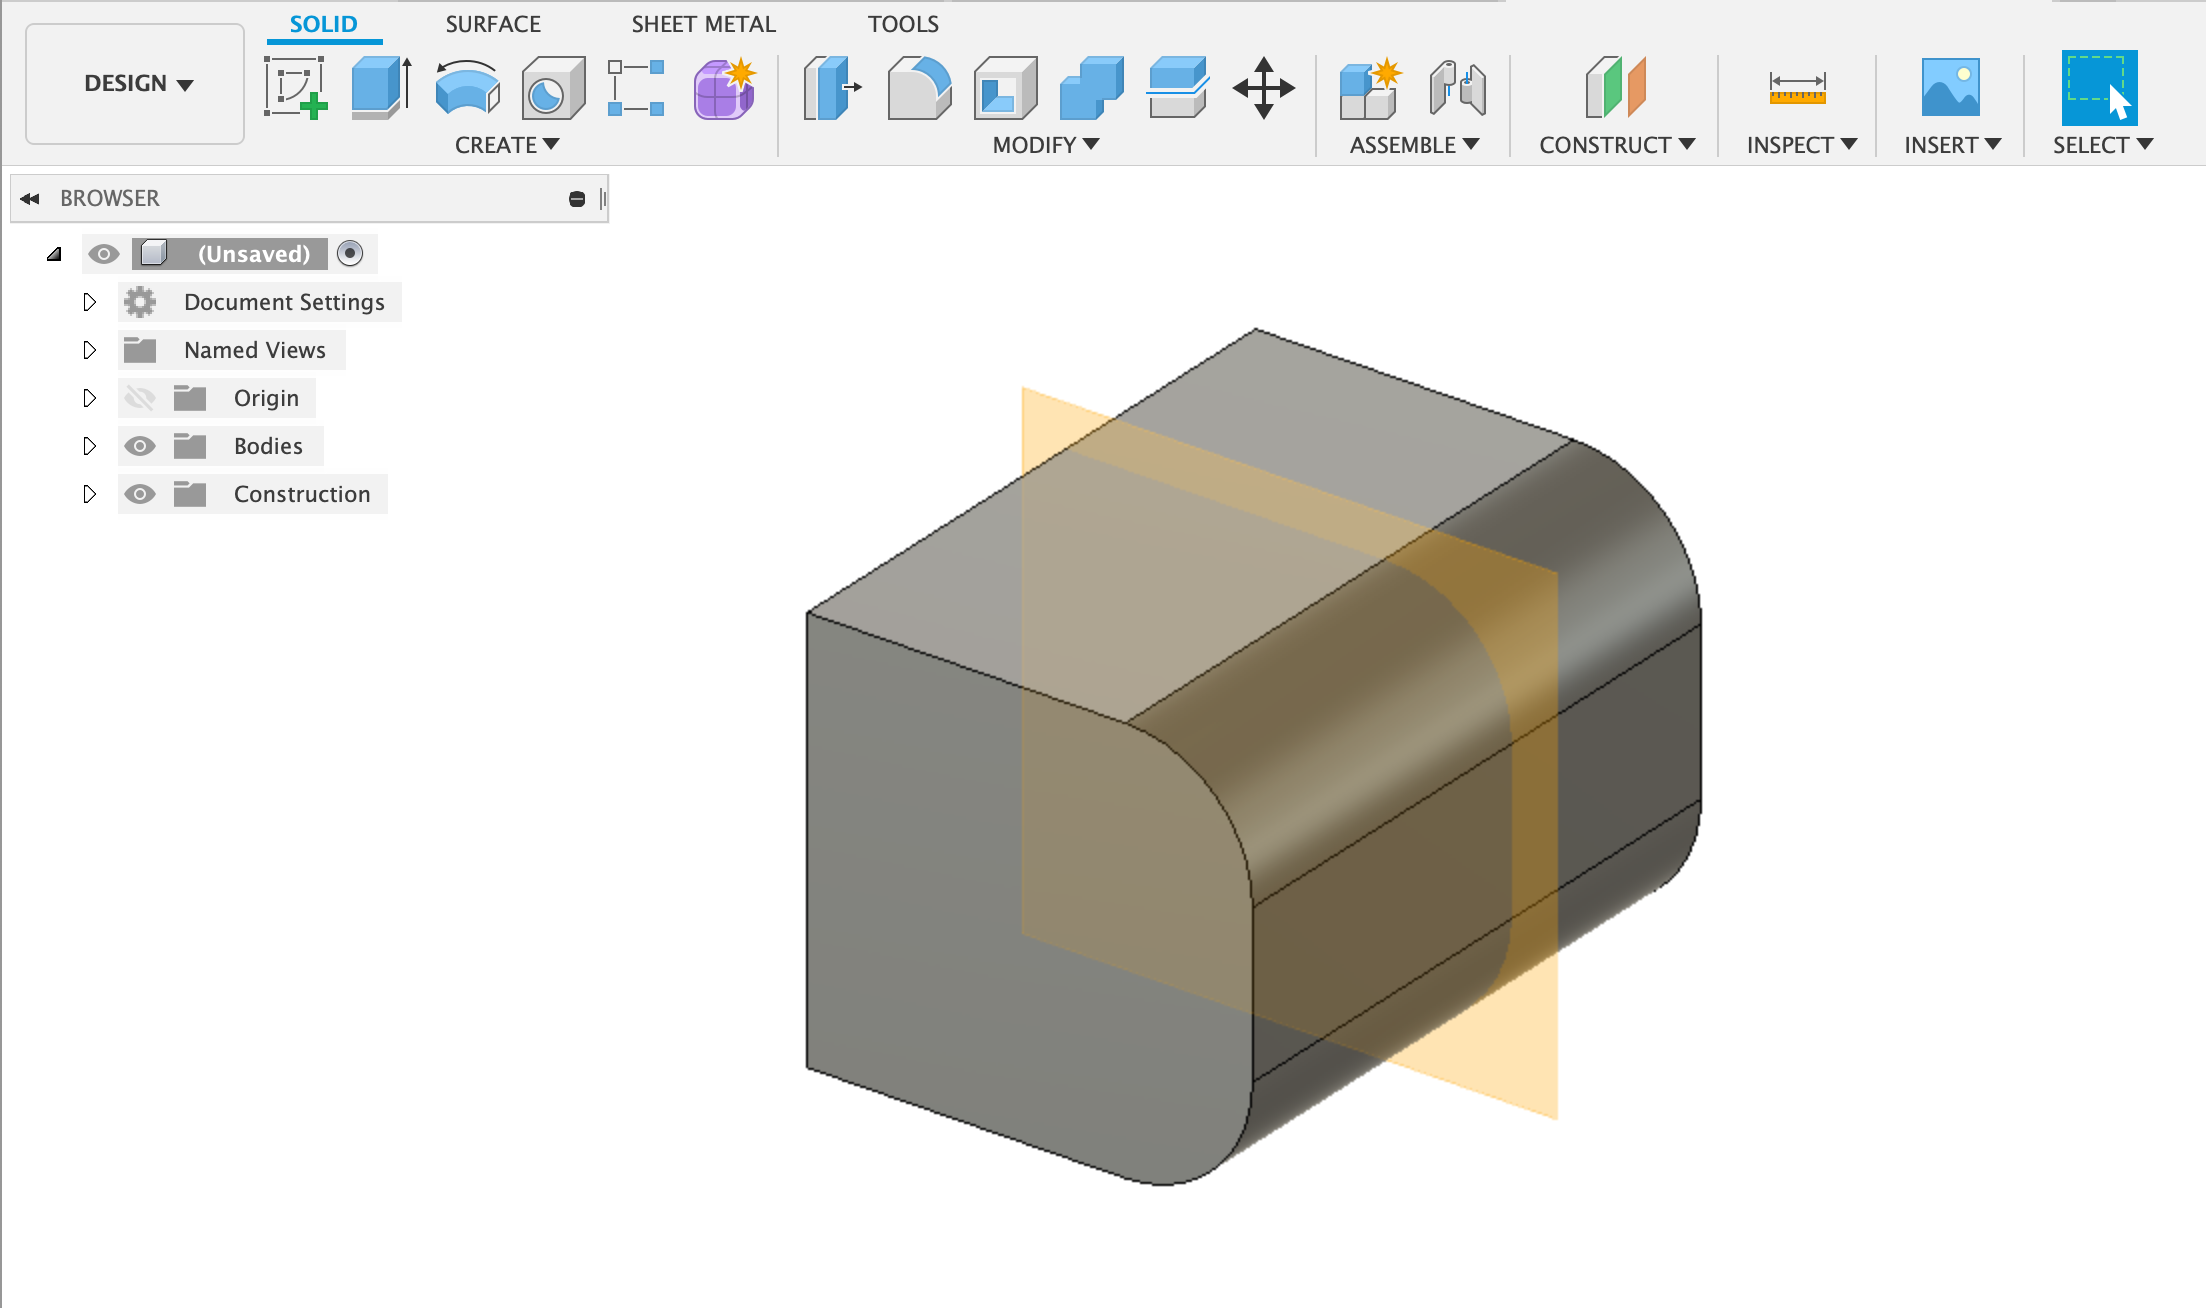
Sketching on Existing Geometry
Starting a sketch on an origin plane is perfect for the first feature of a new part. But what if you already have a 3D shape and want to add to it? A very common workflow is to create a new sketch directly on a flat face of an existing 3D body.
For this, we'll need a simple 3D body to work with. Follow these steps in Fusion 360. Don't worry about the details of the "Extrude" command for now; we'll cover it properly in the next module.
Mini-Exercise: Create a Base Shape
- Start a new design.
- Click Create Sketch in the toolbar.
- Select the bottom plane (the one formed by the red and green axes, the XZ plane).
- In the sketch tools, select 2-Point Rectangle.
- Click once on the center point (the origin), move your mouse, and click again to create a rectangle of any size.
- Click Finish Sketch in the top-right corner.
- Now, press the
Ekey on your keyboard to activate the Extrude tool. - Click on the rectangle you just drew. An arrow will appear.
- Drag the arrow up slightly to give the box some height, and click OK.
You should now have a simple 3D block. Now, let's learn how to sketch on one of its faces.
How to Create a New Sketch on a Plane or Face in Fusion 360
This article from Product Design Online explains the different ways to create a sketch. We'll focus on the section that describes sketching on an existing face.
Please read the two paragraphs under the heading that begins 'To create a new sketch on the face of existing geometry...'. The key takeaway is that you can simply right-click on a flat face to start a new sketch there.
Now, try it on the block you just created:
- Use the ViewCube in the top-right to rotate the view so you can see the top face of the block.
- Right-click directly on the top face.
- Select Create Sketch from the context menu.
Just like before, the view will orient to look directly at the face you selected, and the sketch tools will appear. You've now created a second sketch, this time hosted on the face of a 3D body instead of a default origin plane. This technique is essential for building up complex parts.
Different Ways to Start
Fusion 360, like most powerful software, gives you several ways to perform the same action. This allows you to develop a workflow that feels most efficient for you.
[PDF] How to create and edit a basic sketch
This official guide from Autodesk provides a concise summary of the different methods you can use to start the sketch command. Knowing these alternatives can speed up your workflow.
Read pages 3 and 4 of this PDF. It outlines four distinct ways to create a sketch: right-clicking a plane in the Browser, right-clicking a plane in the Canvas, using the Toolbar, and using a keyboard shortcut for a sketch tool. Try each method to see which you prefer.
Your Turn to Practice
Let's solidify this concept with a quick practice run.
- Create a New Design.
- Start a sketch on the front plane (the XZ plane).
- Don't draw anything. Immediately click Finish Sketch.
- Activate the Extrude tool (
Ekey), select the origin point (it will look like a tiny dot), pull the arrow to create a very thin wafer (e.g., 1mm), and click OK. This is just to give us a body to work with. - Now, right-click on the large flat face of the wafer you just created and select Create Sketch.
- You are now in a new sketch on the face of a body. Click Finish Sketch.
In the timeline at the bottom of your screen, you should see two sketch icons and one extrude icon. This demonstrates that you have successfully created sketches on both an origin plane and a body face.
Conclusion
Great work. You've just mastered the first, non-negotiable step of any design in Fusion 360. Understanding where and how to start your sketches is the foundation upon which all your future skills will be built.
Key Takeaways:
- All 3D models start with 2D sketches.
- To create a sketch, you must first select a flat surface, which can be one of the three origin planes or a flat face on an existing 3D body.
- Activating the Create Sketch command brings you into the Sketch environment, where you have access to 2D drawing tools.
- You can start a sketch via the toolbar, by right-clicking a plane or face, or by using a keyboard shortcut for a drawing tool.
In our next lesson, we'll stay inside the sketch environment and learn how to draw basic sketch geometry: lines, rectangles, circles, and arcs. Now that you know how to prepare your digital canvas, it's time to start drawing.