Hello! Welcome back to your course on mechanical design.
In our last lesson, we focused on the Shell command, a powerful tool for modifying a single solid body by hollowing it out. This is great for creating lightweight parts and enclosures. Today, we'll build on that by learning how to manage interactions between different solid bodies.
This lesson addresses the final topic in our 3D modeling module: distinguishing between the Join, Cut, and New Body options within 3D operations. Mastering these "boolean operations" is the key to moving from simple, single-piece models to complex, multi-part designs, which will be essential for everything from gaming accessories to your capstone desk project.
1. The Core Operations: Join, Cut, and New Body
Whenever you create new 3D geometry (like an Extrude or Revolve) that touches or overlaps with an existing solid body, Fusion 360 needs to know how they should interact. You control this using the Operation settings.
Let's break down the three primary choices:
- Join: This operation merges the new geometry with the existing body it touches, fusing them into a single, continuous solid. Think of this as welding two metal parts together.
- Cut: This operation subtracts the volume of the new geometry from the existing body. This is analogous to a machining process, like drilling a hole or milling a slot.
- New Body: This creates the new geometry as a completely separate solid body, even if it is touching or intersecting another one. This is like placing two distinct objects right next to each other. They share the same space but are not fused.
The Extrude command is the most common place you'll encounter these options. This short video gives a perfect overview.
Fusion 360 Extrude Cut & Extrude Basics You Must Know
Watch this clip from 'Fusion 360 Extrude Cut & Extrude Basics' by Tyler Beck of Tech & Espresso. It clearly demonstrates how the Extrude command handles these three fundamental operations.
Watch from 03:15 to 05:41. Pay close attention to the 'Operation' dropdown in the Extrude menu and how changing it from Join to Cut to New Body affects the model and the list of bodies in the browser.
2. Hands-On Practice: Operations in Action
Let's put this into practice to solidify the concept.
-
Create a Base Body:
- Start a new design.
- Sketch a 50mm x 50mm rectangle on the ground plane.
- Use
Create > Extrudeto pull it up by 20mm. You now haveBody1in your browser tree on the left.
-
Practice
Join:- Create a new sketch on the top face of your block.
- Draw a circle with a 25mm diameter in the center of the face.
Extrudethe circle profile upwards by 15mm. TheOperationshould default to Join.- Click OK. Look at your browser. You still have only one body (
Body1). The cylinder has been fused to the block.
-
Practice
Cut:- Undo the last extrude (Ctrl+Z or Cmd+Z).
Extrudethe same circle profile again, but this time drag the arrow down into the block. Notice Fusion 360 intelligently switches theOperationto Cut.- Set the distance to -10mm. Click OK. You have now machined a circular pocket into your block. It's still a single body.
-
Practice
New Body:- Undo the cut operation.
Extrudethe circle profile upwards by 15mm again, just like in theJoinstep.- This time, manually change the
Operationin the dialog box fromJointo New Body. - Click OK. Now, look at your browser. You will see
Body1andBody2. Even though they are touching, Fusion 360 treats them as two distinct objects.
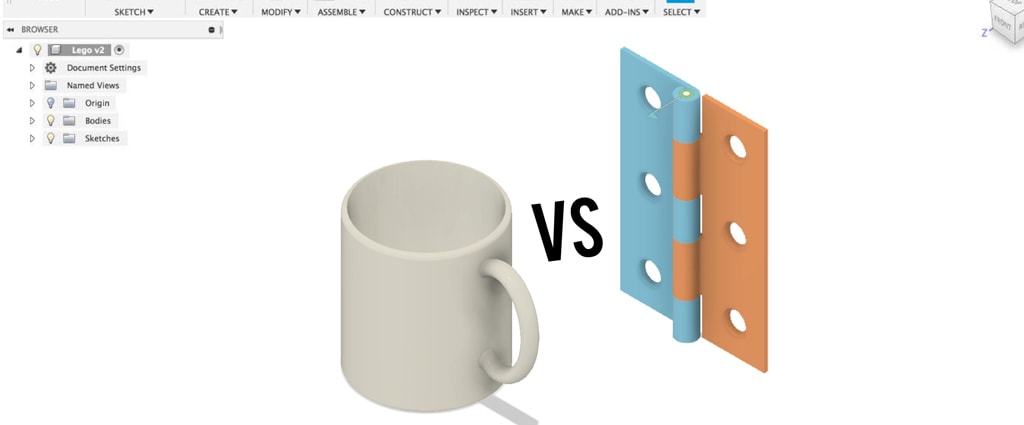
3. The Combine Tool: Applying Operations to Existing Bodies
Sometimes, you need to perform these boolean operations on bodies that already exist. For this, you use the standalone Combine tool (Modify > Combine).
The Combine tool introduces two key terms:
- Target Body: The body that will be modified (the "cake").
- Tool Body: The body that performs the action (the "knife").
This tool offers Join and Cut, but also a third powerful option: Intersect.
- Intersect: Creates a new body consisting only of the shared, overlapping volume between the target and tool bodies.
This video provides an excellent explanation of the Combine tool and its workflow.
Join Cut Intersect Fusion 360 Tutorial
Let's watch 'Join Cut Intersect Fusion 360 Tutorial' from the What Make Art channel. The 'cake and knife' analogy is a very effective way to remember the Target/Tool relationship.
Watch from 00:23 to 02:56. Note the demonstration of Join, Cut, and Intersect. Pay special attention to the 'Keep Tools' checkbox, which is extremely useful when you need to use a cutting tool for more than one operation.
As you saw, the Keep Tools option is invaluable. When you perform a Cut or Intersect operation, the tool body is consumed by default. Checking Keep Tools preserves the tool body for later use, which is a common need in complex designs.
For a more detailed written reference with clear diagrams on all these operations, you can review the guide below.
[PDF] DESIGNING 3D MODELS IN FUSION 360
The document 'DESIGNING 3D MODELS IN FUSION 360' from the European Commission provides a thorough text-based explanation of these concepts.
For a review, I recommend pages 87-91 (starting at 'In the Operation field...') which cover the operations within the Extrude command, and pages 173-175 (starting at 'Using the Combine command...') which detail the standalone Combine tool. The PDF page numbers are at the bottom of each page.
Conclusion
You have now learned the fundamental logic of how solid bodies interact in Fusion 360. This is a critical skill that unlocks the ability to create assemblies and complex parts.
Key Takeaways:
- Join, Cut, and New Body are core operations that define how new geometry interacts with existing solids.
Joinfuses bodies into one.Cutsubtracts one body's volume from another.New Bodycreates distinct, separate solids, which is essential for making assemblies of multiple parts.- These operations appear within creation commands like
Extrudeand can be performed on existing bodies using theCombinetool. - The
Combinetool also introducesIntersect, which isolates the shared volume between bodies.
This lesson concludes our module on core 3D modeling. You now have a solid foundation for creating and modifying 3D shapes. In our next lesson, we will begin a new module on Parametric Design Principles. You'll learn how to use variables and parameters to drive your design dimensions, allowing you to create flexible, easily editable models—a technique you will rely on heavily for your future projects.