Hello! Welcome to your next lesson in designing for additive manufacturing.
In our last session, we dove into the critical topic of clearances and fits, learning how to design parts that assemble correctly by accounting for your printer's tolerances. This is a cornerstone of creating functional, multi-part objects.
Today, we'll tackle a very common practical problem: what happens when your design is too large to fit on your 3D printer's build plate? Your future Bambu A1 printer, for instance, has a build volume of 256x256x256 mm. For any project exceeding those dimensions—like parts of your custom gaming desk—you'll need the skills we're covering in this lesson.
Our goal is to learn how to split a large model into smaller, printable sections. We will cover the core techniques in Fusion 360 for both models you design yourself and those you might download. We'll also see that the way you split a part is a design choice in itself, one that can dramatically improve the strength and ease of assembly of the final object.
1. Why, Where, and How to Split a Model
Before we jump into the tools, let's consider the strategy. Splitting isn't just about making a part fit; it's also an opportunity to improve print quality. By splitting a model, you can orient each piece optimally to minimize supports, hide layer lines, and increase strength.
The first step is always to identify the best place to make your cut.
How to Split Large 3D Models for Printing
This article from Upskillist provides excellent guidance on planning your splits. Please read the sections on preparation and finding the best split points.
First, read the section "Preparing Your 3D Model for Splitting", focusing on the subsection "Finding the Best Split Points". This will give you a strategic framework for deciding where to cut. Then, quickly read the "Tips for Success" under the "Summary and Key Points" section for some actionable advice.
As the article mentions, look for natural seams, flat surfaces, or functional breaks. Avoid cutting through highly detailed areas or sections that will be under high stress.
You have two primary places you can perform the split: in your CAD software (Fusion 360) or in your slicer software (Bambu Studio).
- Fusion 360 gives you ultimate precision and allows you to design complex, interlocking joints. This is the professional approach and will be our main focus.
- Bambu Studio offers a quick and easy way to make simple cuts, which can be very convenient for basic splits. Since you're planning to get a Bambu printer, it's useful to know this feature exists.
Large-Scale 3D Printing: How to Split Big 3D Prints
The Gambody blog has a concise guide that includes splitting in Bambu Studio. This will be a useful part of your future workflow.
Read the section titled "Bambu Studio". This will show you the basic cut tool and the option to add simple alignment pins directly in the slicer.
2. The Core Technique: Splitting Solid Bodies in Fusion 360
For models you design from scratch in Fusion 360, you'll be working with solid bodies. The primary tool for splitting them is the Split Body command. The process is straightforward:
- Create a cutting tool: This is usually a construction plane positioned exactly where you want the cut. You can create one using the
Offset Planetool. - Activate the
Split Bodycommand: Found under theModifymenu. - Select the body to split and the cutting tool (your plane): Fusion 360 will then divide your single body into two separate bodies.
This video provides a clear, step-by-step demonstration of this exact process.
Fusion 360: Split Large STL files for 3D Printing
This segment from Product Design Online will walk you through splitting a solid body model created in Fusion 360.
Watch from 10:29 to 14:12. The video demonstrates creating offset planes and then using the Split Body command to divide a single body into four printable quadrants.
3. Handling Imported Meshes (STL Files)
Sometimes, especially for gaming accessories or character models, you might download a file that is already in a mesh format like STL. The process for splitting these in Fusion 360 is different and requires using the Mesh Workspace.
The key differences are:
- You must first enable the Mesh Workspace in your Preferences.
- You must switch from Parametric Modeling mode to Direct Modeling mode (disabling the design history timeline).
- You will use the
Plane Cuttool from theModifymenu in the Mesh Workspace.
This workflow is less common when you are the original designer, but it is an essential skill for modifying existing models.
Fusion 360: Split Large STL files for 3D Printing
Let's return to the Product Design Online video. The first part covers the complete workflow for splitting an imported STL mesh file.
Watch from 01:53 to 10:16. Pay close attention to the initial setup steps: enabling the Mesh Workspace in Preferences and turning off the design history. The video then shows how to use construction planes and the Plane Cut tool to split the mesh.
4. Beyond the Flat Cut: Designing for Assembly
A simple, flat cut is easy to perform, but it creates two problems:
- Alignment: It can be very difficult to align the two flat faces perfectly during gluing.
- Strength: A simple butt joint has a relatively small surface area for the adhesive, making it a weak point.
A much better approach is to design the split itself as an interlocking joint. This makes the assembly self-aligning and creates a much stronger mechanical connection.
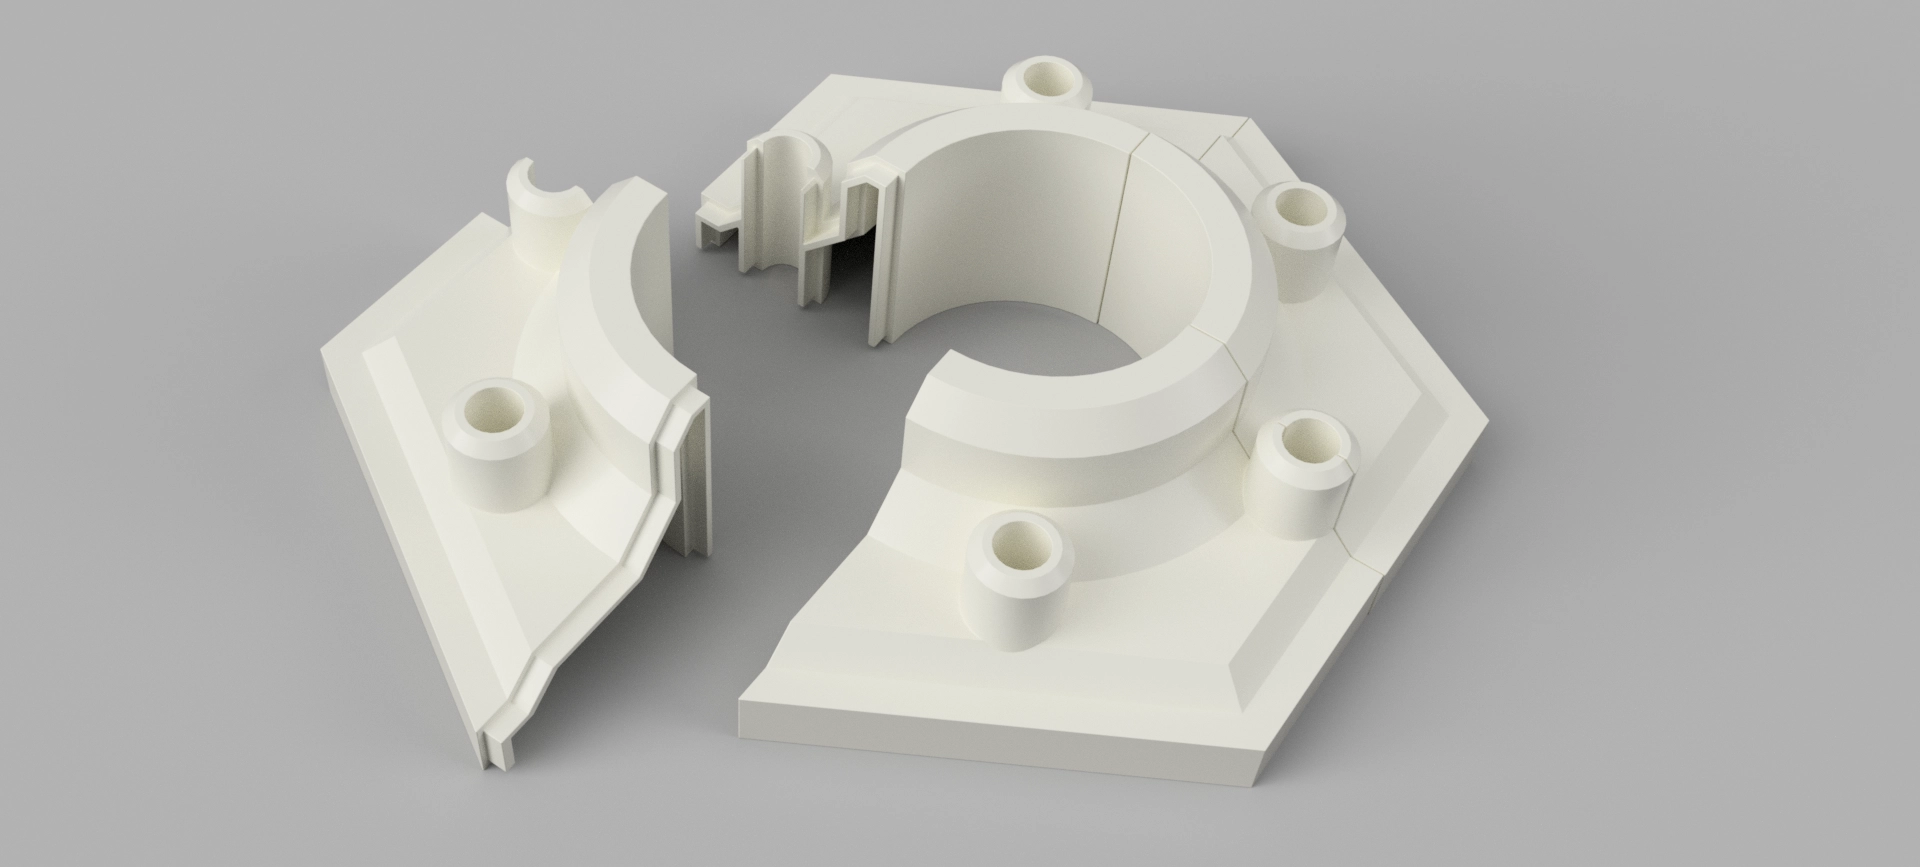
Creating these joints involves using a custom-sketched shape as a "cutting tool" instead of a simple flat plane. This is an advanced application of the Split Body command and a perfect bridge to our next lesson.
A dovetail joint is a classic example from woodworking that works exceptionally well for 3D printing. It provides excellent mechanical strength and resists being pulled apart.
Fusion 360: Split Large STL files for 3D Printing
This final segment from the Product Design Online video is a fantastic demonstration of an advanced splitting technique. It shows how to create a custom dovetail joint to split a model, resulting in a much stronger and easier-to-assemble part.
Watch from 15:05 to 24:08. This is a detailed walkthrough, so focus on understanding the overall concept: Sketching the joint profile (the dovetail shape). Extruding that profile as a surface. Thickening the surface slightly (this is where clearance from our last lesson is critical!). Using that new thin body as the 'Splitting Tool' in the Split Body command.
This technique powerfully combines sketching, surface modeling, and solid modeling tools to achieve a professional result. The clearance you add when "thickening" the surface is what ensures the two printed parts will actually fit together—a direct application of what you learned in the previous lesson.
5. Your Turn: A Quick Thought Exercise
To solidify your understanding, let's think through a practical scenario. Imagine you have designed a simple, functional shelf for your gaming setup. The shelf is a single rectangular block, 400mm long, 150mm wide, and 20mm thick. Your printer's build plate is 256mm x 256mm.
- The Simple Split: Describe the steps you would take in Fusion 360 to split this shelf into two equal 200mm long pieces using a simple plane cut.
- The Better Split: Thinking about the dovetail joint you just saw, why would creating an interlocking joint along the 150mm-wide cut be a better solution than a simple flat cut? What are the two main benefits?
Take a few minutes to think about your answers before moving on.
Conclusion
You've now learned the essential techniques for splitting large models, a skill that unshackles you from the size limitations of your 3D printer. This opens the door to much larger and more ambitious projects, including your goal of a custom desk.
Key Takeaways:
- Large models can be split to fit your printer, improve print orientation, and reduce supports.
- For models you design (solid bodies), use an Offset Plane and the
Split Bodycommand. - For imported models (mesh files), use the Mesh Workspace and the
Plane Cutcommand. - Simple flat cuts are easy but can be weak and hard to align.
- Designing interlocking joints (like dovetails) into your split creates strong, self-aligning connections.
- Splitting can also be done quickly for simple cuts directly in slicer software like Bambu Studio.
In our next lesson, we will expand on the advanced concept you saw today. We'll dedicate the entire session to designing various types of alignment features, such as pins, keys, and sockets, to make your multi-part assemblies robust and easy to put together.