Welcome to your third lesson. In our last session, we looked at the fundamental "ingredients" of design: line, shape, color, and texture. You learned how to spot these elements in professional social media graphics, building your eye for what makes a design work.
Today, we're moving from observation to action. You'll take your first hands-on steps in Canva, applying what you've learned about shapes and introducing text. The goal is to get you comfortable with adding these basic elements to a blank canvas and modifying them. This is a crucial practical skill, forming the foundation for every social media post you'll create.
Getting Started: The Canva Canvas
Before we can add anything, we need a place to work. Let's start by getting familiar with the Canva editor, which is the main workspace where all the design magic happens.
Canva Tutorial for Beginners (How to use Canva step by step)
This first video segment from Kate Hayes' "Canva Tutorial for Beginners" provides a quick tour of the editor.
Watch from the start of the editor tour. Pay attention to how to zoom in and out and how the main menu on the left side is your primary tool for finding design elements.
Adding and Modifying Basic Shapes
In the last lesson, we identified shapes as one of the core building blocks of design. Now, let's learn how to create and customize them in Canva.
Shapes are excellent for creating structure, framing content, or adding visual interest to your design. Finding them is straightforward.
How to Make Custom Shapes in Canva
This article by Daniel Walter Scott clearly explains how to locate and add shapes to your project.
Read the section "How to add shapes to a new design page." Focus on finding the Elements tab and Shapes section. Then, see how to add a shape to your page.
Once you add a shape, it will appear on your canvas. You can click on it to select it, which allows you to move it by dragging it or resize it by pulling the small white circles at its corners.

The Contextual Toolbar
When you select an element like a shape, a new toolbar appears at the top of the editor. This is the contextual toolbar, and it's your main control panel for changing the appearance of whatever you have selected.
How to Make Custom Shapes in Canva
This next section of the same article introduces the editing options available for shapes.
Take a quick look at the image showing the contextual toolbar and read the brief descriptions of the options, from Color to Corner Rounding. This will give you an overview of what's possible.
Now, let's practice using some of these options.
- Changing Color: This is one of the most common and impactful changes you'll make.
How to Make Custom Shapes in Canva
This section walks you through the color panel.
Read from the beginning of how to open the Color panel. Pay attention to the different ways you can choose a color, such as using the default palette.
- Adding a Border: An outline can help a shape stand out.
How to Make Custom Shapes in Canva
Here you'll learn to add and customize an outline.
Read through the section on adding borders, noting how you can change the style (solid or dashed) and thickness (weight).
For a live demonstration of these modifications, the following video is very helpful.
Canva Tutorial for Beginners (How to use Canva step by step)
This clip from Kate Hayes' tutorial shows the process of adding and modifying a shape in real-time.
Watch the segment from where she adds a shape and then modifies its color and other properties using the top toolbar.
A Pro Tip: Keyboard Shortcuts
As you get more comfortable, you'll want to work more quickly. Keyboard shortcuts are great for this. Instead of navigating through the menus, you can add basic shapes instantly:
- Press 'R' on your keyboard to add a Rectangle.
- Press 'C' to add a Circle.
- Press 'L' to add a Line.
MASTER CANVA IN 15 MINUTES! Canva Tutorial For Beginners
This short clip from Aurelius Tjin's "MASTER CANVA IN 15 MINUTES!" demonstrates these time-saving shortcuts.
Watch from the keyboard shortcuts section to see how quickly you can add elements to your design.
Adding and Modifying Text
Shapes are the skeleton, but text often provides the core message. Adding and editing text in Canva is just as straightforward.
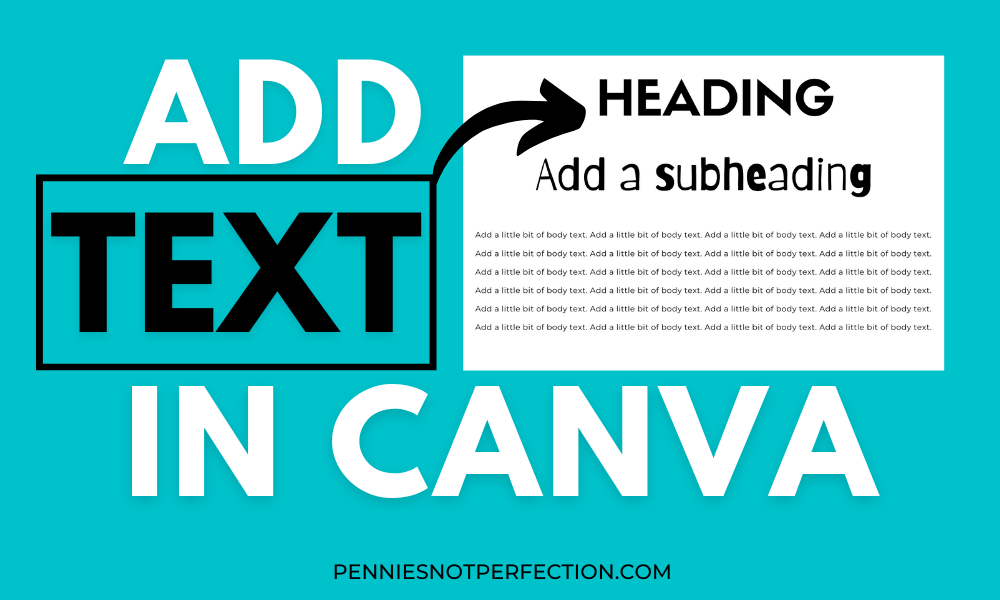
You can find the text tool in the main menu on the left, right under 'Elements'.
Canva Tutorial for Beginners (How to use Canva step by step)
Let's return to Kate Hayes' tutorial to see how text works.
Watch from where she introduces the Text tab and adds a text box. Then, continue watching from the text editing options, where she demonstrates how to change the font, size, and color.
Just like adding shapes, there's a keyboard shortcut for text: simply press 'T' on your keyboard to add a new text box.
To get a more detailed guide on text editing that you can refer back to, the official Canva Help Center is a great resource.
Add and edit text - Canva Help Center
This article from the Canva Help Center provides a clear, step-by-step guide to working with text.
First, read the section Add and edit text. Then, scroll down to the "Format text" article linked within (or I'll guide you here) and review the options for changing Font size, Text color, and basic styles like bold and italics.
Conclusion
Excellent work today! You've successfully made the leap from theory to practice. You now have the foundational skills to start building the most basic layouts in Canva.
Here are the key takeaways from this lesson:
- The Elements tab is where you find basic shapes, and the Text tab is for adding text.
- Selecting any object on your canvas brings up a contextual toolbar at the top with all its modification options.
- You can change a shape's color, border, and size, and you can modify a text's font, color, and alignment.
- Handy keyboard shortcuts can speed up your workflow: R (Rectangle), C (Circle), L (Line), and T (Text).
In our next lesson, we'll continue to fill your designer's toolkit. We'll move beyond basic shapes and learn how to search for and use the vast library of images, icons, and graphics available within Canva to make your designs more dynamic and visually appealing.