Welcome back. In our last lesson, you mastered the standard workflow for using your calibrated Ilford EM10 to determine the base exposure for a new negative. This process is a cornerstone of efficient printing, but it operates on a crucial assumption: that the negative you're printing is "normal" and contains an obvious, representative shadow area to meter.
Today, we will explore the boundaries of that system. This lesson focuses on identifying situations where the standard EM10 workflow is insufficient and requires intelligent manual compensation. We will look at high-key and low-key scenes, which produce negatives that can easily mislead a "dumb" meter. Understanding when to trust your meter and when to override it is the difference between a quick, successful work print and a frustrating, wasted sheet of paper.
The Meter's Blind Spot: Why "Correct" Isn't Always "Right"
At its core, a light meter—whether in your camera or on your enlarger's baseboard—is a simple device. It measures the intensity of light and nothing more. It has no concept of the subject matter. Your in-camera meter is calibrated to assume that the average of all the tones in a scene should be a medium gray (often called Zone V). Your EM10 is calibrated to assume that the specific spot you place its probe on should be rendered as a detailed shadow (perhaps Zone III).
This works perfectly for average scenes. But when a scene is not average, the meter's assumption leads to predictable errors. A scene composed of mostly bright tones (like snow) or mostly dark tones (like a nighttime cityscape) will fool the meter. The following video explains this principle for in-camera meters, but the logic is identical for our darkroom work.
Your Light Meter is Ruining Your Negatives
The video "Your Light Meter is Ruining Your Negatives" from the DistPhoto channel explains the fundamental principle of how meters interpret light.
Please watch two key segments: First, watch from the explanation of middle gray. The key concept here is that the meter's only function is to recommend an exposure that will render what it sees as middle gray. Then, jump to the section on metering bright scenes. Pay close attention to the snow example. The meter sees the bright snow and tries to make it gray, resulting in underexposure. The correct action is to add exposure to make the white snow look white.
This "compensation"—deliberately over- or under-exposing relative to the meter's reading—is what we need to apply to our EM10 workflow in specific situations.
Scenario 1: The High-Key Scene
A high-key scene is predominantly bright, like a portrait against a white background, a misty landscape, or the classic example of a subject in a snowy field.
- The Negative: When you examine the negative on a light table, it will be very dense overall. The bright areas of the scene (snow, mist) will have exposed the film heavily, creating dark, dense patches on the negative. The few shadows that exist will be the clearest, thinnest parts of the negative.
- The Printing Problem: The standard EM10 workflow tells you to meter a "shadow area with detail." In a high-key negative, these areas are very thin and small. If you follow the procedure and meter that tiny patch, the EM10 will detect a lot of light passing through and tell you to stop down the aperture or use a very short time. This will correctly expose that tiny shadow, but the rest of the print—the vast, dense areas representing the snow—will be severely underexposed, appearing as a muddy, lifeless gray instead of brilliant white.
- The Compensation Strategy: You must recognize that the goal is to render the dense parts of the negative as bright white. You cannot trust a reading from a small, unrepresentative shadow. Instead:
- Meter a Mid-Tone: Find an area on the negative that corresponds to a mid-tone in the scene (e.g., a person's skin, a tree trunk).
- Place the EM10 probe on that spot and find the correct aperture, as usual.
- Make the Print: Expose for your standard time. The result will render that mid-tone as a detailed shadow, effectively overexposing the entire print compared to a "correct" reading from the actual shadow. This shifts the entire tonal range up, ensuring the snow looks white. You may need to burn in other areas later, but your base exposure will be far more accurate.
Scenario 2: The Low-Key Scene
A low-key scene is predominantly dark, such as a nighttime cityscape, a subject in a dark room, or a forest under a thick canopy.
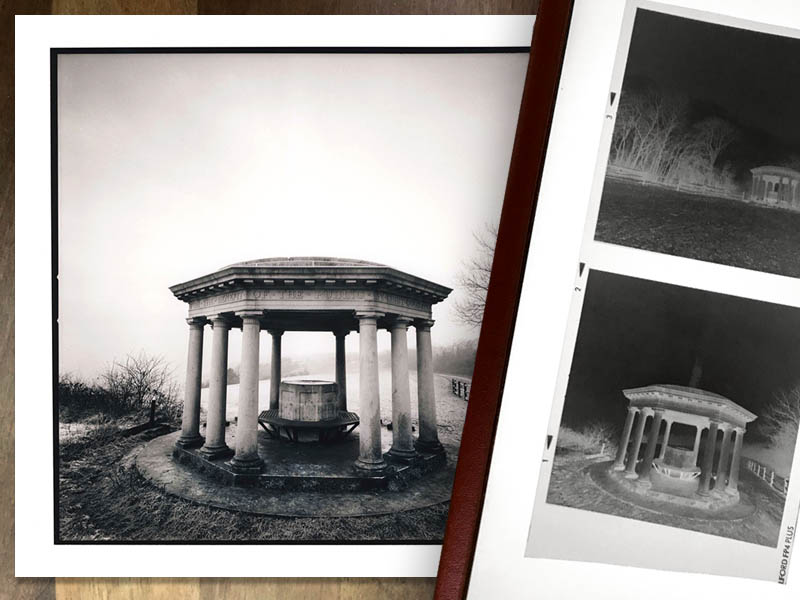
- The Negative: A low-key negative will be mostly thin and transparent. The large dark areas of the scene have barely exposed the film. The only dense parts will be small areas corresponding to highlights like streetlights or windows.
- The Printing Problem: Here, you face the opposite problem. There are no detailed shadows to meter; the entire negative is effectively one big shadow. If you place the probe on a large, clear area, the EM10 will detect a massive amount of light and tell you to stop the lens down to its smallest aperture (e.g., f/22). This leads to an extremely short printing time.
- The Compensation Strategy: Short printing times are difficult to control and offer no room for dodging or burning. The key is to recognize that a thin negative needs more time under the enlarger, not less.
- Meter a Highlight: Instead of a shadow, place the EM10 probe on a key highlight area in the projected image (a dense patch on the negative).
- Use the EM10 to find the corresponding aperture. This will likely be a much wider aperture than you would get from metering a clear area.
- Manually Adjust for Control: Your goal is a manageable printing time (e.g., 15-30 seconds). The aperture suggested by the highlight reading is a starting point. From there, you can stop the lens down further (e.g., from a suggested f/8 to f/11 or f/16) to deliberately increase the base exposure time. This will "overexpose" the highlights according to the meter, but it gives you a controllable base time and ensures those bright spots aren't completely blown out. The rest of the print will be very dark, requiring you to plan for extensive dodging.
The following video powerfully demonstrates the practical problems of printing very thin (underexposed/low-key) and very dense (overexposed/high-key) negatives.
Darkroom Printing - SHORT ENLARGER TIMES ?
The video "Darkroom Printing - SHORT ENLARGER TIMES ?" by Shoot Film Like a Boss provides an excellent visual of the issues we're discussing.
Watch these segments to connect the theory to the practice: Begin with the explanation of thin vs. thick negatives. This will visually reinforce the concepts of high-key and low-key negatives. Next, see the demonstration of printing a thin (underexposed) negative. Notice how the presenter immediately identifies the problem of excessive brightness and has to stop down to the smallest aperture, resulting in an almost uncontrollable 1.5-second exposure. Finally, watch the conclusion, which summarizes why dense negatives give you more control (longer times) and thin negatives are problematic.
A Decision Framework for Compensation
As an engineering student, you can think of this as a process flowchart. Before you even turn on the EM10, you must first classify the negative.
- Assess the Negative on a Light Table:
- Is it "normal"? A good balance of clear and dense areas, with a full range of tones. -> Proceed with standard EM10 workflow.
- Is it "high-key"? Mostly dense, with only small, thin shadow areas. -> Plan to compensate for overexposure. Meter a mid-tone instead of a shadow.
- Is it "low-key"? Mostly thin/clear, with only small, dense highlight areas. -> Plan to compensate for underexposure and control. Meter a highlight and manually stop down to achieve a longer, manageable printing time.
The official Ilford manual for the EM10 alludes to this need for judgment.
[PDF] using the ilford em 10 exposure monitor - Darkroom Dave
This user guide from Darkroom Dave includes a critical disclaimer about the meter's limitations.
First, note in the "CALIBRATING" section that the instructions tell you to find a key metering spot. This is the ideal, "normal" scenario. Then, at the very end of the document, read the final note: "Remember the ILFORD EM 10...". This is the manufacturer's way of saying that the meter is a tool to get you in the ballpark, not a magic bullet. Your own assessment is the final, critical input.
Conclusion
You've now moved beyond treating the EM10 as an infallible oracle and are learning to use it as an expert's tool. It provides a precise, repeatable measurement of light, but you provide the intelligence to interpret that measurement within the context of the image. This ability to diagnose a negative and anticipate how your tools will respond is a significant step toward your goal of creating refined, expressive prints efficiently.
Key Takeaways:
- Light meters are calibrated for "average" scenes and can be easily fooled by predominantly light (high-key) or dark (low-key) subjects.
- High-key negatives are dense. Metering a shadow will underexpose the print. The strategy is to meter a mid-tone to shift the exposure brighter.
- Low-key negatives are thin. Metering a shadow will lead to uncontrollably short print times. The strategy is to meter a highlight and manually stop down the aperture to gain a longer, more manageable exposure time.
- Always assess your negative first to decide if the standard workflow is appropriate or if compensation is needed. The EM10 is a powerful aid, but not a substitute for your own judgment.
Next Lesson Preview:
We have seen how scenes with extreme tonal distributions can challenge a single-exposure workflow. While our compensation strategies can establish a better base exposure, they often leave us with highlights that are too dark or shadows that are too light. In our next lesson, we will introduce Split-Grade Printing, a powerful technique that decouples the control of shadows and highlights, giving you the precision needed to master these difficult negatives.