¡Hola! Welcome back. In our last lesson, we set up your "digital workshop" with Node.js and npm, getting your development environment ready. We created a test project and even installed our first package.
Today, we're tackling a topic that is absolutely critical for any developer working with external services: security. Soon, you'll be connecting your agents to services like Anthropic for AI, Google for spreadsheets, and WhatsApp for messaging. All of these require secret credentials, like API keys.
This lesson's goal is to teach you how to securely load API keys from a local .env file to prevent exposing them. Hardcoding secrets directly into your application code is one of the most common and dangerous mistakes a developer can make. Learning to avoid it from day one puts you on the path to professional, secure development, aligning perfectly with your preference for building safe and cost-controlled applications.
The Danger of Exposed Secrets
Before we dive into the "how," let's be crystal clear about the "why." An API key is like a digital password that grants access to your account with a service provider. If you accidentally commit it to a public code repository like GitHub, automated bots can find it in seconds and use it to run up massive bills on your account. This isn't a theoretical risk; it happens all the time.
To understand the real-world consequences and the purpose of .env files, let's start with a short article.
.env Files and the Art of Not Committing Secrets
This article from OpenReplay, titled ".env Files and the Art of Not Committing Secrets," explains what .env files are and why they are so important. It even includes a real-world example of a major company that suffered a massive data breach from this exact mistake.
Read the sections "What Are .env Files?" and "Why .env Files Exist: A Brief History." Focus on understanding the purpose of separating configuration from code and the security implications.
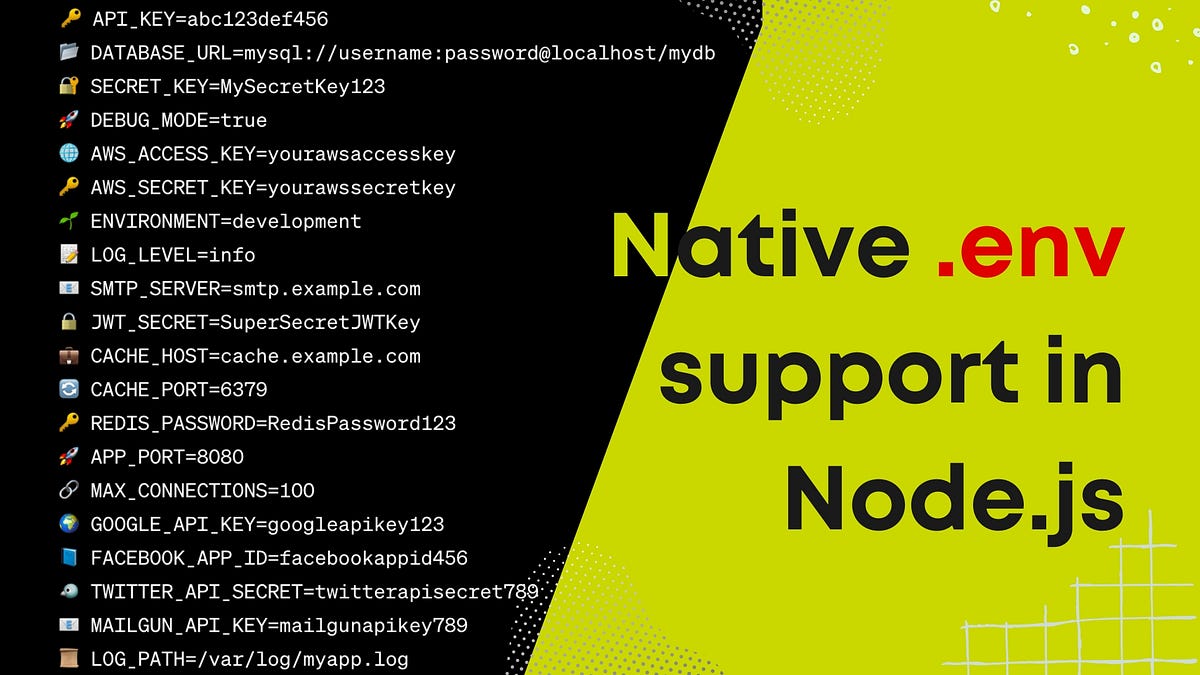
In short, a .env file is a simple text file where you store sensitive information as KEY=VALUE pairs. This file lives on your local machine and is never shared or uploaded to version control systems like Git.
Accessing Environment Variables in Node.js
Node.js makes these variables accessible in your code through a global object called process.env. If you have a variable named API_KEY in your environment, you can access its value in your JavaScript code with process.env.API_KEY.
The challenge is getting the variables from your .env file loaded into that process.env object. Let's explore two ways to do this in our my-first-node-project from the last lesson.
Method 1: The Modern Way (Native --env-file Flag)
Since you installed a recent version of Node.js (22+), you can use a modern, built-in feature to load .env files without any extra packages. This is done with a command-line flag: --env-file.
This video gives a quick and clear demonstration of this new feature.
You DON'T NEED Dotenv to Handle Environment Variables in Node.js Anymore!
James Q Quick's video, "You DON'T NEED Dotenv... Anymore!", demonstrates the new built-in capability in Node.js for handling environment variables.
Watch from 02:53 to 05:41. Pay close attention to how the node command is modified with the --env-file flag to make the variables available to the application.
Let's Try It
-
Navigate to your project folder in the terminal if you aren't already there:
cd path/to/my-first-node-project -
Create the
.envfile. You can do this in your code editor or from the terminal:touch .envInside this new
.envfile, add your first secret. Let's pretend this is your Anthropic API key.# .env ANTHROPIC_API_KEY="sk-ant-xxxxxxxxxxxxxxxxxxxxxxxxxx"(Use a fake value for now. You'll get your real key later.)
-
Create a test script. Create a new file named
index.jsand add the following code. This script will try to read the variable and print it.// index.js console.log('Attempting to read API key...'); const apiKey = process.env.ANTHROPIC_API_KEY; if (apiKey) { console.log('Success! API Key found:', apiKey); } else { console.log('Failed. API Key is undefined.'); } -
Run the script. First, run it the normal way:
node index.jsYou'll see
Failed. API Key is undefined.This is because Node.js doesn't automatically know about your.envfile. -
Now, run it with the flag:
node --env-file=.env index.jsSuccess! You should now see your fake API key printed to the console.
Method 2: The Classic Way (The dotenv Package)
While the --env-file flag is great, for many years the standard way to handle .env files was with a package called dotenv. You will see this package used in countless online tutorials and existing projects, so it's essential to know how it works.
This video provides a complete walkthrough of using the dotenv package.
Environment Variables and dotenv - Node.js Tutorial 12
Caleb Curry's tutorial on Environment Variables and dotenv is a classic guide to this topic. It covers installing the package, loading the configuration, and other important concepts.
Watch the following segments: 03:42 - 05:43: This shows how to create the .env file, install the dotenv package, and use require('dotenv').config() to load the variables. 07:20 - 08:32: This demonstrates using it for a more realistic secret, like a database connection string, which is very similar to an API key.
Let's Try It
-
Install the
dotenvpackage using npm:npm install dotenvThis will add
dotenvto yourpackage.jsonand download it intonode_modules. -
Modify your
index.jsfile. Add one line at the very top to import and configuredotenv.// index.js require('dotenv').config(); // This line loads variables from .env into process.env console.log('Attempting to read API key...'); const apiKey = process.env.ANTHROPIC_API_KEY; if (apiKey) { console.log('Success! API Key found:', apiKey); } else { console.log('Failed. API Key is undefined.'); } -
Run the script again, this time without the special flag:
node index.jsIt works! The
dotenvpackage handles loading the file for you. For our course, we will stick with this method as it's what you will see in the OpenClaw documentation and many other projects.
The Most Important Step: .gitignore
You now know how to load secrets. But how do you prevent them from being uploaded? You must explicitly tell Git to ignore your .env file.
The dotenv tutorial you just watched explains this perfectly.
Environment Variables and dotenv - Node.js Tutorial 12
Let's revisit Caleb Curry's video for the most crucial part of this lesson.
Watch from 08:32 to 09:33. This section explains how to add .env to your .gitignore file and introduces the concept of a .env.example file, which is a critical best practice.
To summarize this critical security practice:
-
Create or open a file named
.gitignorein the root of your project. -
Add
.envto it on a new line.# .gitignore # Dependencies node_modules # Environment variables .envYour
.gitignorefile might already havenode_modulesin it. Just add.envas well. Git will now completely ignore this file. -
Create a
.env.examplefile. This file is a template that you do commit to Git. It lists the variables the project needs, but with empty or placeholder values. This tells other developers (or your future self) how to set up their own local.envfile.# .env.example ANTHROPIC_API_KEY=""
Test your understanding!
Let's put it all together.
- Add a new variable to your
.envfile for your favorite DJ, for example:FAVORITE_DJ="Hernan Cattaneo". - Update your
index.jsto also read and print this new variable. - Update your
.env.examplefile to includeFAVORITE_DJ="". - Run
node index.jsto confirm that both variables are being loaded and printed correctly.
By doing this, you've practiced the full workflow: adding a new secret, making it available to your application, and documenting its existence for project collaborators.
Show answer
Your files should look something like this:
.env file:
ANTHROPIC_API_KEY="sk-ant-xxxxxxxxxxxxxxxxxxxxxxxxxx"
FAVORITE_DJ="Hernan Cattaneo"
.env.example file:
ANTHROPIC_API_KEY=""
FAVORITE_DJ=""
index.js file:
require('dotenv').config();

const apiKey = process.env.ANTHROPIC_API_KEY;
const favoriteDj = process.env.FAVORITE_DJ;

if (apiKey) {
  console.log('Success! API Key found:', apiKey);
} else {
  console.log('Failed. API Key is undefined.');
}

if (favoriteDj) {
  console.log('Your favorite DJ is:', favoriteDj);
}
Running node index.js should print both the fake API key and the DJ's name.
Conclusion
Excellent work. You've just learned one of the most important and foundational security practices in modern software development. This habit will protect you from costly mistakes and is a hallmark of a professional developer.
Here are your key takeaways:
- Never hardcode secrets like API keys directly in your code.
- Store secrets in a
.envfile using aKEY=VALUEformat. - Use the
dotenvpackage to load these variables intoprocess.envin your Node.js application. - Always add
.envto your.gitignorefile to prevent it from ever being committed to version control. - Use a
.env.examplefile as a template to show what variables are required for the project.
Now that we know how to securely manage our API keys, we're ready for the next step. In the next lesson, we will learn how to handle asynchronous operations using async/await and the fetch API. This is the mechanism we'll use to make network requests to the Claude API, putting our securely stored API key to good use.