Introduction
Hello and welcome to the final lesson in our first module on essential commands. In our last session, you learned how to use the powerful find command to locate files and directories based on various criteria like name, type, and modification time. This is a crucial skill, but it often leads to a follow-up question: once you've found what you're looking for, how much disk space is it actually using?
As a system administrator and web developer, managing disk space is a fundamental and recurring task. A full disk can bring your web application to a grinding halt. In this lesson, we will cover the tools you need to monitor and analyze disk space usage on your Fedora system.
Your goal for this lesson is to learn how to:
- Analyze disk space usage for filesystems and directories using
dfanddu.
We will explore two complementary commands: df (disk free) for a high-level overview of your filesystems, and du (disk usage) for a detailed breakdown of individual files and directories. Mastering these will give you the confidence to diagnose and resolve any disk space issues you encounter.
The Two Sides of Disk Analysis: df vs. du
Before we jump into the commands, it's important to understand their distinct roles.
df(disk free): This command operates at the filesystem level. Think of it as looking at the partitions on your hard drive. It tells you the total size of a partition, how much is used, how much is available, and where it's mounted. It gives you the big picture.du(disk usage): This command works at the file and directory level. It walks through a directory tree and calculates the space consumed by the files within it. This is how you find out which specific directories are eating up your disk space.
Let's start by getting a high-level overview with df.
df: Your Filesystem Dashboard
When you run df by itself, the output can be a bit cryptic because it reports sizes in 1-kilobyte blocks. We can make it much more useful with the -h (human-readable) option.
This video from the Learn Linux TV channel provides an excellent walkthrough. We'll start with the segment on df.
Linux Crash Course - The df and du Commands
Let's watch how the df command works and how the -h option makes its output immediately understandable.
Watch from the beginning (00:00) to 05:37. Pay close attention to the meaning of each column in the output: Filesystem, Size, Used, Avail, Use%, and Mounted on.
The key columns to watch are Use% and Mounted on. If you see a filesystem with high usage (e.g., >85%), the Mounted on column tells you which part of the directory tree is affected, such as the root (/) or your home directory (/home).

Tidying Up the df Output
Sometimes the df output includes virtual filesystems like tmpfs that you might not be interested in. You can use -T to see the filesystem type and -x to exclude certain types.
Linux Crash Course - The df and du Commands
Let's continue the video to see how to filter the output for a cleaner view.
Watch from 05:37 to 08:03. This part covers using -T to show the filesystem type and -x to exclude specific types like tmpfs.
Do It Yourself: Exploring with df
Time to try this on your own system. Open your terminal and run these commands:
-
Get a human-readable report:
df -hIdentify the main partition for your Fedora installation. It's usually mounted on
/. Note its size and current usage. -
See filesystem types:
df -ThWhat filesystem type is your root partition? It's likely
ext4orbtrfson a modern Fedora installation. -
Clean up the view:
df -h -x tmpfs -x devtmpfsThis command excludes the temporary in-memory filesystems, giving you a clearer picture of your actual disk storage.
Another important aspect to monitor is inode usage. An inode is a data structure that stores information about a file (everything except its name and content). A filesystem has a finite number of inodes. If you have a huge number of very small files, you could run out of inodes before you run out of disk space. You can check this with df -i.
du: Finding the Space Hogs
Once df tells you that a filesystem is getting full, your next step is to use du to find out what is taking up the space. Running du on a large directory can produce an overwhelming amount of output, so we almost always use it with options to summarize the information.
Let's return to the video to see how du can be tamed.
Linux Crash Course - The df and du Commands
This segment introduces du and the essential options for making its output manageable and useful.
Watch from 10:00 to 13:59. Focus on how --max-depth=1 is used to get a summary of the immediate subdirectories, which is one of the most common ways to use du.
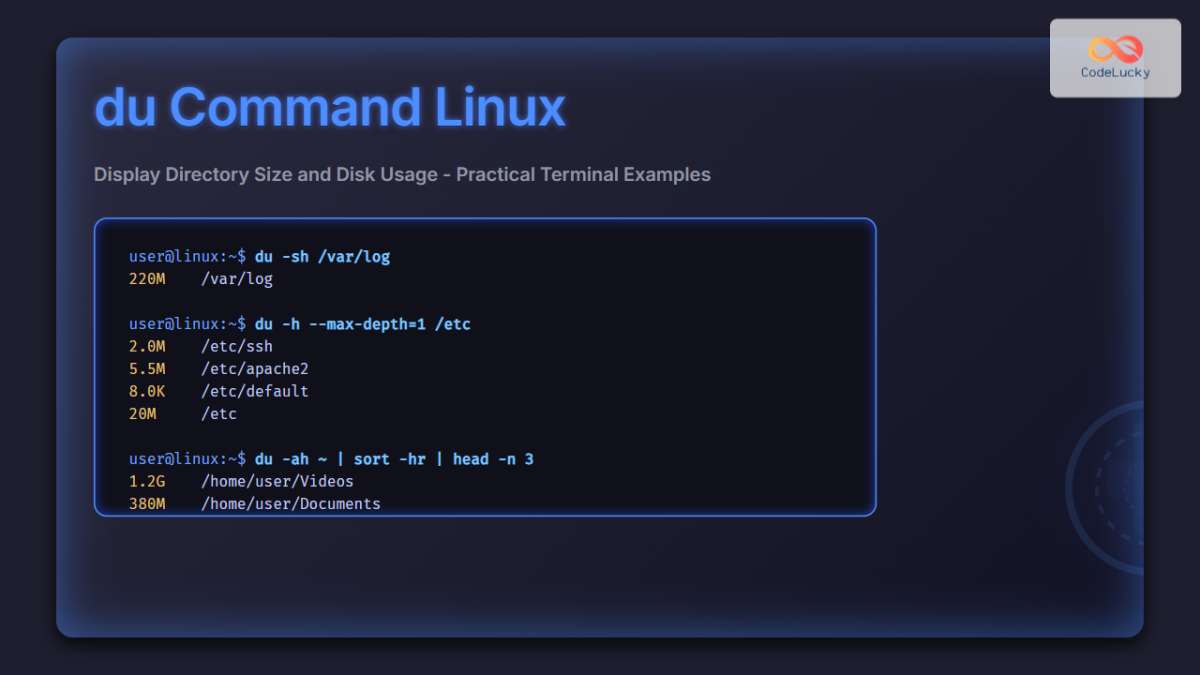
The most powerful and common combination of options for du is:du -h --max-depth=1 <directory>
-h: Human-readable format.--max-depth=1: Shows the usage for each subdirectory within<directory>, but doesn't go deeper.
A Practical Sysadmin Workflow
Let's put your skills to the test with a realistic scenario. Imagine you receive an alert that the root filesystem (/) on your server is nearly full. Your mission is to find the culprit.
Your Task:
Follow these steps in your terminal. Since we'll be inspecting system directories outside your home folder, we need to use sudo to get the necessary permissions. The 2>/dev/null part redirects any "Permission denied" errors so they don't clutter your output.
-
Confirm the problem: First, use
dfto check the overall disk usage.df -h / -
Start at the top: Run
duon the root directory (/) with a depth of 1 to see which of the main system directories are largest.sudo du -h --max-depth=1 / 2>/dev/null -
Identify and drill down: Look at the output. Often,
/var,/usr, or/homeare the largest. Let's assume you find that/varis consuming a lot of space. Now, run the same command on/var:sudo du -h --max-depth=1 /var 2>/dev/null -
Keep digging: You might find that
/var/logis the biggest directory inside/var. This is common on web servers where log files can grow very large. Investigate further:sudo du -h --max-depth=1 /var/log 2>/dev/nullAt this point, you might identify a specific log file, like
/var/log/nginx/access.log, that has grown to several gigabytes.
This step-by-step process of using du to "drill down" is the standard way system administrators hunt for disk space issues.
For a quick reference, the article below contains helpful tables summarizing the most common df and du commands.
How to Handle Disk Space Analysis with du and df
The article "How to Handle Disk Space Analysis with du and df" provides a fantastic quick reference. Focus on the command tables for a concise summary.
Scroll down to the section titled Quick Reference Commands. Review the two tables for df and du. These are great cheat sheets to remember the key options.
A More Interactive Approach: ncdu
While du and df are essential, there is a more user-friendly tool called ncdu (NCurses Disk Usage) that provides an interactive way to explore disk usage. It scans a directory and then presents you with a navigable list of files and folders, sorted by size.
Linux Crash Course - The df and du Commands
The final part of the video introduces ncdu, a very convenient tool for this kind of analysis.
Watch from 16:52 to 19:35 to see how ncdu works and why it's so helpful for quickly navigating through directories to find what's taking up space.
ncdu is not installed by default, but it's available in Fedora's repositories.
Do It Yourself: Install and Use ncdu
-
Install
ncdu:sudo dnf install ncdu -
Analyze your home directory:
ncdu ~Wait for it to scan. Once it's done, you can use the arrow keys to navigate up and down, and the
Enterkey to go into a directory. Useqto quit. It makes the "drilling down" process we did manually much faster!
Conclusion
Congratulations on completing the first module! You've built a solid foundation of essential command-line skills. In this lesson, you learned how to be a disk space detective, a critical skill for any system administrator or developer.
Key Takeaways:
dfis for filesystems: Usedf -hto get a high-level overview of disk usage on all your mounted partitions.duis for directories: Usedu -h --max-depth=1to find which specific subdirectories are consuming the most space.- The Workflow: Use
dfto identify a problem partition, then usedurepeatedly to drill down from the mount point to the source of the high usage. ncduis your interactive assistant: For a faster, more user-friendly analysis, install and usencdu.
This concludes our module on essential commands and filesystem navigation. You are now well-equipped to move around your Fedora system and perform basic administrative tasks.
In the next module, File Permissions and SELinux Fundamentals, we will dive into a critical aspect of system security. You'll learn how to control who can read, write, and execute files, and you'll get your first introduction to SELinux, the powerful security framework that is a hallmark of Fedora and other enterprise-grade Linux distributions. This is essential knowledge for securely deploying your web applications.