Hello! Welcome back to your Linux journey.
In the last lesson, we used top and htop to get a live view of your system's processes. You even practiced using their built-in "kill" functions (k in top and F9 in htop) to stop a runaway script. Those functions are convenient shortcuts for a more fundamental and powerful concept in Linux: sending signals.
This lesson dives into that core concept. Instead of relying on the UI of a monitoring tool, you will learn to communicate directly with processes from the command line. This gives you precise control to not only terminate applications but also to pause, resume, or even ask them to reload their configurations—a critical skill for managing web servers and applications.
By the end of this 60-minute lesson, you will be able to send signals to processes using the kill and killall commands to terminate or control them effectively.
1. Understanding Signals
In Linux, a signal is a notification sent to a running process to interrupt it and tell it to do something. Think of it as a specific message, like "Please shut down gracefully" or "Stop what you're doing, right now!". You've already used signals without realizing it: pressing Ctrl+C in the terminal sends the SIGINT (Signal Interrupt) signal to the foreground process.
The main command for sending signals is, perhaps unsurprisingly, kill. Despite its name, it can send any signal, not just ones that terminate a process.
Let's watch a short video to get a solid introduction to signals and the kill command.
Kill Signals! (Linux+ Objective 1.4.3)
The video "Kill Signals!" by Shawn Powers clearly explains what signals are and introduces the three most common ones you'll encounter as a system administrator: SIGTERM, SIGKILL, and SIGHUP.
Watch from 00:35 to 05:55. Focus on understanding the purpose of signals and the distinct roles of the three main signals discussed: the polite SIGTERM, the forceful SIGKILL, and the configuration-reloading SIGHUP.
As the video explained, you can send a signal using either its name or its number. Here are the most important signals to know:
| Signal Name | Number | Example Command | Description |
|---|---|---|---|
SIGTERM |
15 | kill <PID> |
Terminate: Asks the process to shut down gracefully, allowing it to save data and clean up. This is the default signal sent by kill. |
SIGKILL |
9 | kill -9 <PID> |
Kill: An unblockable signal that forces the kernel to terminate the process immediately. Use this when a process is unresponsive. |
SIGHUP |
1 | kill -1 <PID> |
Hang Up: Traditionally used when a terminal connection was lost. Today, it's widely used to tell services (like web servers) to reload their configuration files without restarting. |
SIGSTOP |
19 | kill -19 <PID> |
Stop: Pauses a process's execution. The process remains in memory but is not scheduled to run by the kernel. |
SIGCONT |
18 | kill -18 <PID> |
Continue: Resumes a process that has been paused by SIGSTOP. |
You can see a full list of signals available on your system by running kill -l.
2. Do-It-Yourself: Controlling a Process with kill
Time to put theory into practice. We'll use the simple sleep command to create a long-running process that we can safely control.
Step 1: Start a Background Process
Open your terminal and run the following command. The & symbol runs the process in the background, so you get your terminal prompt back immediately.
sleep 1000 &
The terminal will print the job number and the Process ID (PID). It will look something like [1] 12345. Your PID will be different.
Step 2: Find the PID
If you didn't note the PID, you can always find it again using ps:
ps aux | grep sleep
Find the line for sleep 1000 (not the grep sleep line) and note its PID from the second column.
Step 3: Graceful Termination (SIGTERM)
Send the default SIGTERM signal. Replace <PID> with your actual process ID.
kill <PID>
After you press Enter, the shell will likely print a message like [1]+ Terminated sleep 1000. This confirms the process received the signal and shut down.
Step 4: Forceful Termination (SIGKILL)
Let's see the difference with SIGKILL. Start a new sleep process:
sleep 1000 &
Find its new PID, then send the SIGKILL signal using its number, -9:
kill -9 <PID>
This time, the message will be different: [1]+ Killed sleep 1000. "Killed" implies the forceful termination of SIGKILL, while "Terminated" implies the more graceful SIGTERM.
Step 5: Pausing and Resuming (SIGSTOP & SIGCONT)
This is useful if you want to temporarily halt a process without losing its state.
- Start another
sleepprocess:sleep 1000 & - Find its PID.
- Pause the process by sending
SIGSTOP:kill -SIGSTOP <PID> # You can also use the number: kill -19 <PID> - Check its status with
ps aux | grep sleep. You'll see aTin theSTATcolumn, indicating the process is Traced or stopped. - Now, resume the process with
SIGCONT:kill -SIGCONT <PID> # You can also use the number: kill -18 <PID> - Check its status again. The
Twill be gone, replaced byS(sleeping), meaning it's running again. - Finally, clean up by terminating the process:
kill <PID>.
This exercise is very similar to "Activity 3" in the provided PDF from Seneca Polytechnic, which you can use as a written reference for these steps.
[PDF] OPS102 – Week 5 – Process Management
For a detailed written guide on these signals and the kill command, you can refer to the following document.
Review the section "Activity 3: Sending signals to processes". It provides clear definitions for the common signals and outlines a similar hands-on exercise using sleep.
3. Killing by Name: killall
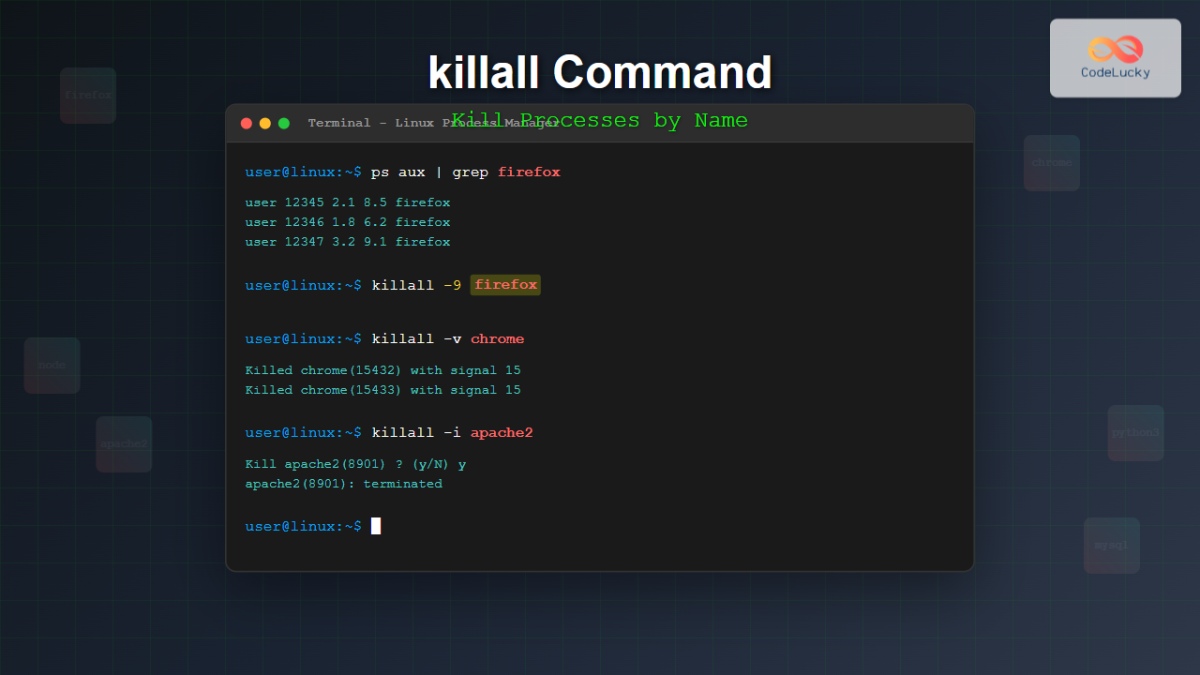
Looking up PIDs can be tedious, especially if a single program has spawned multiple processes. The killall command solves this by letting you send a signal to all processes that match a specific name.
Killing Processes and Signals - Linux Tutorial 27
The video "Killing Processes and Signals" by Caleb Curry provides a quick and clear demonstration of how killall works.
Watch from 06:57 to 08:24. Notice how killall can terminate multiple gnome-calculator processes at once without needing to know any of their PIDs.
Let's try it yourself.
- Open three separate
sleepprocesses in the background:sleep 600 & sleep 601 & sleep 602 & - Verify they are running with
ps aux | grep sleep. You should see threesleepprocesses. - Now, use
killallto terminate them all with a single command:killall sleep - Verify again with
ps. They should all be gone.
The killall command is very useful, but it requires you to know the exact process name. If you get it wrong (e.g., killall firefox-bin when the process is just firefox), it won't work.
A Visual Summary
This flowchart provides a great visual recap of how processes move between states (like running, stopped, and killed) using the signals and commands we've discussed today.

Conclusion
You have now gained fundamental control over processes running on your Fedora system. This is a massive step up from simply observing them. Whether you're stopping a frozen application, pausing a resource-intensive task, or gracefully telling your future web server to reload its configuration, signals are the way to do it.
Key Takeaways:
- Signals are the primary way to communicate with and control Linux processes.
- The
killcommand sends a specified signal to a process identified by its PID. SIGTERM(15) is the default, "polite" request to terminate.SIGKILL(9) is the forceful, "impolite" command that cannot be ignored.SIGSTOP(19) andSIGCONT(18) allow you to pause and resume processes.- The
killallcommand is a convenient way to send a signal to all processes that share an exact name.
In this lesson, we focused on manually managing individual, short-lived processes. However, a real server for your Django projects will run long-running applications like web servers and databases. These are managed as services. In our next lesson, we will explore systemd, Fedora's powerful system and service manager, to learn how to start, stop, and enable these critical services to run automatically.