Hello! Welcome to your first lesson in the AI Automation course. I'm excited to get started with you on this journey.
This course is designed to be highly practical, giving you the skills to build your own automation tools. Today, we'll start with the most important first step: setting up your development environment. This is like preparing your workshop before starting a project. By the end of this lesson, you will have installed Python and Visual Studio Code, the two main tools we'll use throughout the course.
Your background in multimedia development and your familiarity with tools like Photoshop gives you a great foundation. Think of Visual Studio Code as your new creative canvas, but instead of designing images, you'll be designing automated workflows with code.
What are Python and Visual Studio Code?
Before we install anything, let's briefly clarify what these tools are:
- Python: This is a powerful and popular programming language. It's known for having a simple, readable syntax, which makes it an excellent choice for beginners. Because you have some experience with C, you'll likely find Python's structure familiar but more concise. It's widely used in AI and automation, making it the perfect language for your goals.
- Visual Studio Code (VS Code): This is our code editor. It's a free, modern application where you will write, test, and manage all your Python code. It's highly customizable with extensions, which are like plugins that add new features.
Setting Up Your Environment
To make this process as clear as possible, we will follow a detailed video guide. The video will walk you through each step, from downloading the software to making sure it's correctly configured. I'll break down the process here and tell you which parts of the video to focus on.
The main resource for this lesson is a comprehensive video tutorial. Please follow the steps shown in the video. I will provide guidance and extra context along the way.
Python Tutorial for Beginners with VS Code 🐍
This video from Dave Gray provides a clear, step-by-step guide for installing Python and setting up Visual Studio Code. We will use it to guide our setup process.
You will watch several segments of this video, from 01:15 to 07:04. Follow the instructions in the video to complete the installation on your own computer.
Step 1: Install Python
Python is the engine that will run our automation scripts. Let's get it installed.
First, watch the section of the video that explains how to download and install Python from the official website, python.org.
- Watch: "Python Tutorial for Beginners with VS Code" from 01:15 to 02:21.
The video will guide you to the downloads page. Here are a couple of important points:
- It's best to download the latest stable version of Python.
- During installation on Windows, make sure to check the box that says "Add Python to PATH". This is a crucial step that allows you to run Python from any folder on your computer.
If you prefer written instructions or are using Windows and want an even simpler method, Microsoft recommends installing Python from the Microsoft Store. This method automatically handles the "PATH" setup for you.
Get started using Python on Windows for beginners - Microsoft Learn
For an alternative, simplified installation method on Windows, you can refer to this guide from Microsoft Learn.
Read the section titled 'Install Python', which is under the main heading 'Manually set up your Python development environment'. It explains how to install Python using the Microsoft Store.
Step 2: Install Visual Studio Code (VS Code)
Now that you have Python, you need a place to write your code. VS Code is our choice for this.
- Watch: "Python Tutorial for Beginners with VS Code" from 02:21 to 02:59.
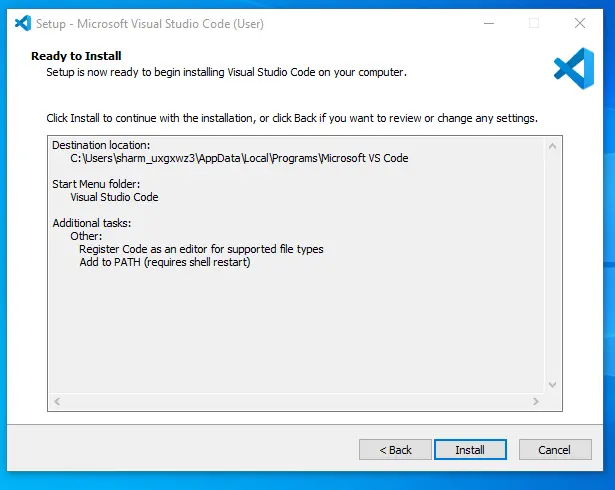
This part of the video shows you where to download VS Code. The installation is straightforward. During the process, you'll see a screen like this one, asking you to confirm the settings. It's fine to accept the default options.
Step 3: Configure VS Code for Python
Just installing VS Code isn't enough. We need to teach it how to work with Python. This involves installing a special "extension" and telling VS Code where to find the Python interpreter you installed in Step 1.
A. Install the Python Extension
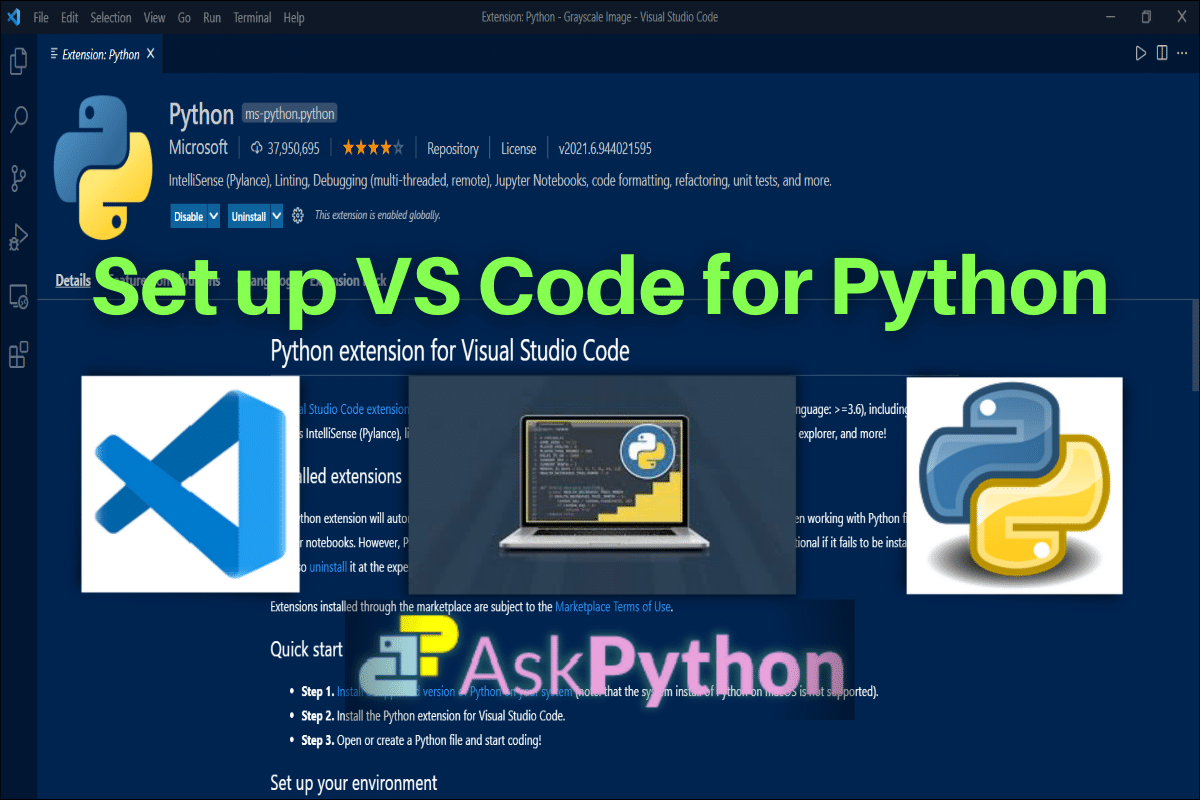
The Python extension adds features like code completion, error checking, and debugging to VS Code.
- Watch: "Python Tutorial for Beginners with VS Code" from 02:59 to 03:50.
This segment shows you how to find the Extensions view in VS Code, search for the official Python extension from Microsoft, and install it.
B. Create a Project Folder
It's a good practice to keep all the code for a project in a dedicated folder. Let's create one for this course.
- On your computer (e.g., on your Desktop or in your Documents), create a new folder. You can name it
AI-Automation-Projects. - In VS Code, go to File > Open Folder... and select the
AI-Automation-Projectsfolder you just created.
VS Code will now use this folder as your "workspace." All the files and sub-folders you create for our projects will be organized here.
C. Select the Python Interpreter and Verify Installation
The final step is to tell VS Code which version of Python to use (the one you installed earlier) and confirm that everything is working.
- Watch: "Python Tutorial for Beginners with VS Code" from 03:50 to 07:04.
This final video segment will show you how to:
- Open the Command Palette (Ctrl+Shift+P) to select the Python interpreter.
- Open the Integrated Terminal inside VS Code.
- Type a command to verify your Python version (
py --versionon Windows orpython3 --versionon macOS/Linux).
If the terminal displays the Python version number, you have successfully set up your environment!
Test your understanding!
Match each tool with its primary purpose in our development setup.
| Tool | Purpose |
|---|---|
| 1. Python | A. The editor where we write and manage our code. |
| 2. Visual Studio Code | B. The program that understands and runs Python code. |
| 3. Python Extension | C. A plugin that adds Python-specific features to VS Code. |
Show answer
-
- Python -> B. The program that understands and runs Python code.
-
- Visual Studio Code -> A. The editor where we write and manage our code.
-
- Python Extension -> C. A plugin that adds Python-specific features to VS Code.
Conclusion
Great work! Taking the time to set up your tools correctly is a fundamental skill for any developer. It ensures a smooth and efficient workflow as we move on to more complex topics.
Key Takeaways:
- Python is the programming language we will use.
- Visual Studio Code is our code editor, or Integrated Development Environment (IDE).
- The Python Extension connects VS Code to our Python installation, unlocking powerful coding features.
- Verifying the installation through the terminal confirms that our setup is ready for coding.
Next Lesson:
Now that your workshop is set up, it's time to create something! In the next lesson, you will write and run your first basic Python script right from the VS Code terminal.