Hello! In our last lesson, you learned how to navigate the BIOS/UEFI to configure a computer's hardware settings. That's what you do when the system successfully starts up. But what happens when it doesn't? What if you press the power button and are met with a black screen, spinning fans, and nothing else?
This lesson addresses exactly that scenario. We'll cover the learning outcome: Apply a systematic troubleshooting methodology to diagnose boot failures using POST codes and LED indicators. You will learn how to read the earliest signs of trouble a computer gives you and use them to logically pinpoint the cause of a problem. This is a fundamental skill for any hardware technician and directly supports your goal of diagnosing and repairing computer and server hardware.
Let's begin.
1. The Art of Troubleshooting: A Systematic Approach
When a system fails to boot, it can be tempting to start randomly swapping parts. This is slow, inefficient, and can even cause more damage. A professional technician works like a detective, following a logical process to narrow down the list of suspects until the culprit is found.
The following resource outlines a standard, six-step methodology that forms the foundation of effective hardware troubleshooting.
Troubleshooting Process (4.2) > Preventive Maintenance and ...
The article 'Troubleshooting Process' from Cisco Press provides a clear, six-step framework that is an industry standard. Understanding this process is key to thinking like a technician.
Please read the section titled 'Troubleshooting Process Steps (4.2.1.2)'. It's a short section that lists the six steps. Focus on memorizing the sequence.
As you just read, the six steps are:
- Identify the problem: Gather information. What is (or isn't) happening? What are the symptoms?
- Establish a theory of probable cause: Based on the symptoms, what are the most likely causes? Start with the simplest and most obvious possibilities.
- Test the theory: Perform a specific action to see if your theory is correct.
- Establish a plan of action and implement it: Once the cause is confirmed, plan and execute the repair.
- Verify full system functionality: Ensure the fix worked and didn't introduce new problems.
- Document findings, actions, and outcomes: Create a record for future reference.
We will apply this six-step process to a real-world boot failure scenario.
2. The First Signs of Life (or Trouble): The POST
When you power on a computer, before you see a logo or any text on the screen, the BIOS/UEFI performs a Power-On Self-Test (POST). As your ECE background suggests, this is like a built-in diagnostic routine that checks the health and presence of critical hardware components.
The POST checks components in a specific order, typically:
- CPU
- DRAM (RAM)
- VGA (Graphics Card)
- BOOT (Storage Devices)
If the POST fails at any stage, the system will halt. Because this often happens before the video card is even initialized, the system communicates the error through other means.
3. Decoding the Motherboard's Signals
When a system fails to boot, the motherboard provides clues to help you identify the problem. This is Step 1 of our troubleshooting process: Identify the problem by observing these clues.
There are three main ways a motherboard reports POST errors:
- Beep Codes: A series of short and long beeps from the internal case speaker. The pattern corresponds to a specific error. You must consult the motherboard or BIOS manufacturer's manual to translate the code.
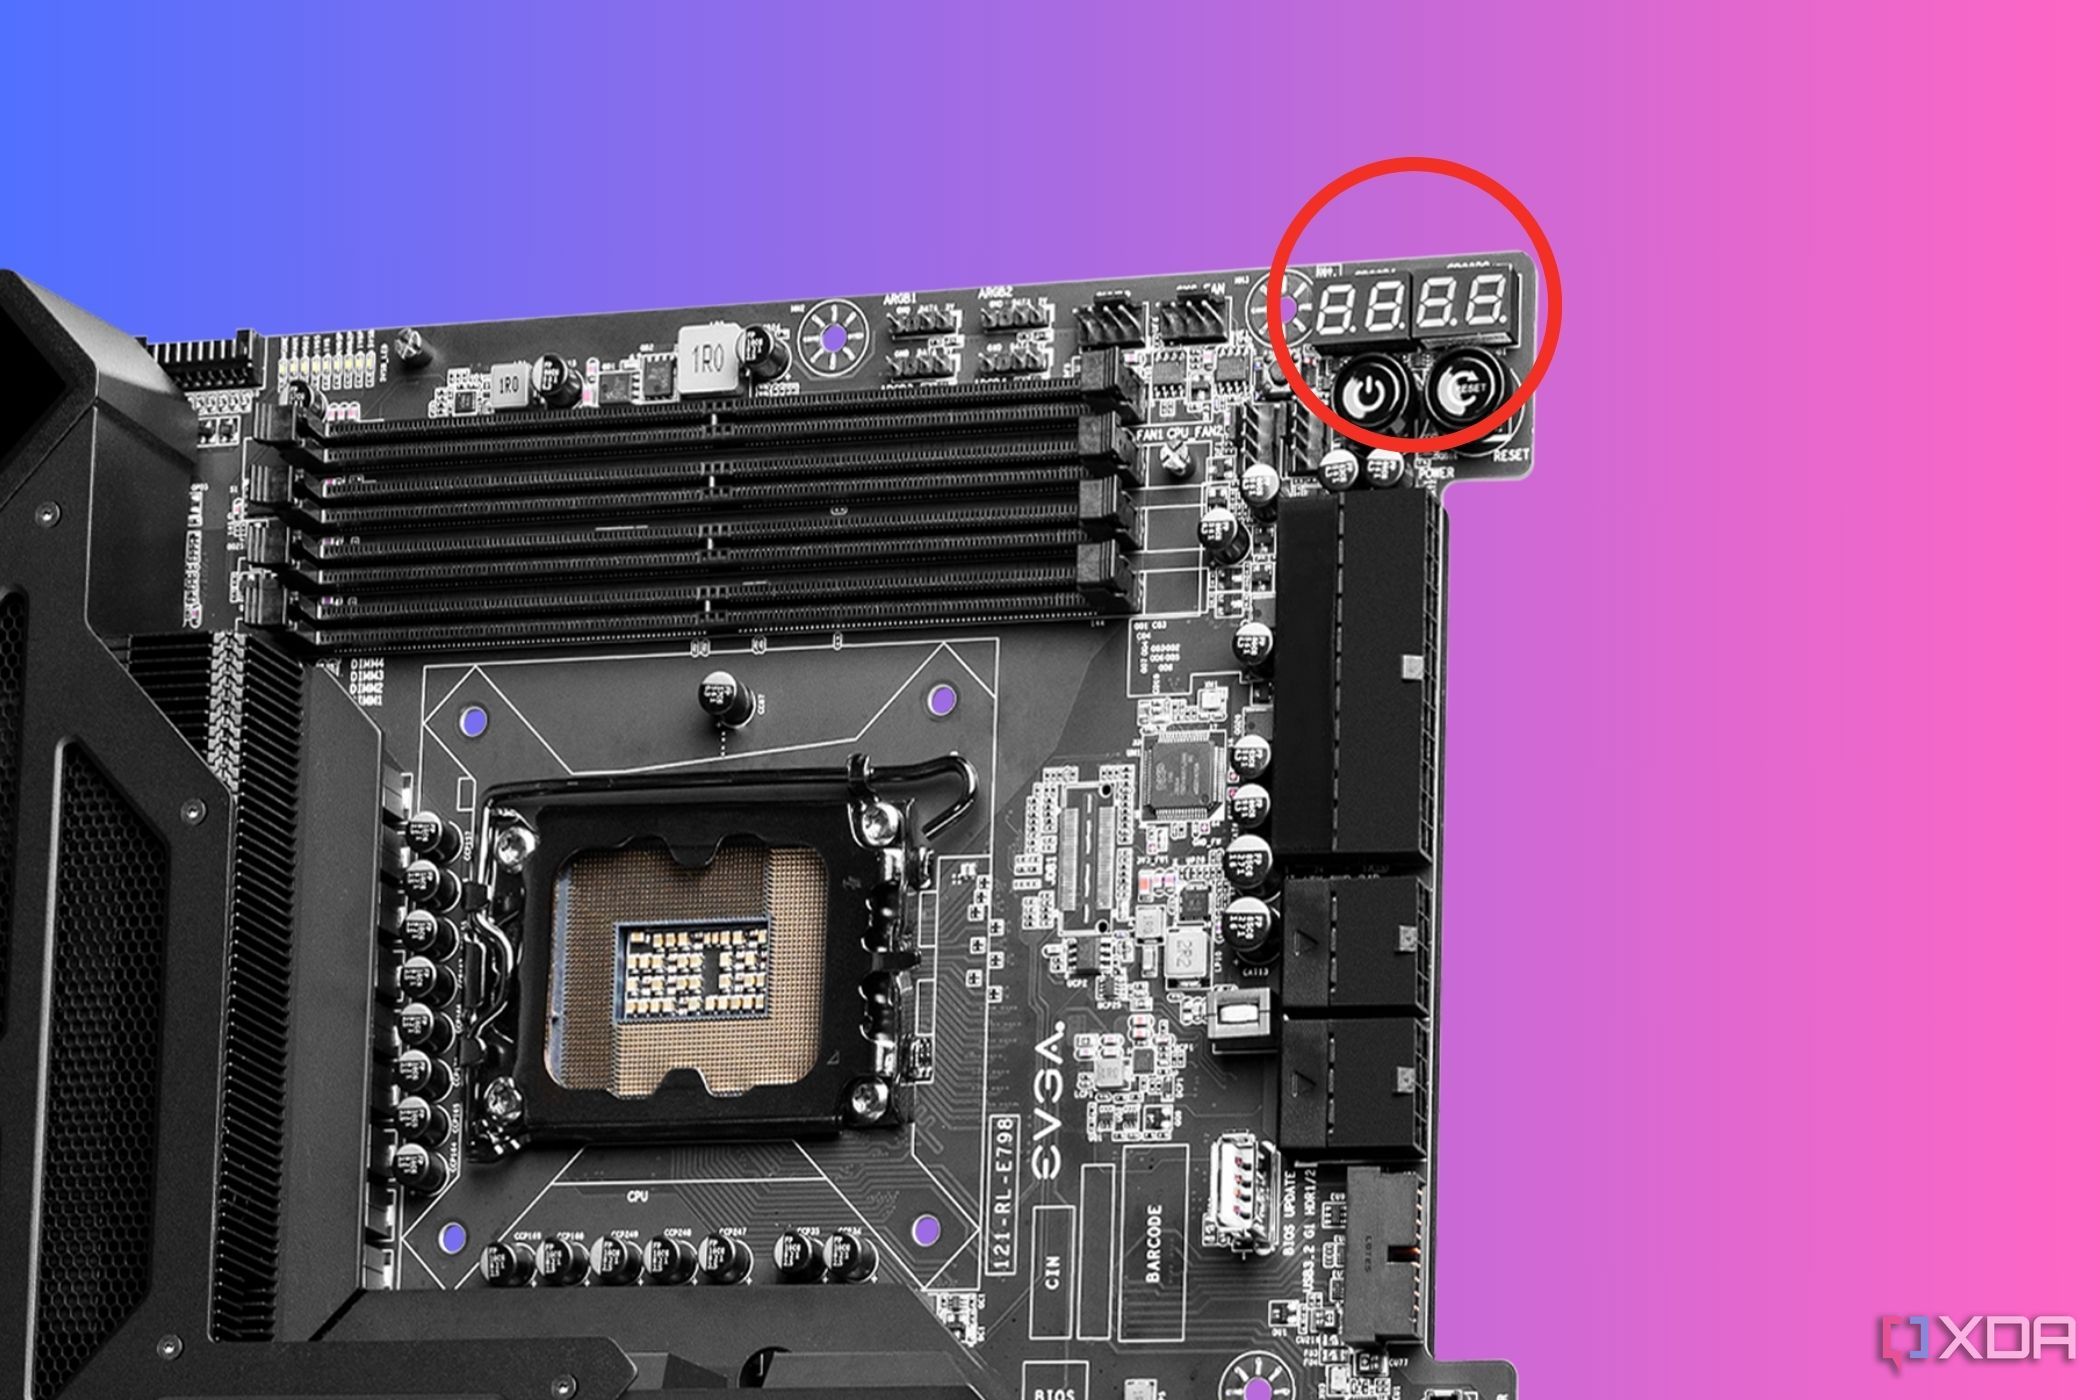
- POST Code Displays: Higher-end motherboards have a two-digit hexadecimal display that shows a sequence of codes as the POST progresses. If it hangs on a specific code (e.g.,
53), you can look that code up in the manual to identify the failure (e.g., "Memory initialization error").
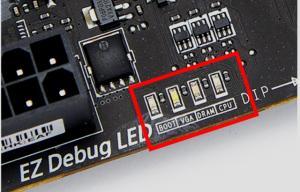
- Debug LEDs: This is the most common and user-friendly method on modern motherboards. A set of four small LEDs (labeled CPU, DRAM, VGA, BOOT) light up in sequence. If a component fails its test, its corresponding LED will remain lit, instantly telling you where the problem lies.
For a practical walkthrough of what each of these lights means and the immediate troubleshooting steps they suggest, the following video is an excellent guide.
The video 'Debug LED always on FIX' by Mac Coyzkie is a concise, practical guide to interpreting the four main debug LEDs. This directly relates to your goal of practical troubleshooting.
Watch the entire video (it's about 5 minutes long). For each LED (DRAM, VGA, BOOT, CPU), pay close attention to the recommended first steps, such as reseating components or checking cables. This is the 'question the obvious' part of establishing a theory.
4. Case Study: Diagnosing a Boot Failure
Now let's apply the six-step methodology and your knowledge of debug LEDs to a real-world scenario. We will observe an expert technician diagnosing a motherboard that fails to boot. This demonstrates how the theoretical process translates into practical action.
The video below is of a complex repair, but we will focus only on the diagnostic process.
This simple problem renders your motherboard useless! || Asus ROG Strix B550-F gaming repair fix
In this clip from Mainboard Medic, the technician has a motherboard that powers on but doesn't boot. We will watch him work through our troubleshooting steps.
Watch from 07:30 to 08:20. Observe what the technician does and what he sees.
-
Step 1: Identify the problem. The technician powered on the board, and the fans spun up. He observed the debug LEDs and saw that the DRAM LED remained lit. The system is halting at the memory test phase.
-
Step 2: Establish a theory of probable cause. The most obvious theory is a problem with the RAM. However, the technician had already installed known-good RAM. A more complex theory is needed. Based on his experience, he suspects the BIOS might be in a "stuck" or corrupted state, preventing it from completing the memory training.
-
Step 3 & 4: Test the theory and implement a plan. His plan is to perform a full BIOS reset. In the following clip, watch him clear the CMOS and observe the results.
This simple problem renders your motherboard useless! || Asus ROG Strix B550-F gaming repair fix
Here, the technician will test his 'stuck BIOS' theory by resetting it. Watch the debug LEDs closely after he powers the system back on.
Watch from 17:40 to 18:35. Notice the sequence of the debug LEDs now. Do they still get stuck on DRAM?
As you saw, after resetting the BIOS, the debug LEDs began to cycle: DRAM -> CPU -> VGA. The system successfully passed the RAM and CPU tests and was now initializing the graphics card. The theory was correct: the BIOS was stuck.
- Step 5 & 6: Verify and Document. The technician continued to work through the boot process until he got a display on the screen, verifying the fix. At the end of the video, he summarizes his entire process.
This simple problem renders your motherboard useless! || Asus ROG Strix B550-F gaming repair fix
This final clip is the technician's summary, which is equivalent to the 'Documentation' step. It recaps the problem, the misleading symptoms, and the ultimate solution.
Watch from 27:39 to 29:05. This is an excellent example of how a technician would explain the root cause of an issue after diagnosing it.
This case study shows that even when the initial symptom points one way (DRAM LED -> bad RAM), a systematic process allows you to test theories, rule them out, and move on to the next logical possibility (stuck BIOS) to find the true root cause.
5. Your Turn: A Troubleshooting Scenario
Now, let's put you in the technician's seat.
Scenario: You finish assembling a new PC. You press the power button. The case fans and CPU fan spin up, and the power LED on the case is on. However, there is no video on the monitor, and you hear a repeating pattern of one long beep followed by two short beeps.
You consult the motherboard manual, which states this beep code means: "Video card error (No card detected or bad card)".
Your Task: Using the six-step troubleshooting methodology, what is your theory, and what are the first three tests you would perform, from simplest to most complex?
Click to reveal a sample thought process.
-
Step 1: Identify the Problem. The problem is already identified: no video output and a beep code indicating a video card error.
-
Step 2: Establish a Theory of Probable Cause. The theory is that there's an issue with the graphics card's installation, power, or the card itself.
-
Step 3: Test the Theory (in order of simplicity).
- Test 1 (Easiest): Check external connections. Is the monitor cable securely plugged into the graphics card (not the motherboard's video port) and the monitor itself? Is the monitor turned on and set to the correct input? This rules out the most basic external errors.
- Test 2 (Slightly more involved): Check internal connections. Power off and unplug the PC. Open the case and check if the graphics card is fully seated in its PCIe slot. Check that any required PCIe power connectors from the PSU are firmly plugged into the graphics card.
- Test 3 (Requires swapping parts): Test with a known-good component. If the connections are all correct, the next step is to determine if the card itself is faulty. The simplest way is to swap in a different, known-working graphics card. If the system boots with the new card, the original card is likely dead. If it still fails with the known-good card, the problem may lie with the motherboard's PCIe slot.
Conclusion
Congratulations! You've just learned the fundamental logic behind hardware failure diagnosis. Instead of guessing, you now have a framework for methodically solving problems, a skill that is invaluable in a data center environment where downtime is critical.
Key Takeaways:
- Troubleshooting is a systematic 6-step process: Identify, Theorize, Test, Plan, Verify, and Document.
- The Power-On Self-Test (POST) is the computer's initial hardware check. Failures at this stage are almost always hardware-related.
- Beep codes, POST code displays, and debug LEDs are the motherboard's way of telling you where the POST failed.
- The four debug LEDs (CPU, DRAM, VGA, BOOT) provide a quick, sequential diagnostic that points you directly to the faulty component area.
In our next lesson, we will dive deeper into one of the most common boot failure causes you encountered today: memory issues. You will learn how to use a bootable utility (memtest86) to perform a comprehensive RAM health check, moving from simply identifying a RAM error to definitively proving a memory module is faulty.