Hello! Welcome to the final lesson in our PC Hardware module.
In our last session, you mastered the hands-on skills of replacing key components like RAM and a CPU cooler. We ended with a successfully repaired and verified system. But what happens when a new component, like a brand-new CPU, is installed and the system refuses to boot, even though the component is physically compatible? This is where our next topic becomes critical.
This lesson addresses the learning outcome: Update motherboard firmware (BIOS/UEFI) to the latest version to resolve compatibility or stability issues. We will cover the entire process, from understanding why an update is needed to performing the update safely and verifying the result. This is a core competency for any hardware technician, as it's often the key to solving complex compatibility puzzles.
1. BIOS/UEFI Updates: The "Why" and "When"
Before we jump into the "how," it's crucial to understand what the BIOS/UEFI is and why you'd ever need to change it. The BIOS (Basic Input/Output System) or its modern successor, UEFI (Unified Extensible Firmware Interface), is the very first software that runs when you power on your computer. It initializes your hardware—the CPU, RAM, storage drives—and then hands off control to the operating system.
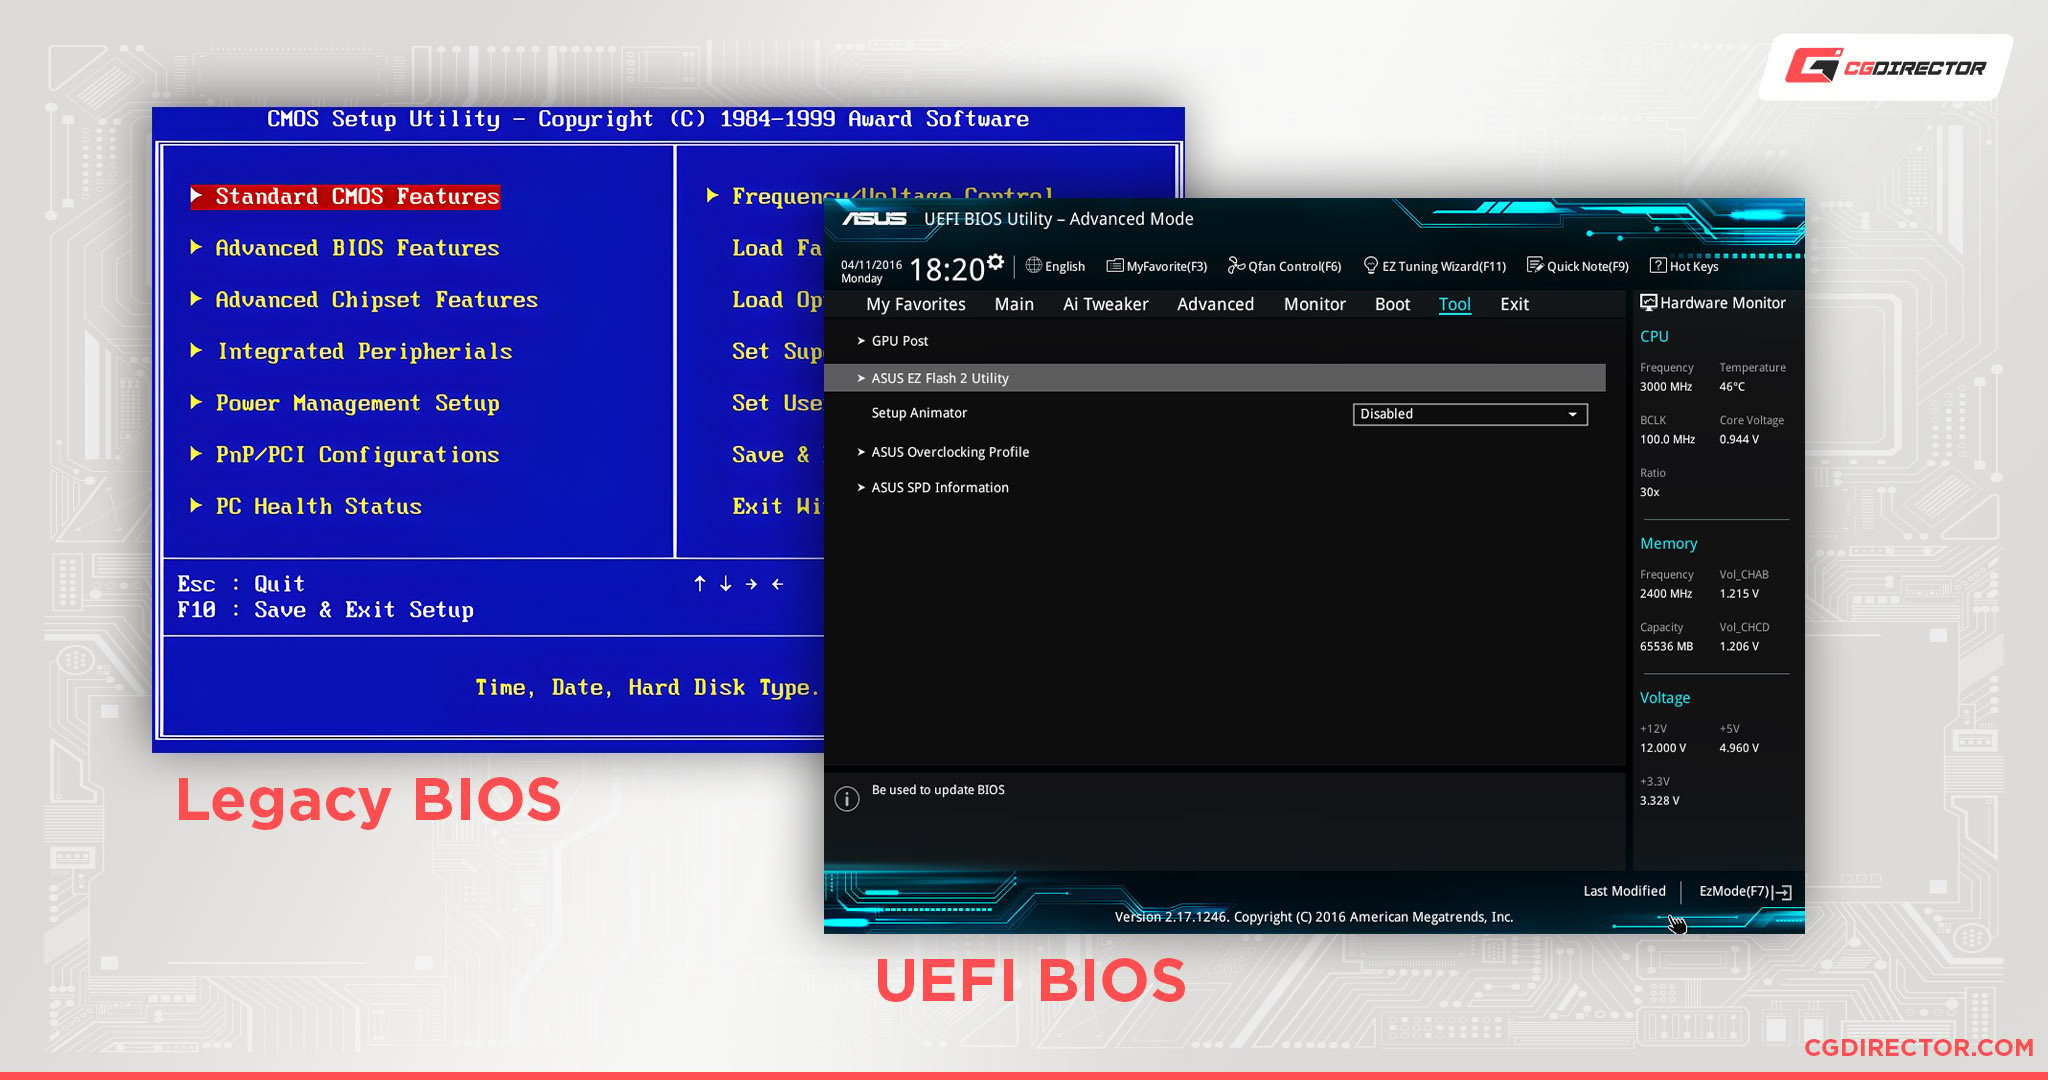
So, why would you need to update this fundamental firmware?
Do You REALLY Need To Update Your BIOS?
This video from Techquickie provides an excellent overview of the key reasons for updating your BIOS, which directly relate to the troubleshooting and hardware support goals you have.
Watch the following segments to understand the benefits and common scenarios for a BIOS update: 00:00 - 01:16: What is BIOS and why do manufacturers release updates? 01:16 - 02:59: How updates enable support for new CPUs and improve RAM stability (XMP/DOCP). 03:34 - 04:47: How updates can add new features (like Resizable BAR) and patch critical security vulnerabilities. 05:51 - 06:34: A summary of when an update is recommended.
As the video explains, a BIOS update isn't something you do just for the sake of it. The golden rule is: if your system is stable and working as expected, you probably don't need to update. However, you should update if:
- You're installing a new CPU that was released after your motherboard was manufactured.
- You're experiencing unexplained system instability, crashes, or freezing that isn't tied to a specific component you've already tested.
- You need support for a new hardware feature (like Resizable BAR for a graphics card).
- A critical security vulnerability (like Spectre or Meltdown) has been discovered, and the patch is delivered via a firmware update.
- You're having trouble with RAM compatibility, especially when trying to enable high-speed XMP profiles.
Now, let's get to the practical part—your "katana."
2. The Practical Workflow: Safely Updating Your Firmware
Updating the BIOS/UEFI is a high-stakes operation. A mistake or power loss during the process can "brick" the motherboard, rendering it unusable. Therefore, we will follow a strict, professional procedure.
Step 1: Preparation and Safety (The Most Important Step)
Proper preparation accounts for 90% of a successful update.
- Identify Your Motherboard and Current BIOS Version: You must find the exact model of your motherboard. Even a slight variation (e.g., "Wi-Fi" vs. non-Wi-Fi) requires a different file.
- Download the Correct Firmware: Go to your motherboard manufacturer's support website, find your specific model, and look at the BIOS/Firmware downloads. Read the release notes for each version to see what it fixes or adds.
- Prepare a USB Drive: Use a simple, preferably smaller (e.g., 8-32GB) USB 2.0 stick formatted as FAT32. This file system has the broadest compatibility with BIOS flash utilities. Extract the downloaded ZIP file and copy the firmware file (it may have an extension like
.CAP,.ROM, or be named something likeE7C91AMS.H80) to the root of the USB drive. - Ensure Stable Power: For a desktop, connect it to an Uninterruptible Power Supply (UPS). For a laptop, ensure it is fully charged and plugged into the wall. This is non-negotiable.
The following video demonstrates this entire preparatory phase clearly.
How to Update a Motherboard BIOS / UEFI | CPU Upgrade, More Stability, performance and Compatibility
This guide from Limitless-Hardware demonstrates the end-to-end process. We will focus on the preparation and execution steps.
Watch the segment from 01:38 to 06:03. Pay close attention to: Identifying the board and BIOS version using a tool like CPU-Z. Navigating the manufacturer's website to find and download the correct file, including warnings about beta versions. Preparing the USB stick and understanding why a USB 2.0 port is recommended.
For a comprehensive written checklist that you can refer to in the field, the following article is an excellent resource.
How to Update Your BIOS (UEFI)
This article from Tech Guided provides a detailed, step-by-step guide. It serves as a great reference to solidify the process shown in the video.
Read sections 2, 3, and 4: 'Before You Update: The Safety Checklist': Reinforces the crucial prep steps. 'How to Check Your Current BIOS Version': Shows another method using Windows System Information (msinfo32). 'The Best Method: Update from Inside BIOS/UEFI': Summarizes the USB flash method we are focusing on.
Step 2: Flashing the Firmware
With all preparations complete, you're ready to perform the update.
- Reboot and Enter BIOS/UEFI: As the computer starts, press the required key (usually
Del,F2, orEsc). - Load Optimized Defaults (Optional but Recommended): Before flashing, it's good practice to reset the BIOS to its default settings. This minimizes the chance of old configurations conflicting with the new firmware.
- Launch the Flash Utility: Find the built-in flash tool. It has a different name depending on the brand (e.g., ASUS EZ Flash, MSI M-Flash, Gigabyte Q-Flash). It's usually found under a "Tool" or "Advanced" menu.
- Select and Execute the Update: Navigate to your USB drive within the utility, select the firmware file you prepared, and confirm that you want to proceed.
- WAIT! The system will now begin the update. DO NOT turn off or restart the computer for any reason. The screen may go blank or appear frozen, and fans might spin up. This is normal. The process typically takes 2-5 minutes.
- Automatic Reboot: The system will restart automatically when the process is complete.
This video segment walks you through this exact process inside a typical UEFI.
How to Update a Motherboard BIOS / UEFI | CPU Upgrade, More Stability, performance and Compatibility
Let's continue with the Limitless-Hardware video to see the flashing process in action.
Watch from 06:03 to 08:53. This part covers: Entering the BIOS and resetting settings. Locating and launching the ASUS EZ Flash utility. Selecting the file and starting the update, along with the critical warning not to interrupt the process.

Step 3: Post-Update Verification and Troubleshooting
The job isn't done when the PC reboots. You must verify the update and reconfigure settings.
- Enter BIOS/UEFI Again: On the first boot, go back into the BIOS.
- Verify the Version: Check the main screen to confirm that the new BIOS version number is displayed.
- Re-apply Essential Settings: The update will have reset everything to default. You must now go back and re-enable key settings, such as:
- XMP or DOCP to get your RAM's advertised speed.
- The correct boot order to start from your OS drive.
- Virtualization Technology (VT-x/AMD-V) if you use virtual machines.
- Save and Exit: Save your changes and reboot into your operating system.
- Confirm Stability: Use the computer normally and perhaps run a quick stress test to ensure everything is stable.
What if it goes wrong? In a support role, you need to know the first steps for recovery.
How to Update BIOS: A Practical Guide for IT Professionals
Knowing how to recover from a failed flash is an advanced but vital skill. This article from Syncromsp provides a concise troubleshooting guide.
Read the section 'Troubleshooting common BIOS update issues'. Focus on the solutions for 'System won’t boot after the update,' which include clearing the CMOS and understanding BIOS recovery modes.
Some motherboards also have features like Dual BIOS (a backup chip) or BIOS Flashback, which allows you to flash the BIOS with just a USB drive and power, even without a CPU or RAM installed. Knowing if a motherboard has these features is part of the job.
Conclusion
You have now completed the PC Hardware module! You've gone from identifying components and assembling a PC to diagnosing failures, replacing parts, and now, performing one of the most critical maintenance tasks: a firmware update.
Key Takeaways:
- Update with Purpose: Only update your BIOS/UEFI to solve a specific compatibility, stability, or security issue.
- Preparation is Key: The most critical steps are identifying the exact motherboard model, downloading the correct file, and ensuring an uninterruptible power supply.
- Use the Built-in Utility: The safest method is to flash from a FAT32-formatted USB drive using the tool inside the BIOS/UEFI.
- Patience is a Virtue: Never interrupt the flashing process.
- Verify and Reconfigure: After the update, always re-enter the BIOS to verify the new version and re-apply your custom settings like XMP and boot order.
With these skills, you're well-equipped to handle the assembly, maintenance, and troubleshooting of desktop hardware.
In our next lesson, we will begin the Server Hardware and Remote Management module. We'll start by differentiating desktop from server hardware, identifying features like ECC RAM, hot-swap bays, and redundant PSUs that are crucial in a data center environment.