Hello! Welcome to the fifth lesson in our "Project Showcase" module.
In our last lesson, we focused on looking outward, learning how to write effective titles, descriptions, and loglines to present your finished project to the world. Now, we're going to turn our focus inward. You've created something, but the journey isn't over. The most crucial step for any artist is to step back, evaluate their own work, and learn from it.
Today, you will learn how to critique a complete project to identify its strengths and areas for improvement. This skill is the engine of creative growth. It's how you'll turn each project—whether it's a short film or a YouTube video—into a stepping stone for the next, ensuring you are constantly refining your voice and technical skills.
We will cover:
- The mindset and structure of constructive critique.
- Analytical frameworks for evaluating your work's story, visuals, and sound.
- A practical checklist you can use to systematically review your own projects.
By the end of this lesson, you'll have a repeatable process for self-assessment that will accelerate your development as a filmmaker.
1. The Art of Constructive Critique
Critique is not about being negative; it's about being honest and analytical. The goal is to close the gap between your creative vision and the final result. To do this effectively, your feedback—even to yourself—needs to be structured in a way that is motivating, not discouraging.
A simple and powerful method is to start with what works before moving on to what can be improved.

As the image suggests:
- Start with Strengths: What are you proud of? Was the lighting in a particular scene effective? Did an edit perfectly capture a moment of emotion? Did the story's climax land well? Acknowledging what you did right is crucial for understanding your own instincts and building on them.
- Be Specific in Your Criticism: Avoid vague statements like "the audio is bad." Instead, be precise: "The dialogue in the kitchen scene is difficult to hear because of the refrigerator hum, and the music overpowers the conversation." This identifies the exact problem and points toward a solution (e.g., using a noise reduction tool, adjusting audio levels in the mix).
2. A Framework for Analysis
Now that you have a structure for delivering the critique, what should you be looking at? It helps to have a few high-level frameworks to guide your thinking. A great video isn't just a collection of nice shots; it's a cohesive whole where every element works together.
Let's read about some of these frameworks.
Movie Cinematography Guides: Brutal Truths, Hidden Art, and ...
The article 'Movie Cinematography Guides' provides three excellent frameworks for visual critique that we can adapt for a whole project. It also introduces some useful terminology.
Please read the section 'How to critique a film’s visual style (and why it matters).' Focus on the three numbered frameworks (Emotional impact, Technical execution, Narrative integration) and the definitions under 'Critique terms for serious film fans.'
Based on the reading, you can ask yourself three big-picture questions when reviewing your project:
- Emotional Impact: Does the project make the audience feel what you intended? Does a sad scene evoke sympathy? Does a tense scene create suspense? This is the ultimate test of your project's success.
- Narrative Integration: Does every choice serve the story? Does the dramatic camera movement in a scene reveal something new about a character, or is it just there because it looked cool? Do the sound effects add to the reality of the world (diegesis), or do they pull the viewer out?
- Technical Execution: Are your creative choices intentional and well-executed? Is the focus sharp where it needs to be? Is the audio clean? Is the color consistent?
Using terms like motif (a recurring visual element) or blocking (the movement of actors and camera) can help you analyze your work with greater precision.
3. Case Study: A Creator's Self-Critique
Theory is useful, but seeing critique in action is even better. The following article is a real-world example of a creator analyzing his own YouTube video. This is highly relevant to your goal of creating YouTube content.
YouTube Improvement Checklist | Corey Potter
In 'YouTube Improvement Checklist,' creator Corey Potter breaks down his own video, identifying specific issues with audio, lighting, content structure, and more. This is a fantastic example of the self-critique process.
Please read the entire article. As you read, notice how the author moves from specific technical issues ('Audio,' 'Coloring') to broader concerns ('Structure of Content,' 'Pacing') and even channel-level branding ('Cover Art'). This is a great model for a comprehensive review.
What can we learn from Corey Potter's self-critique?
- He isolates specific problems: "The volume on this video was WAY too low," "I look VERY orange," "the office is too dark behind me."
- He proposes concrete solutions: "test a few different light temps," "experiment with adding various light sources," "draft an intro and outro."
- He considers the audience experience: He worries about pacing being "SO slow" and the beginning being "dull," recognizing the need to hook viewers early.
- He thinks beyond the single video: He critiques his channel's overall presentation, including the cover art and featured video, which you learned about in previous lessons.
This kind of detailed, honest self-assessment is exactly what leads to tangible improvement.
4. Your Comprehensive Critique Checklist
To help you conduct your own reviews, let's build a checklist that combines everything we've discussed and ties back to the skills you've learned throughout this course. When you finish a project, watch it once for overall emotional impact. Then, watch it again, pausing as needed, to go through this list.
A. Story and Structure
- Narrative Arc: Does the story have a clear exposition, rising action, climax, falling action, and resolution? You can map your plot points onto a diagram like the one below to check for structural integrity.
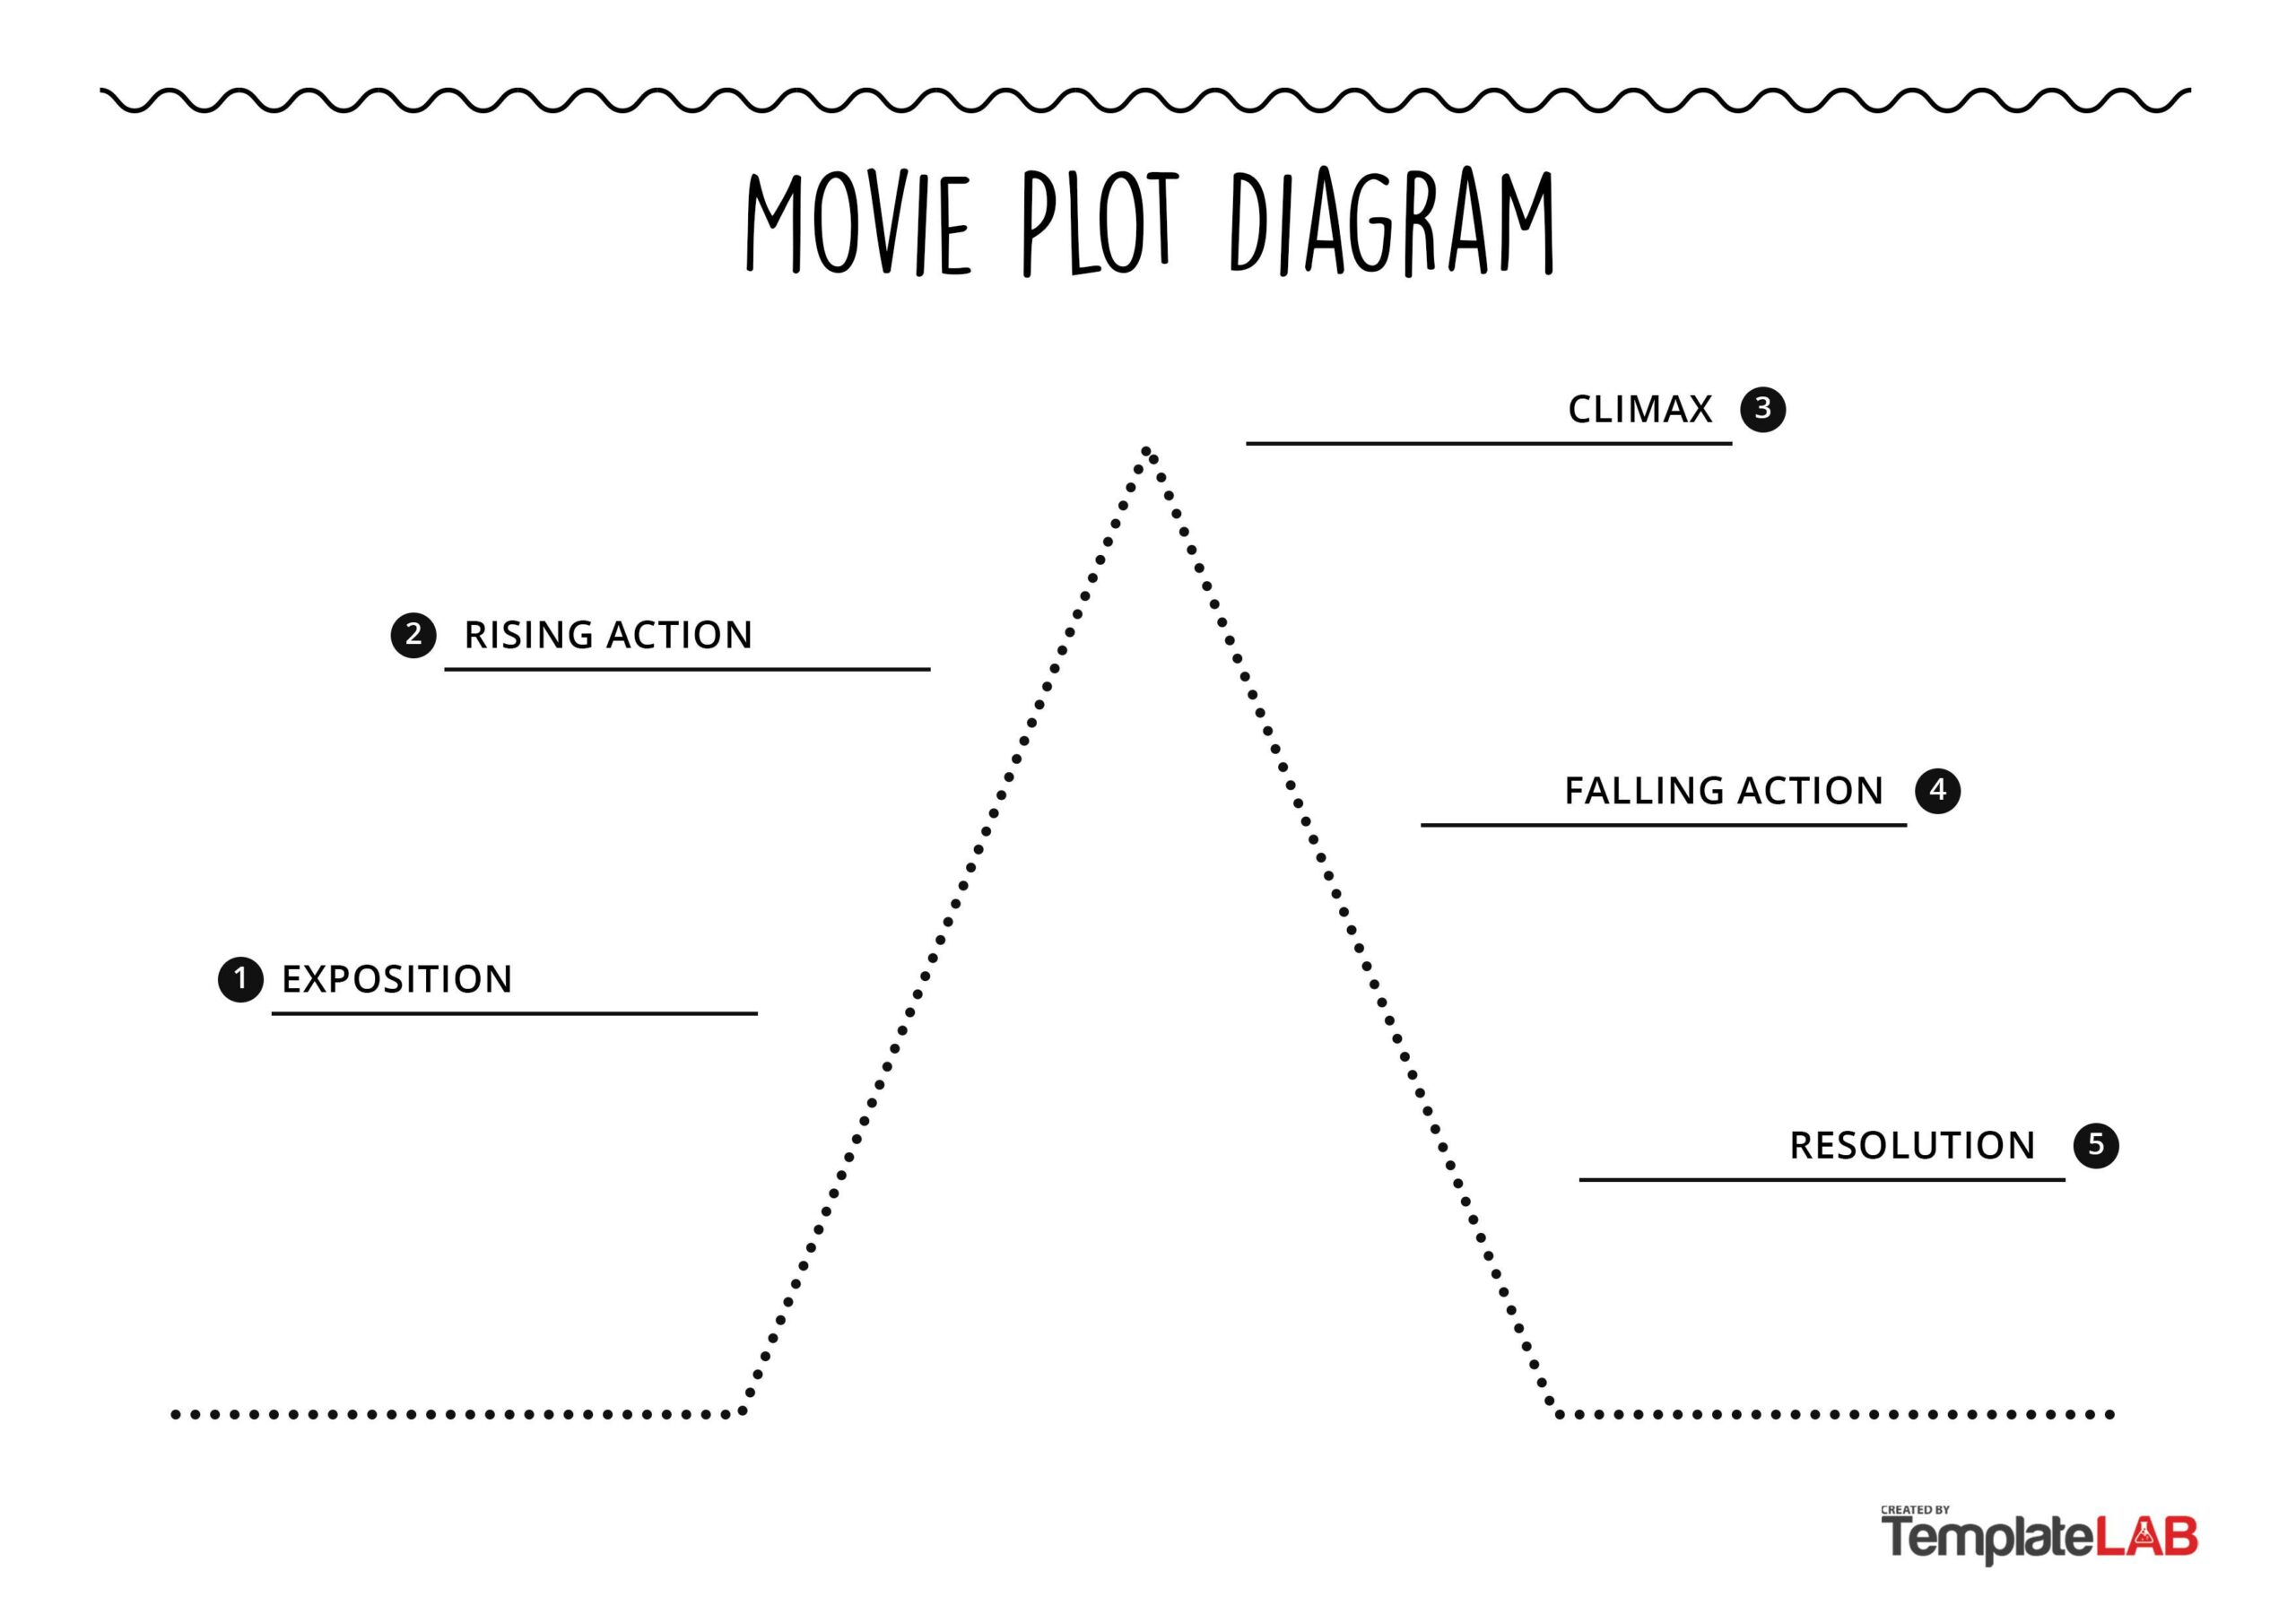
- Opening Hook: Do the first 10-30 seconds grab the viewer's attention and establish the tone and central question? (Modules 1, 12)
- Pacing and Rhythm: Does the editing pace match the mood of each scene? Are there moments to breathe, or does it feel rushed or slow? (Module 7)
- Clarity: Is the story easy to follow? Are the character's motivations clear? (Module 1)
B. Visuals (Cinematography and Color)
- Composition: Are your shots well-framed? Do you effectively use the rule of thirds, leading lines, and depth to guide the eye? (Module 1)
- Exposure and Lighting: Is the image correctly exposed? Does the lighting (e.g., three-point, high-key, low-key) support the mood and shape the subjects effectively? (Modules 3, 5)
- Color: Is the white balance accurate? Does the color grade contribute to the film's look and feel, and is it consistent from shot to shot? (Module 10)
- Focus and Movement: Is the focus sharp on the intended subject? Are camera movements (pans, tilts, handheld) stable and motivated by the story? (Modules 3, 4)
C. Sound and Music
- Dialogue Clarity: Can the dialogue be heard and understood clearly? Is it free from distracting background noise, clipping, or popping sounds? (Module 8)
- Sound Design: Do the ambient sounds and effects create a believable world? Is Foley well-synced? Is silence used effectively? (Module 9)
- The Mix: Is the final audio balanced? Does music ever overpower dialogue? Are the overall levels appropriate for the viewing platform (e.g., YouTube)? (Module 11)
D. Editing and Continuity
- Continuity: Do you maintain spatial consistency (e.g., the 180-degree rule)? Do edits match the action smoothly? Are there any jarring jump cuts? (Module 7)
- Transitions: Are cuts, dissolves, or other transitions used purposefully, or do they feel distracting? (Module 2)
- Titles and Graphics: Are text overlays clear, correctly spelled, and aesthetically consistent with the project? (Module 2)
Test your understanding!
Imagine you've just finished a short, dramatic film about a detective investigating a mystery. You notice two things:
- You're very proud of the moody, low-key lighting you created for the interrogation scene.
- In the final chase scene, which is shot handheld, the camera is so shaky it's hard to follow the action.
Using the "Strengths First, Specific Criticism" model, how would you write a two-sentence self-critique note about this?
Show answer
Here's one possible answer:
"The low-key lighting in the interrogation scene was a major success, as it perfectly created the dramatic, tense mood I was aiming for. However, the handheld footage in the final chase scene is overly shaky, which distracts from the action; next time, I need to use better stabilization techniques or apply post-production stabilization to make the sequence clearer."
This note acknowledges a strength and then provides a specific, actionable critique for the area of improvement.
Conclusion
Congratulations on reaching this crucial stage in your learning. The ability to look at your own creation with a clear, analytical eye is what separates good creators from great ones. It is the heart of the iterative process that drives all artistic and technical improvement.
Key Takeaways:
- Critique is a positive tool: Its purpose is to help you grow, not to tear you down.
- Structure your feedback: Always start by identifying strengths before moving on to specific, actionable areas for improvement.
- Use a holistic approach: Analyze your projects by evaluating their story, visuals, sound, and editing, and how these elements work together to create an emotional impact.
- Be methodical: Use a checklist to ensure you are consistently evaluating all aspects of your work.
In our final lesson, we will put this new skill into practice. You will learn how to implement targeted revisions to a project based on feedback and self-critique, closing the loop and making your creation the best it can be.