Hello! Welcome back to our fifth module, Vector Illustration Techniques.
In our last lesson, you learned the crucial difference between vector and raster graphics. You now know that vector graphics are made of mathematical paths, which makes them infinitely scalable—perfect for logos and icons. So far, we've only worked with pre-made shapes like rectangles and circles.
Today, we're going to unlock a whole new level of creative control. This lesson will teach you how to use the pen tool to create and edit custom vector shapes and paths. The Pen tool is arguably the most powerful and fundamental tool in any vector design software. Mastering it is a key step toward becoming a professional designer. It can feel a bit tricky at first, but with a little practice, it will become an extension of your creative mind.
1. Understanding Vector Networks and the Pen Tool
Before we jump in, it's helpful to know that Figma has a special name for the vector shapes you create: Vector Networks. Unlike traditional vector tools that often force you to draw in one continuous line, Figma's vector networks allow paths to branch off from any point. The Pen tool is your primary way to create these networks from scratch.
Let's start with a brief official introduction from Figma to get familiar with the core concepts and terminology.
Figma Tutorial: Pen Tool Basics & Vector Networks
Watch this short clip from the official Figma channel. It will introduce you to the idea of vector networks and the different tools you'll use in 'Vector Edit Mode', including the Pen, Bend, and Move tools.
Watch from the beginning to 01:29. Focus on understanding the terminology: vector points, paths, and Bezier handles. Notice the quick overview of the tools in the toolbar, which we will explore in detail next.
2. Mastering the Pen Tool: A Step-by-Step Guide
Now that you have the basic concepts down, let's go through a comprehensive tutorial that covers everything you need to start using the Pen tool like a pro. We'll use one main video and break it down into key skills.
For this section, I recommend you have Figma open on one side of your screen so you can pause the video and try out each technique as you learn it.
Figma Tutorial: Master The Figma Pen Tool (2024)
This tutorial by DesignWithArash is one of the clearest guides to the Figma Pen tool available. We will watch it in sections to build your skills progressively.
We will be watching from the beginning up to 06:26. Follow the instructions in the sections below as you watch.
Part A: Creating Straight Lines and Basic Shapes
First, let's master the basics: creating points (also called nodes) and connecting them with straight lines.
Action: Watch the video from 00:00 to 01:57. Pay attention to:
- How to select the Pen tool (
Pon your keyboard). - How to create a point with a single click.
- How to close a path to create a fillable shape.
- How to end a path without closing it (
Escapekey).
Now, try it yourself in Figma!
- Press
Pto select the Pen tool. - Try creating an open, zig-zag line. Press
Escwhen you're done. - Now, try creating a closed shape, like a triangle or a star. Notice that when you hover over the starting point, a small circle appears next to your cursor, indicating the path will close. Once closed, you can add a fill color from the right-hand panel.
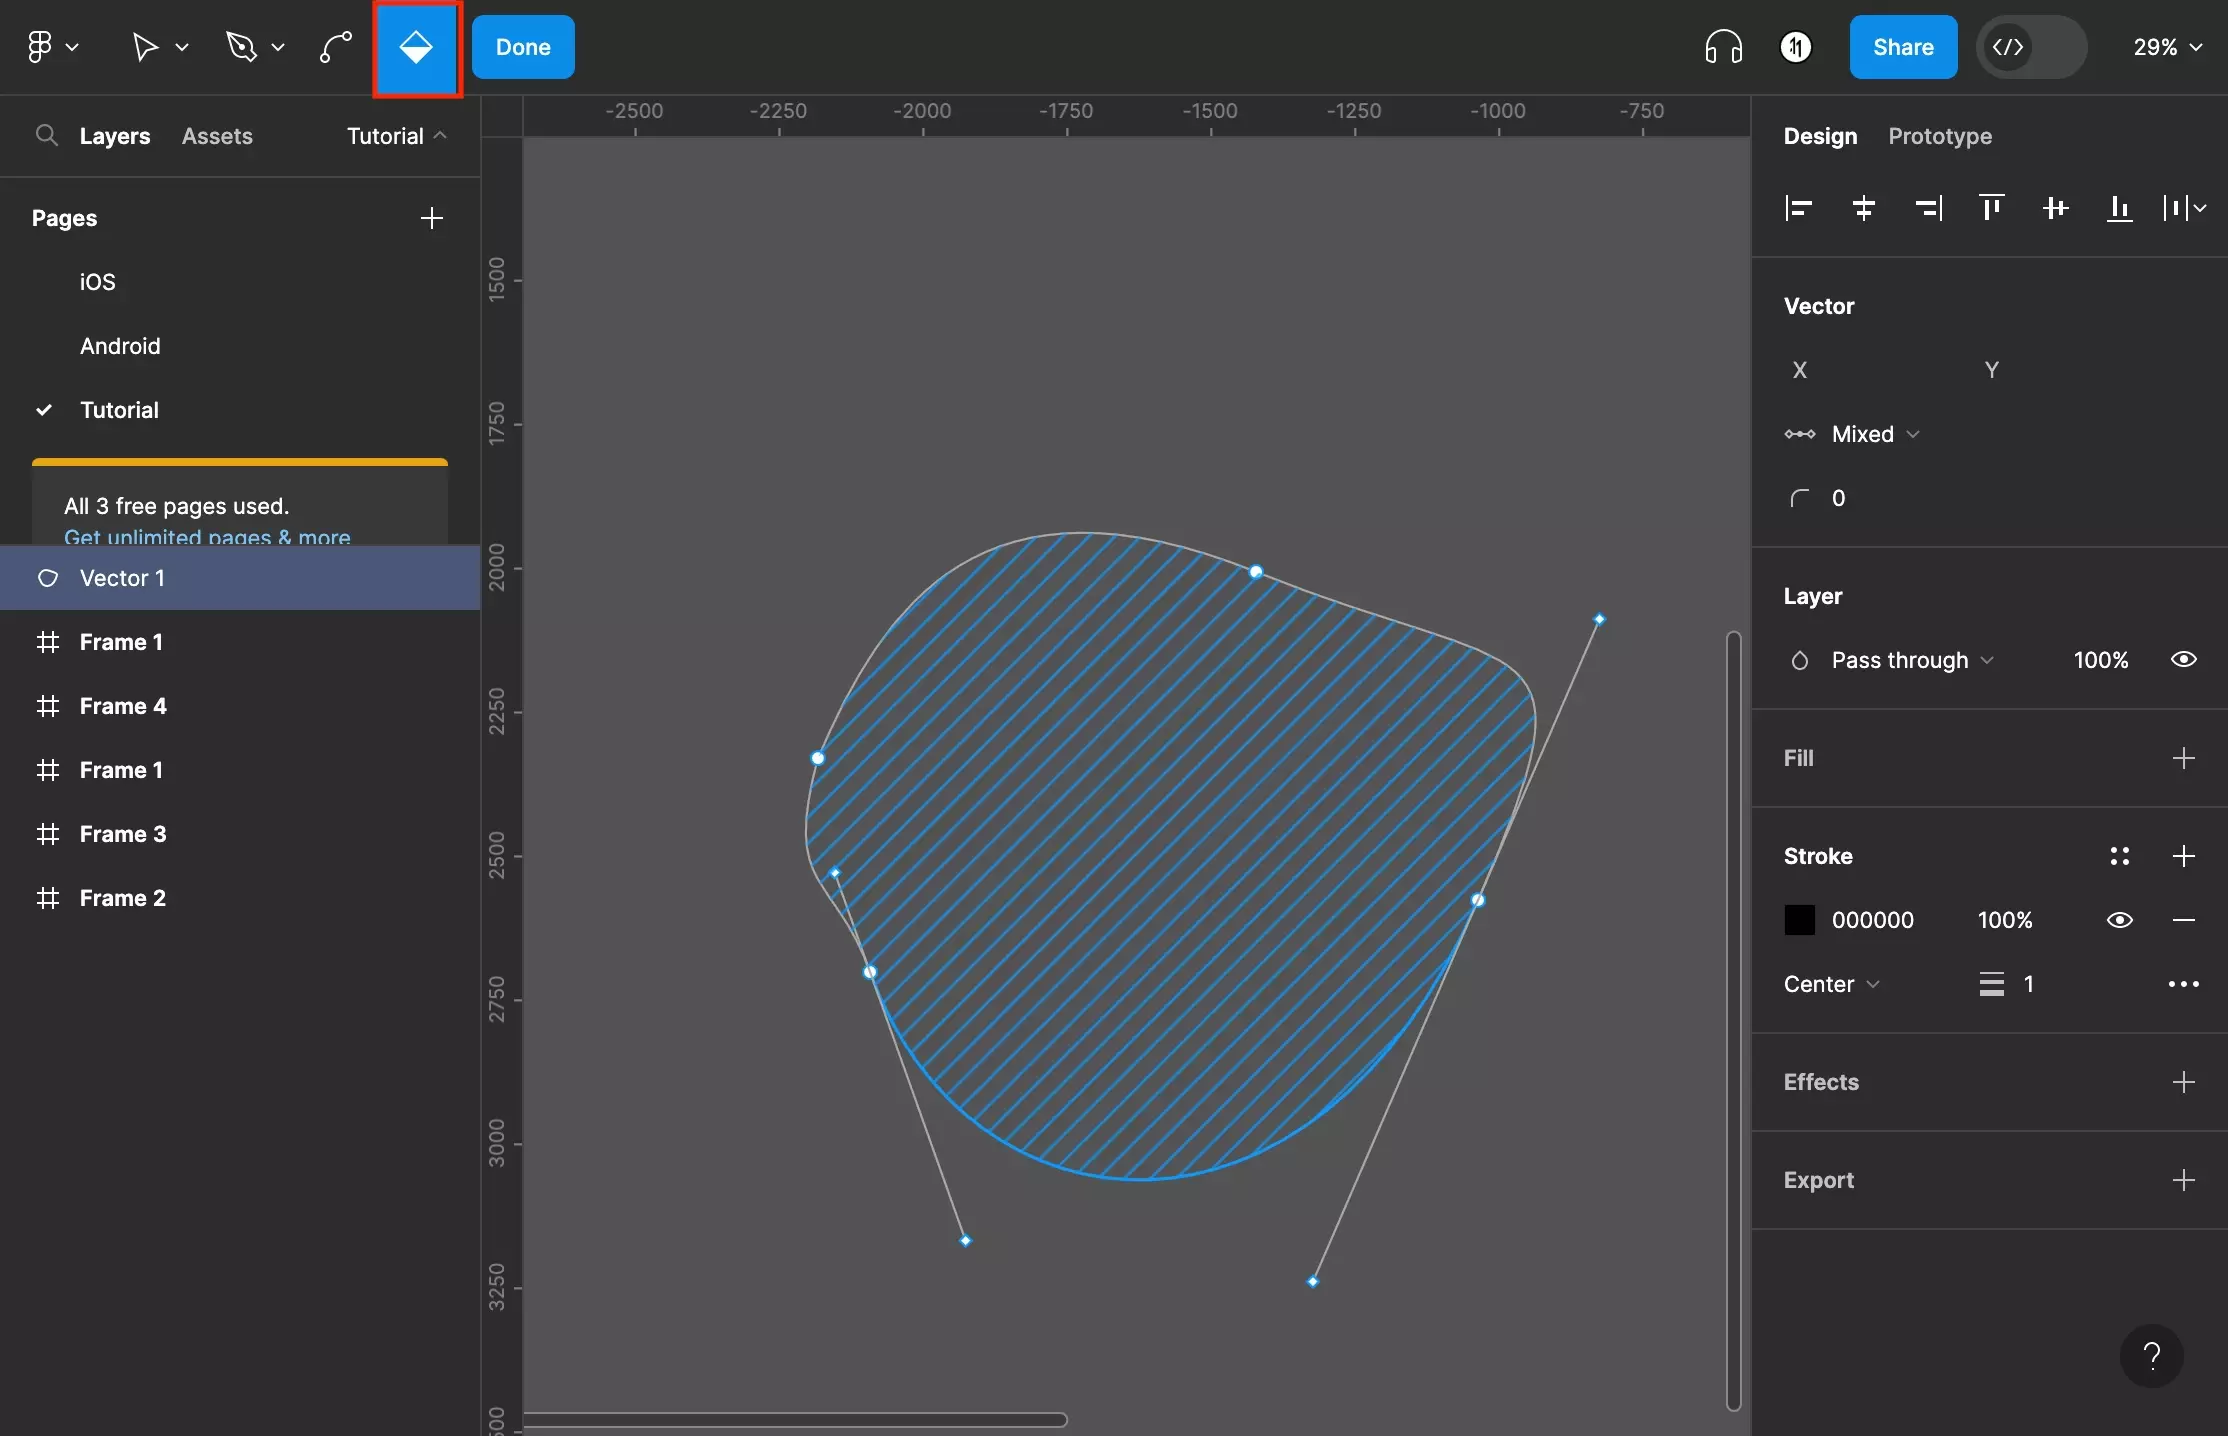
Part B: Creating Curves with Bezier Handles
This is where the true power of the Pen tool lies. Instead of just clicking, you will click and drag. This action pulls out two "handles" from your point, known as Bezier handles, which control the shape of the curve.
Action: Continue watching the video from 01:57 to 04:38. Focus on:
- The difference between a simple click (for a sharp corner) and a click-and-drag (for a curve).
- How the Bend tool (
CtrlorCmdkey while dragging a point) lets you add curves to an existing straight line. - How the handles control the curve's direction and depth.
- The mirroring options in the design panel, which help create symmetrical curves.
Test your understanding!
You are using the Pen tool to trace the outline of a heart. When would you use a simple click, and when would you use click-and-drag?
Show answer
You would use click-and-drag for the rounded top and bottom parts of the heart to create smooth curves. You would use a simple click for the sharp point at the very bottom of the heart to create a corner, not a curve.
Part C: Editing and Refining Your Paths
It's rare to get a complex shape perfect on the first try. Editing is a huge part of the process.
Action: Watch the final segment from 04:38 to 06:26. This part covers essential editing techniques:
- How to delete a point using the
Deletekey (which opens the path). - How to delete a point while keeping the path closed using
Shift + Delete(this "heals" the path). - How to join two separate, open paths together (
Ctrl + JorCmd + J).
These editing skills are vital for cleaning up your illustrations and making precise adjustments.
3. Practical Exercise: Creating a Curved Shape
Now it's time to put all these skills together. The image below shows a simple exercise for practicing curves. Try to replicate it in Figma.

Step-by-step instructions for the exercise:
- Point 1: Just click once to create the starting anchor point.
- Point 2: Click and hold, then drag your mouse upwards. This pulls out the Bezier handles and creates the first curve. Release the mouse.
- Point 3: Move your cursor to position 3. Click and hold, then drag downwards to shape the second curve. Release the mouse.
- Point 4-7: Continue this process, following the shape in the image.
- When you get back to Point 1, click on it to close the shape.
Don't worry if it's not perfect! The goal is to get a feel for how the handles influence the curves. Use the Move tool (V) to click and drag the points or the handles to adjust your shape after you've drawn it.
4. Practice, Practice, Practice
The Pen tool is all about muscle memory. The more you use it, the more intuitive it becomes. As mentioned in the video, an excellent and fun way to practice is by using a web-based game.
Recommendation: Go to The Bézier Game. It provides a fantastic, interactive tutorial that walks you through tracing simple shapes, forcing you to learn how to manipulate handles correctly. Spending 15-20 minutes on this will dramatically improve your speed and confidence.
Conclusion
Excellent work today! You've tackled one of the most essential skills in a graphic designer's toolkit. Learning the Pen tool opens up a world of possibilities, allowing you to move beyond basic shapes and create any custom illustration, icon, or logo you can imagine.
Key Takeaways:
- The Pen tool (
P) is used to create custom vector paths and shapes. - Click to create a point for a straight line or a sharp corner.
- Click and drag to create a point with Bezier handles for a smooth curve.
- You can always edit your paths later using the Move tool (
V) to adjust points and handles. - Close a path by clicking on its starting point to create a fillable shape.
In our next lesson, we will dive deeper into editing the shapes you create. We'll explore how to modify vector shapes by editing points, handles, and curves with more advanced techniques, and learn how to use boolean operations to combine or subtract shapes from each other to create even more complex forms.