Welcome back. In our last lesson, we deconstructed HTTP messages, examining the methods that state their intent and the headers that provide crucial context. We saw how headers like Host, Cookie, and User-Agent are not just informational, but are key levers for a security tester to pull.
Today, we move from the what to the how. This lesson explains the core mechanism that makes Burp Suite so powerful: the web proxy. You will learn how a proxy positions itself between your browser and a web server to intercept, inspect, and even modify traffic on the fly. Mastering this concept is the first major step toward using Burp Suite effectively in your ethical hacking practice.
The Man in the Middle
At its heart, a web proxy is an intermediary. In a normal browsing session, your client (browser) communicates directly with the web server. When you use an intercepting proxy like Burp Suite, you reconfigure your browser to send all its requests to the proxy instead. The proxy then forwards those requests to the intended server, receives the responses, and passes them back to your browser.
This position is often called a "Man-in-the-Middle" (MitM). From the browser's perspective, the proxy is the web server. From the web server's perspective, the proxy is the client. This unique position gives the proxy complete control over the entire conversation.
The diagram below illustrates this flow. A user's request (1) is sent to the proxy. The proxy modifies it (e.g., changes the Host header) and sends the new request to the web application (2). The application sends its response back to the proxy (3), which may again modify it before sending the final response to the user (4).

The real power for a security analyst comes from the fact that an intercepting proxy doesn't just pass traffic along automatically. It allows you to pause any request or response, view its full contents in plain text, change anything you want, and then send it on its way.
Handling the HTTPS Challenge
You might be wondering: how can a proxy read traffic if it's encrypted with HTTPS? This is a critical point. HTTPS creates a secure, encrypted tunnel directly between the client and the server. To get inside this tunnel, the proxy performs a "controlled" man-in-the-middle attack.
This article from InfosecTrain provides a concise explanation of the process.
Practical Guide: Intercepting HTTPS Traffic with Burp Suite
This guide explains the foundational concept of how Burp Suite intercepts encrypted traffic.
First, read the section under the heading "How Does It Work?". This explains the MitM strategy. Then, read the section "Step 3: Install Burp Suite’s CA Certificate", which describes the key step needed to make this work.
As the article explains, the process works like this:
- Browser to Proxy: Your browser, trying to connect to a site like
https://example.com, instead connects to Burp Proxy. Burp generates a fake TLS certificate forexample.comon the fly and presents it to your browser. - Trusting the Proxy: Normally, your browser would reject this fake certificate and show a security warning. However, during setup (which we'll cover in the next module), you will have installed Burp Suite's own Certificate Authority (CA) into your browser's "trust store." This tells your browser to trust any certificate signed by Burp's CA, so the connection proceeds without error.
- Proxy to Server: Burp then makes its own, separate TLS connection to the real
https://example.comserver, acting as a regular client. - Decryption and Re-encryption: The proxy now sits between two encrypted connections. It decrypts the traffic from your browser, allows you to view and modify it, and then re-encrypts it before sending it to the server. It does the same for the response coming back.
This setup gives you complete visibility into and control over traffic that would otherwise be opaque.
Intercepting and Modifying in Practice
Now that we understand the theory, let's see what this looks like inside Burp Suite. The core of this functionality lives in the Proxy tab.
This PortSwigger video provides an excellent tour of the basic interception features.
How to intercept HTTP requests and responses using Burp Suite
This video from the creators of Burp Suite demonstrates the fundamental workflow of intercepting traffic.
Watch from the beginning to see how Burp acts as a MitM. Pay close attention to these key segments: The Proxy tab: A quick tour of the Intercept and HTTP History tabs. Launching the browser: Shows how Burp's pre-configured browser simplifies the setup. Intercepting a request: Demonstrates a request being caught and the options to Forward or Drop it. The intercept toggle: Explains how to turn interception on and off, a crucial part of the workflow.
When interception is on in the Proxy -> Intercept tab, any request your browser makes is held for your review.
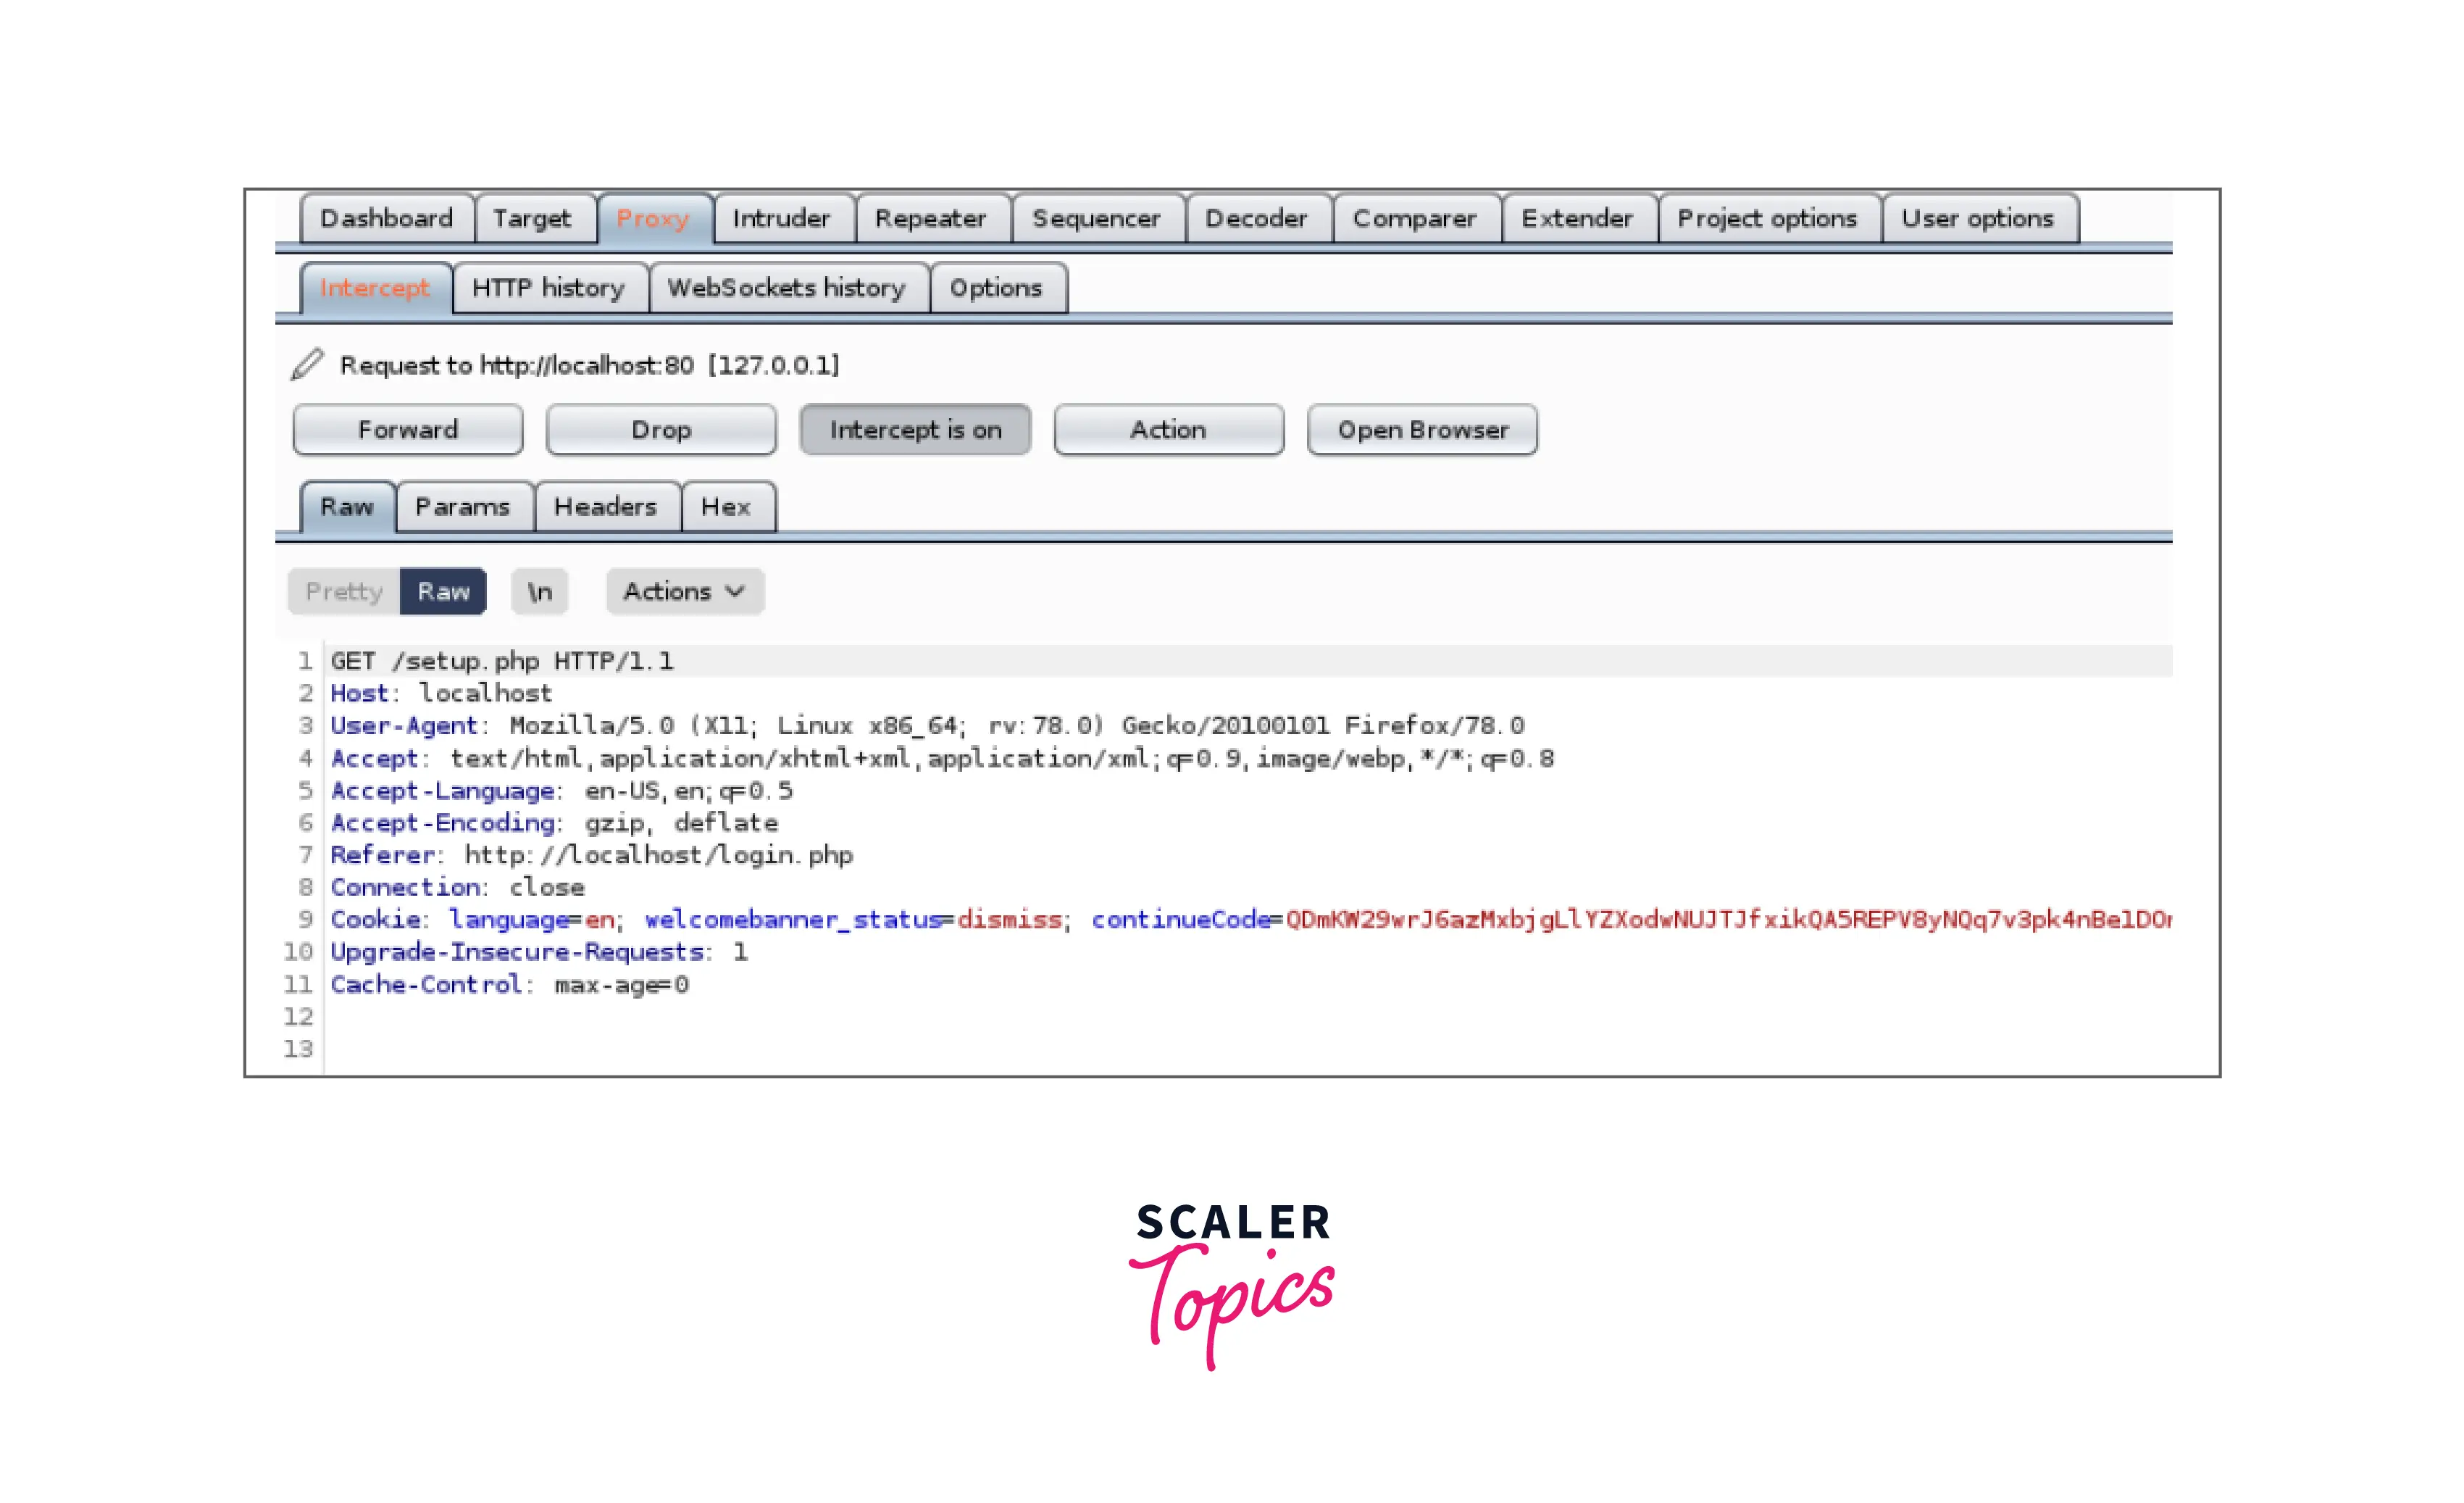
From here, you have several choices:
- Forward: Send the message on to its destination (either the server or your browser).
- Drop: Discard the message completely. The request will never reach the server.
- Modify: This is the most interesting part. You can edit any part of the raw request—the method, the path, the headers, or the body—before clicking "Forward."
Let's look at a concrete example of modification. The following tutorial from PortSwigger demonstrates how to intercept a request to add an item to a shopping cart and modify its price.
Modifying requests in Burp Proxy
This official tutorial walks through a full intercept-and-modify exercise on a deliberately vulnerable web application.
Follow the steps described in the article. You don't need to perform the actions yourself yet, just understand the process: Read the introduction and steps 1-3 to understand the setup: accessing the lab and logging in. Focus on Step 4, which shows how to turn on interception and catch the POST /cart request. Pay close attention to Step 5. This is where the price parameter is changed from its original value to 1. Finally, read Step 6 to see the result of the manipulation: purchasing a $1337 jacket for one cent.
If you prefer to see this in action, the accompanying video demonstrates the exact same process.
Modifying HTTP requests with Burp Proxy
This video shows the lab from the previous reading being solved in real-time.
Watch the entire video, paying special attention to the moment the request is intercepted and modified (from enabling interception to forwarding the modified request). This perfectly illustrates how a simple change made in the proxy can have a significant impact on the application's behavior.
This example, though simple, is a perfect illustration of why an intercepting proxy is the cornerstone of manual web security testing. The vulnerability—excessive trust in a client-side price parameter—could not have been discovered or exploited through the web interface alone. It was only by intercepting and modifying the HTTP request that the flaw became apparent.
Conclusion
In this lesson, you've learned the fundamental theory and practice behind web proxies. This mechanism is what transforms Burp Suite from a passive observer into an active tool for manipulating web traffic.
Here are the key takeaways:
- A web proxy acts as a man-in-the-middle, sitting between your browser and the web server.
- It can intercept requests and responses, pausing them for inspection.
- By installing the proxy's CA certificate, it can decrypt, inspect, and re-encrypt HTTPS traffic.
- The primary function for a tester is to modify intercepted traffic to probe for vulnerabilities by sending unexpected data to the server.
You now understand the components of an HTTP message (from previous lessons) and the primary mechanism for manipulating them (the proxy). The theoretical foundation is set. In our next lesson, we will finally roll up our sleeves and get our hands on the tool itself. We'll walk through installing Burp Suite Community Edition and setting up the vulnerable practice applications you'll use throughout the rest of this course.