Recommended resources
The freely available resources this lesson will direct you to.
Welcome back! In our last two lessons, we completed the necessary platform-specific configurations for both iOS and Android, enabling your application to interface with Apple's and Google's respective push notification services. With that foundational work complete, we can now shift our focus from the native projects back to your web code.
Today, we will implement the client-side logic within your React application to handle the push notification workflow. The goal is to write the code that asks the user for permission to send notifications and, upon receiving that permission, retrieves the unique device registration token from the operating system. This token is the critical piece of information that a backend server would use to send a push notification to that specific device.
The Push Notification Lifecycle in Code
From your app's perspective, the process of registering for push notifications follows a clear, three-step sequence. It's a pattern you'll see repeated across many native-feature integrations:
- Check/Request Permission: You must first ask the user for their consent to receive notifications. The operating system, particularly iOS, enforces this strictly. Without user permission, the process stops here.
- Register the Device: Once permission is granted, you instruct the device to register itself with the appropriate push service (APNs for iOS, FCM for Android).
- Listen for the Token: The registration process is asynchronous. Your app must listen for an event that signifies successful registration, which will provide the unique device token.
The article "Your Guide to Capacitor Push Notifications" provides a great summary of this flow.
Your Guide to Capacitor Push Notifications
This article breaks down the client-side implementation into three core actions.
Read the section titled Initializing the Plugin. Pay attention to the three bullet points that outline the "Ask for Permission," "Register the Device," and "Set Up Listeners" actions. The key takeaway here is fundamental: user permission is the gateway to obtaining a device token.
Implementing the Registration Logic in React
Now, let's translate this flow into code using the @capacitor/push-notifications plugin API. The official Capacitor documentation provides an excellent example that we can adapt for our React application. The most common pattern for this kind of initialization logic is to place it within a useEffect hook in your main App component, ensuring it runs once when the app starts.
Let's examine the core functions we'll need from the plugin.
Push Notifications Capacitor Plugin API
The official documentation provides a comprehensive code example covering all the steps we need.
Focus on the full example. We will break down the addListeners and registerNotifications functions. You'll see how they directly map to the "Ask, Register, Listen" pattern.
Let's break down that example into its constituent parts.
1. Adding Listeners
First, we need to set up listeners to handle the results of the registration process. The register() call itself doesn't return the token; instead, it triggers an event.
addListener('registration', ...): This is the success callback. It's fired when the device successfully registers with APNs or FCM and receives a token. The callback function receives atokenobject, and the token string itself is intoken.value.addListener('registrationError', ...): This is the failure callback. It fires if there's any issue during registration, providing an error object.
We'll also add listeners for incoming notifications, which we'll use in the next lesson.
import { PushNotifications, Token } from '@capacitor/push-notifications';

const addListeners = async () => {
  await PushNotifications.addListener('registration', (token: Token) => {
    console.info('Registration token: ', token.value);
    // You would typically send this token to your backend server
  });

  await PushNotifications.addListener('registrationError', (err: any) => {
    console.error('Registration error: ', err.error);
  });

  // These will be used in the next lesson
  await PushNotifications.addListener('pushNotificationReceived', (notification) => {
    console.log('Push notification received: ', notification);
  });

  await PushNotifications.addListener('pushNotificationActionPerformed', (notification) => {
    console.log('Push notification action performed', notification.actionId, notification.inputValue);
  });
};
2. Requesting Permission and Registering
Next is the function that orchestrates the permission request and registration.
PushNotifications.checkPermissions(): This function checks the current permission status without prompting the user. It returns an object with areceiveproperty, which can be'prompt','granted', or'denied'.PushNotifications.requestPermissions(): If the status is'prompt', this function will show the native OS dialog asking the user to allow notifications.PushNotifications.register(): This is the key call. Once you've confirmed permissions are'granted', you callregister(). This tells Capacitor to initiate the native registration process, which will eventually result in either the'registration'or'registrationError'listener being fired.
const registerNotifications = async () => {
  let permStatus = await PushNotifications.checkPermissions();

  if (permStatus.receive === 'prompt') {
    permStatus = await PushNotifications.requestPermissions();
  }

  if (permStatus.receive !== 'granted') {
    throw new Error('User denied permissions!');
  }

  await PushNotifications.register();
};
Putting It All Together in a React Component
Now, let's integrate this logic into a React component. Using a useEffect hook in your root App component is a robust way to ensure this setup runs on every app launch.
Here is a complete example for your App.tsx file. It combines the listeners and the registration logic and correctly handles cleaning up the listeners when the component unmounts.
import React, { useEffect } from 'react';
import { PushNotifications, Token } from '@capacitor/push-notifications';
import { isPlatform } from '@capacitor/core';

const App: React.FC = () => {
  useEffect(() => {
    // We only want to run this on native mobile platforms
    if (isPlatform('mobile')) {
      const initPush = async () => {
        // Setup listeners
        await PushNotifications.addListener('registration', (token: Token) => {
          console.info('Push registration success, token: ', token.value);
          // TODO: Send token to your backend
        });

        await PushNotifications.addListener('registrationError', (error: any) => {
          console.error('Error on registration: ' + JSON.stringify(error));
        });

        // These are for handling notifications, which we'll cover next
        await PushNotifications.addListener('pushNotificationReceived', (notification) => {
          console.log('Push received: ', notification);
        });

        await PushNotifications.addListener('pushNotificationActionPerformed', (notification) => {
          console.log('Push action performed: ', notification);
        });

        // Request permission and register
        try {
          let permStatus = await PushNotifications.checkPermissions();

          if (permStatus.receive === 'prompt') {
            permStatus = await PushNotifications.requestPermissions();
          }

          if (permStatus.receive !== 'granted') {
            throw new Error('User denied permissions!');
          }

          await PushNotifications.register();

        } catch(e) {
          console.error(e);
        }
      };

      initPush();
    }

    // Cleanup on component unmount
    return () => {
      if (isPlatform('mobile')) {
        PushNotifications.removeAllListeners();
      }
    };
  }, []);

  return (
    // Your App's JSX
    <div>
      <h1>My Awesome App</h1>
      <p>Waiting for push notifications...</p>
    </div>
  );
};

export default App;
A quick note on the isPlatform('mobile') check: This is a utility from @capacitor/core that prevents this native-only code from running in a standard web browser during development, which would throw an error.
Verifying the Token
With this code in place, it's time to verify that it works. The console.info line in the registration listener is our window into the process.
- Make sure you have installed the plugin:
bun add @capacitor/push-notifications. - Sync your changes to the native projects:
bunx cap sync. - Run your app on a physical device or an emulator/simulator through Xcode or Android Studio.
bunx cap run iosorbunx cap run android.
- When the app launches for the first time, you should see the native permission prompt asking to allow notifications. Tap "Allow".
- Open the console in your IDE:
- In Android Studio, open the Logcat window and filter by your app's package name or the string "Capacitor".
- In Xcode, the console output appears in the debug area at the bottom of the window.
You should see a log message containing Push registration success, token: followed by a long string of characters. That string is your device token!
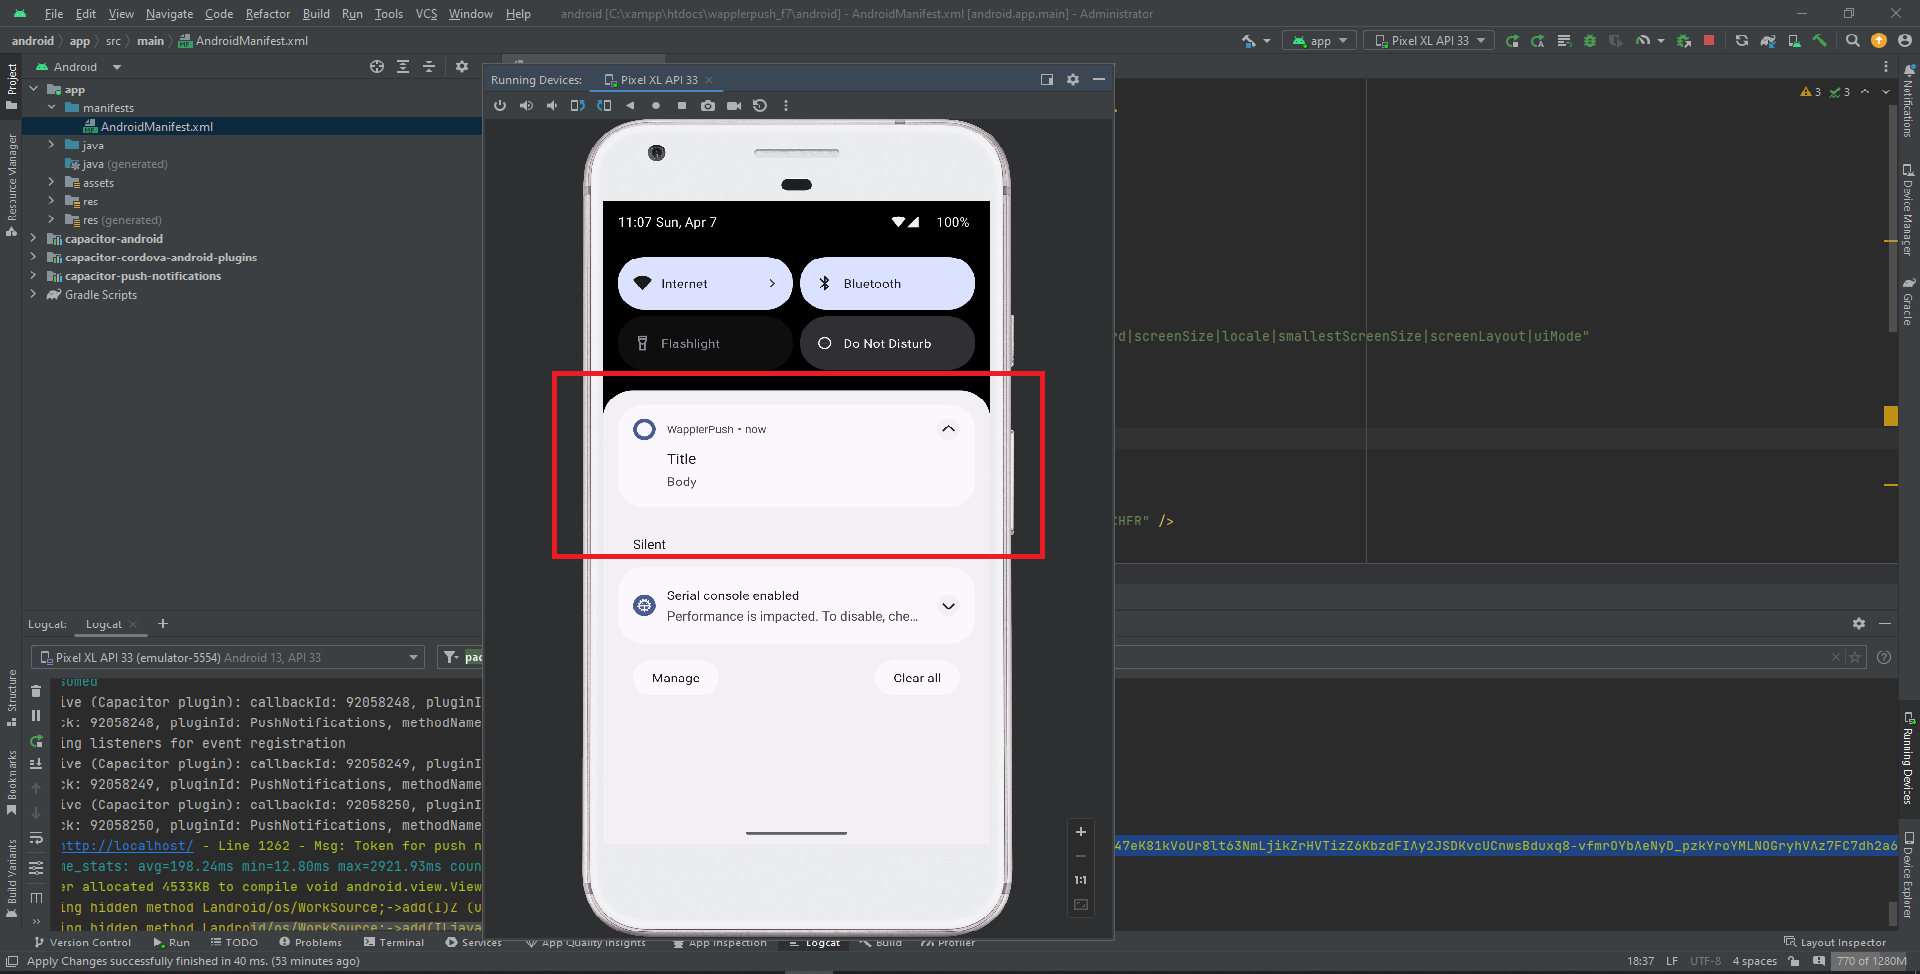
This token is the address your server will use to send notifications to this specific device. In a real-world application, you would send this token to your backend and associate it with the logged-in user's account.
Conclusion
In this lesson, you've successfully bridged the gap between the native platform configurations and your React application. You've implemented the complete client-side flow for obtaining a push notification device token.
The key takeaways are:
- The registration process is a sequence: check permissions, request permissions if necessary, and then register.
- The
@capacitor/push-notificationsplugin uses an event-based system. You useaddListenerto capture the results of the asynchronousregistercall. - The
'registration'event provides the crucialtoken.value, which is the device's unique address for push notifications. - Placing this logic in a
useEffecthook in your mainAppcomponent is a reliable pattern for initialization.
Now that your app can receive a registration token, the next logical step is to handle what happens when a push notification actually arrives. In our next lesson, we will explore how to process incoming notification payloads, both when your app is in the foreground and when it's in the background.