Recommended resources
The freely available resources this lesson will direct you to.
Welcome back! In our last session, we carefully deconstructed the sonic elements of a Liquid DnB lead, identifying warmth, subtlety, and atmosphere as its defining pillars. We mapped these qualities to specific techniques: using simple waveforms, gentle unison, slow modulation, and a strategic effects chain.
Today, you will put that analytical framework into practice. This lesson is a hands-on synthesis session where you'll build a warm, atmospheric Liquid lead from scratch. We will follow an intentional, step-by-step process, but I will also introduce an alternative, more experimental workflow that is exceptionally powerful for creating unique atmospheric textures. This will give you two distinct approaches to achieving this particular sonic goal.
Let's begin by opening an instance of Serum with an initialised patch.
1. The Foundational Synthesis Approach
This method builds directly on our analysis from the previous lesson, following a structured path from timbre to space.
1.1. Crafting a Warm Core Timbre
The warmth of a Liquid lead starts at the oscillator.
- Oscillator A: As we discovered, a sine wave is an ideal starting point. In Serum's
Analogwavetable category, selectBasic Shapesand set the wavetable position to select the sine wave. - Unison: To add thickness and width without harshness, increase the unison voices to around 5-7. Crucially, keep the Detune control relatively low (around 0.05-0.10). The goal is a rich, shimmering chorus effect, not an aggressive supersaw.
- Noise Oscillator: A very subtle touch that adds life and high-frequency "air" to a pure sound is a noise layer. Activate the
NOISEoscillator, select a soft noise type likeAC Hum 1or a bright one likeJ106 HP, and keep its level very low—just enough to be felt rather than heard distinctly.
1.2. Shaping with the Filter and Envelope
Next, we'll shape the sound's dynamics and overall frequency content.
- Amplitude Envelope (ENV 1): A classic Liquid lead is smooth and flowing. Adjust ENV 1 to have a slightly soft Attack (e.g., 20-50 ms) to avoid a sharp click, a high Sustain level, and a medium Release (e.g., 400-800 ms) to let the notes blend and trail off elegantly.
- Filter: Turn on the Filter and route Oscillator A and the Noise oscillator to it. Select a soft low-pass filter like
MG Low 12. As we discussed, its gentler 12dB/octave slope is perfect for warm sounds. Pull the Cutoff down to around 1-2 kHz to tame the high frequencies. Add a touch of Resonance to emphasize the cutoff point, but be sparing to avoid a "whistling" tone.
1.3. Creating Subtle Movement
Now we'll use LFOs to breathe life into our static sound. This is where subtlety is key.
Mateba - Syncope "Liquid DnB" - Bass and Pad with Serum
The video "Mateba - Syncope 'Liquid DnB' - Bass and Pad with Serum" provides a perfect demonstration of using LFOs for gentle, atmospheric modulation. We will apply the same core principles here.
Focus on the techniques shown from LFO assignment. The presenter uses one LFO to create two distinct types of movement: Pitch Fluctuation: A tiny amount of modulation on the fine pitch creates a natural-sounding vibrato. Filter Shimmer: A slow modulation on the filter cutoff makes the sound gently "breathe" or shimmer.
Let's apply this to our patch:
- Set up LFO 1: Go to LFO 1. Set its Rate to a slow, tempo-synced value like
1/4or1/2. A simple sine or triangle shape is ideal. - Modulate Filter Cutoff: Drag the LFO 1 source to the Filter's Cutoff knob. Reduce the modulation depth (the blue ring) so the filter only moves slightly. You're looking for a gentle swell in brightness, not a rhythmic "wobble."
- Modulate Fine Pitch: Drag the LFO 1 source to the Fine tuning knob of Oscillator A. In the Matrix tab, set the modulation amount to be very small (e.g., 2-5). This should create a barely-perceptible, slow vibrato that adds an organic quality to sustained notes.
1.4. Adding Spatial Effects
The final step is to use Serum's FX rack to create the immersive, atmospheric quality. The order of effects is crucial here.
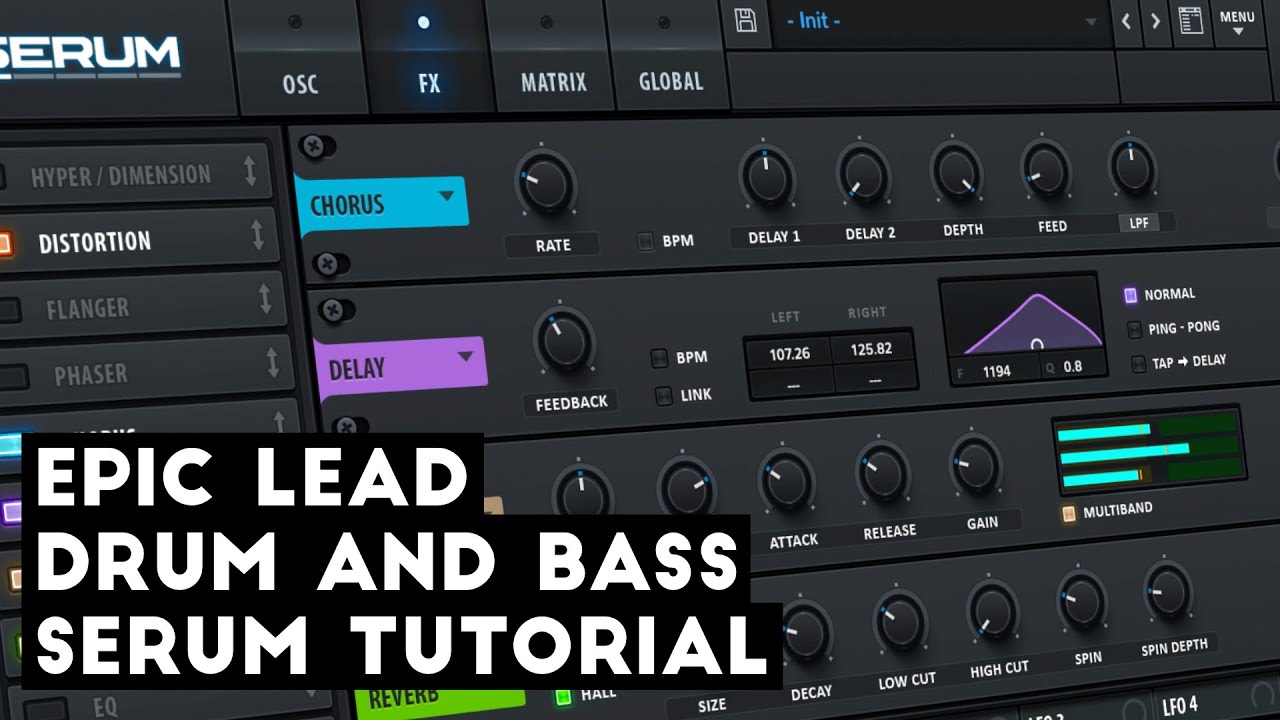
- Chorus: To widen the sound and enhance the unison effect. A slow rate and moderate depth will "smear" the sound beautifully.
- Delay: To create echoes and depth. Use a BPM-synced time like
1/4or1/8 D(dotted). A key professional trick is to use the filter inside the Delay effect (the small EQ display) to cut the low and high frequencies of the echoes. This makes them sit behind the main sound in the mix, adding depth without clutter. - Reverb: To place the sound in a virtual space. For an atmospheric sound, use a large Size and a relatively long Decay time. Use the
LOW CUTknob to remove low frequencies from the reverb, which is essential for preventing a muddy mix.
At this point, you should have a very usable, warm, and atmospheric lead sound that is characteristic of Liquid DnB.
2. An Advanced Touch: Global Unison Modulation
Here is a more advanced technique for creating subtle, evolving stereo movement that is perfect for atmospheric sounds. Many users don't realise you can modulate the global unison parameters.
Hidden Serum Tip: Modulate the Unison Engine on the Global Page
This article from ADSR Sounds explains a powerful, underused feature in Serum. It details how to modulate parameters on the Global page to create complex, layered motion.
Read through the short article, paying close attention to "Step 4 – Modulate Wavetable Position (Per Unison Voice)". The key insight here is that modulating the Wavetable Position in the Global tab moves the wavetable for each unison voice individually.
To apply this, use a second, very slow LFO (e.g., a rate of 2-4 bars). Go to the GLOBAL tab and drag this LFO source to the Unison WT Pos knob. Set the modulation depth to be very low. This will cause each of the 7 unison voices to slowly and independently scan through the wavetable, creating a rich, complex, and non-repeating evolution in the timbre. It's a fantastic way to make a pad or lead feel "alive" over long, sustained notes.
3. Alternative Workflow: Granular Atmospheres
Now let's explore a completely different, more experimental approach using Serum's granular engine. This method excels at creating highly complex and organic textures that are difficult to program manually with LFOs.
Build Huge Atmospheres in Serum 2 (Ambient Sound Design Guide)
The DNB Academy video "Build Huge Atmospheres in Serum 2" demonstrates this powerful resampling technique.
Watch the section from resampling and granular synthesis. The core workflow is: create a sound, resample it, and then manipulate that recording in the granular engine.
Here's how to apply this process for our goal:
- Create a Source Sound: Start a new initialised patch. This time, create a harmonically rich sound. For example, use a
Basic Shapessaw wave on Oscillator A, add 5-7 voices of unison with moderate detune, and maybe even use Oscillator B an octave up to add more harmonics. - Resample: Play and hold a single note (e.g., C3) for a few seconds. While holding it, click the small arrow icon to the left of the "SERUM" logo at the top. This will render the last played note as a wav file.
- Go Granular: Now, re-initialise the patch. Turn off Oscillator A and turn on the Noise oscillator. Drag the audio file you just created from your Serum
Renderfolder (usually inXfer/Serum Presets/Wavetables/Render) directly onto the Noise oscillator's display. Serum will ask if you want to load it via granular synthesis; accept. - Manipulate: Your complex saw chord is now a texture that can be "played" by the granular engine. Turn up the
Pitchknob in the noise section to 0 so it plays at the original pitch. Now, the magic begins:- Use the granular controls (
Spd,Size,Jitr, etc.) to alter the texture. - Use a slow LFO to modulate the sample
Position. This will scrub through the recording, creating constant evolution. - Modulate the
Panrandomization to create instant stereo width.
- Use the granular controls (
- Filter and Add FX: From here, you can process this evolving granular texture just as we did in the first method: run it through a low-pass filter to control its brightness and add the same chain of Chorus, Delay, and Reverb to place it in an atmospheric space.
The "why" of this technique is that it breaks away from the predictable, cyclic nature of LFOs. The interplay of granular parameters creates semi-random, organic movement that is perfect for the deep, evolving atmospheres central to Liquid DnB.
Conclusion
In this lesson, you have not only synthesized a classic Liquid lead but also explored two distinct methodologies for achieving that goal.
Key Takeaways:
- The Foundational Method: A warm, atmospheric lead can be built systematically by starting with a simple waveform (sine), adding gentle thickness (low-detune unison), shaping it with a soft filter and envelope, and then creating space with a Chorus -> Delay -> Reverb effects chain.
- Subtle Modulation is Key: Slow LFOs applied with low intensity to parameters like filter cutoff, pitch, and global unison settings create the gentle, breathing quality characteristic of the genre.
- The Granular Method: Resampling a harmonically rich source and manipulating it in the granular engine offers a powerful alternative for generating complex, non-repeating, and highly organic atmospheric textures.
You now have a robust set of tools and—more importantly—two strategic approaches for designing sounds that fit the Liquid DnB aesthetic.
In our next lesson, we will shift gears dramatically. We'll leave the smooth and atmospheric world of Liquid behind and dive into the high-energy, euphoric sound of modern Dancefloor DnB, starting with the deconstruction of a bright, wide supersaw lead.