Recommended resources
The freely available resources this lesson will direct you to.
Hello! In our last session, we drafted a detailed migration plan, transforming the conceptual structure of a React application into a concrete blueprint of Express endpoints and server-side templates. This set the stage for our hands-on implementation.
Today, we'll bring that plan to life by tackling its most foundational element: routing. Your learning goal is to replace the client-side routing handled by React Router with server-side routing in Express. We will focus on building the routes to render your application's main pages and, crucially, ensuring that deep linking and browser history function just as smoothly as they would in a single-page application.
From Client-Side to Server-Side Routing
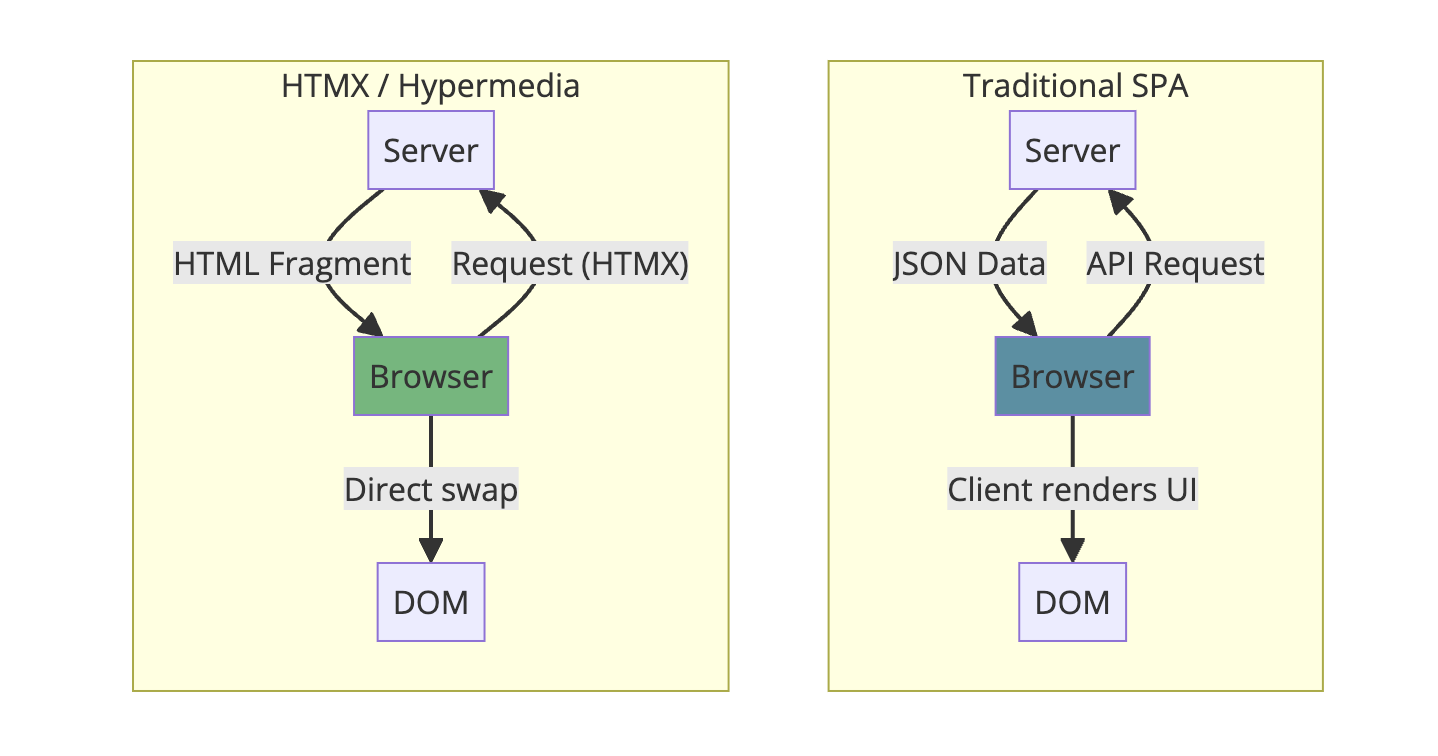
In a React SPA, React Router intercepts browser navigation events and manipulates the DOM to create the illusion of changing pages. The server is often just an API, unaware of the application's URL structure. We are now reversing this model. Your Express application will become the authoritative source for your application's routes, directly mapping URLs to the HTML content they represent.
The core idea is to have Express routes that serve full HTML documents on initial page loads or direct navigation, while subsequent navigation within the app is handled via AJAX requests that swap in only the necessary HTML fragments.
1. Setting Up the Express Server and Routes
First, we need a running Express server configured to render views. The contact manager application from your migration plan is the perfect case study. We'll start by building the server structure and defining the main route that was previously handled by React Router, such as /contacts.
The "Build a Full-stack App with Node.js and htmx" article from SitePoint provides an excellent, step-by-step guide for this initial setup. It uses Pug as a templating engine, which is a great choice for its concise syntax, but the principles apply equally to EJS or any other engine you might prefer.
Build a Full-stack App with Node.js and htmx - SitePoint
This article will guide you through scaffolding the Express application. It's a practical implementation of the server-side blueprint we designed.
Follow the instructions in these sections to set up your project: Start with Setting Up the Project. This covers creating the project, installing Express and Pug, and configuring the basic app.js file. Next, create your first route file as described in the text following the 'routes file' heading. This establishes the pattern for organizing your endpoints. Finally, read how to render a full template with data in the section Displaying All Contacts. Pay close attention to the res.render('index', { contacts }) call, as this is the server-side equivalent of rendering a React component with props.
At this point, you have an Express server that can handle a request to /contacts and render a complete HTML page with a list of contacts, effectively replacing the initial render of your React application.
2. Enabling SPA-like Navigation with Deep Linking
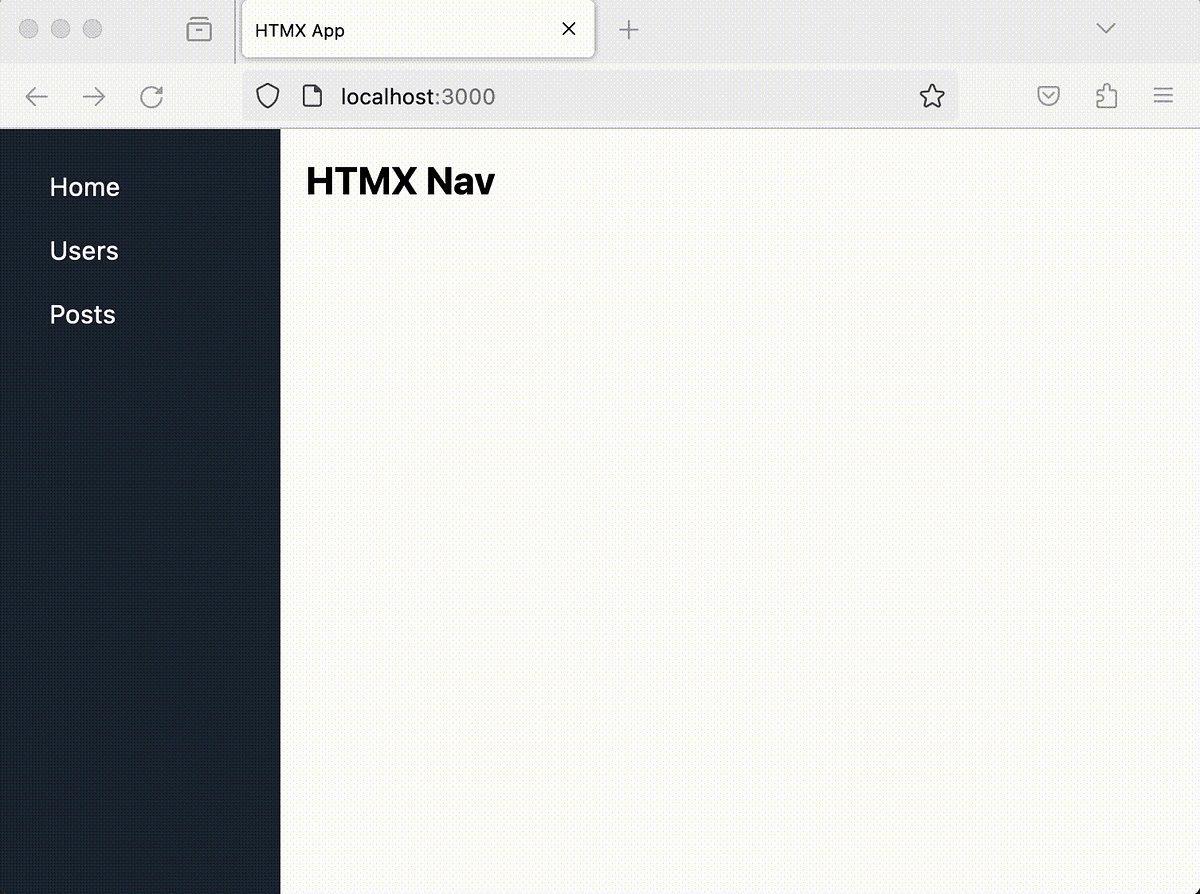
Our server now renders the initial page correctly. However, if you simply use standard <a> tags to link to individual contact details (e.g., /contacts/1), clicking them will trigger a full-page reload. To achieve the smooth navigation of an SPA while keeping the URL in sync, we need to introduce HTMX's navigation capabilities.
The key is to combine three attributes:
hx-get: Tells an element to issue aGETrequest to a URL.hx-target: Specifies which element on the page should be updated with the response.hx-push-url: Instructs HTMX to update the browser's URL in the address bar and add an entry to the browser's history, enabling the back button.
The following video from Net Ninja provides a crystal-clear demonstration of this pattern.
Build an "SPA" with HTMX #3 - Using hx-push-url
This video explains how to combine HTMX attributes to create SPA-like navigation.
Watch these key segments: First, see how to apply the attributes to an anchor tag from the beginning. The presenter configures hx-get to fetch a specific article and hx-target to replace the main content area (body in this case). Next, observe the corresponding server-side setup from the server setup. This shows the Express route (/articles/:id) that finds the correct data and renders the partial view. Finally, watch the explanation of hx-push-url from this segment. This is the attribute that enables deep linking and browser history.
3. Supporting Both Full Renders and Partial Swaps
You've now configured the front-end links. But there's a critical server-side consideration: what happens if a user directly navigates to /contacts/1 or refreshes the page? The request will hit your /contacts/:id endpoint, but since it's not coming from an HTMX-enhanced link, the server needs to return the full page layout, not just the contact details fragment.
HTMX solves this by adding a special HX-Request: true header to every request it makes. Your Express route handler can check for the presence of this header to decide what to render.
This is a fundamental pattern in hypermedia applications. The SitePoint article we used earlier has a dedicated section explaining exactly how to implement this.
Build a Full-stack App with Node.js and htmx - SitePoint
This part of the tutorial addresses the crucial logic for handling both AJAX requests and full page reloads.
Focus on the subsection titled Dealing with a full page refresh. It demonstrates how to use an if (req.headers['hx-request']) block in your Express route to conditionally render either a partial fragment for an HTMX request or the full index template for a direct browser navigation. The following "quick refactor" section also shows how to move the fragment into its own reusable template file, which is excellent practice.
With this server-side logic, your application is now robust. It provides a fast, SPA-like experience for internal navigation and still serves fully-formed pages for deep links, bookmarks, and search engine crawlers.
4. A Simpler Approach: hx-boost
Manually adding hx-get, hx-target, and hx-push-url to every link is explicit and powerful, but can be verbose. For site-wide navigation where most links should behave this way, HTMX provides a more elegant solution: hx-boost.
By adding hx-boost="true" to a parent element (like the <body> tag), you "boost" all descendant <a> and <form> elements. HTMX will automatically convert their standard href navigations into AJAX requests that swap the body content and push the URL to the history. This is a perfect example of progressive enhancement.
Build an "SPA" with HTMX #4 - Using hx-boost for Links
This follow-up video from Net Ninja introduces hx-boost as a simplification of the previous lesson's work.
Watch these sections to understand this powerful feature: The introduction explains how hx-boost replaces the three attributes we used before. The core explanation details what hx-boost does under the hood—it essentially adds the hx-get, hx-target, and hx-push-url functionality for you. The progressive enhancement section demonstrates a key benefit: if JavaScript is disabled, the links gracefully degrade to normal, full-page navigation.
For the kind of CRUD applications you're migrating, hx-boost can be an incredibly efficient way to get 80% of the SPA feel with a single line of code, leaving you to handle more complex, targeted swaps manually where needed.
Conclusion
In this lesson, you have successfully replaced the core functionality of React Router with a server-centric approach using Express and HTMX. You now have a solid foundation for your migrated application that is both fast for the user and friendly to browsers and search engines.
Key Takeaways:
- Server-Side Routing: Express routes are now the single source of truth for your application's URLs.
- Deep Linking Mechanics: The combination of
hx-get,hx-target, andhx-push-url="true"enables AJAX-based navigation while maintaining URL and browser history integrity. - The
HX-RequestHeader: This header is the key mechanism your server uses to distinguish between an HTMX partial request and a full-page browser request, allowing it to respond appropriately. - Progressive Enhancement with
hx-boost: This attribute provides a simple yet powerful way to upgrade a standard multi-page application to feel like a SPA with minimal code.
With the application's page structure and navigation firmly in place, our next step will be to implement dynamic data loading within those pages. In the next lesson, we will translate a common React pattern—fetching and displaying data with a useEffect hook—into an equivalent hx-get interaction that loads content on demand.