Recommended resources
The freely available resources this lesson will direct you to.
Hello! Welcome back to your front-end development course.
In our last lesson, we took a crucial first step in managing forms by learning how to use event.preventDefault() to stop the browser's default submission behavior. This gave us control over the submission process.
Today, we'll build directly on that. Now that we've paused the form, our goal is to read the form input values in response to user events such as submit and input. This is the bridge between a user's action and the application's ability to respond with that data. For a product designer, understanding how this data is captured is fundamental to creating the interactive and responsive user experiences you design, from live data previews to personalized content.
We'll explore two main scenarios:
- Reading all the data at once when the user clicks "submit".
- Reading data in real-time as the user types, using the
inputevent.
1. Reading Input Values on Form Submission
The most common task is to collect all the user's information when they complete the form and click the submit button. We'll look at two effective ways to do this.
The Direct Approach: Accessing Inputs One-by-One
The most straightforward method is to select each input element in your JavaScript and then, inside the submit event listener, access its .value property.
Let's watch a quick video that demonstrates this exact process. It picks up right where our last lesson left off: after preventing the default submission.
Event listeners in JavaScript - click, submit and change
This video from the Geekcentric channel shows a clear, step-by-step example of how to grab an input's value after the submit event is fired.
Watch the section from 04:42 to 05:44. The key takeaway is how the code first selects the input element and then accesses its .value property inside the submit event handler to log the text to the console.
This approach is simple and works perfectly for small forms. However, as your forms grow, selecting every single input can become repetitive.
The Modern Approach: Using the FormData API
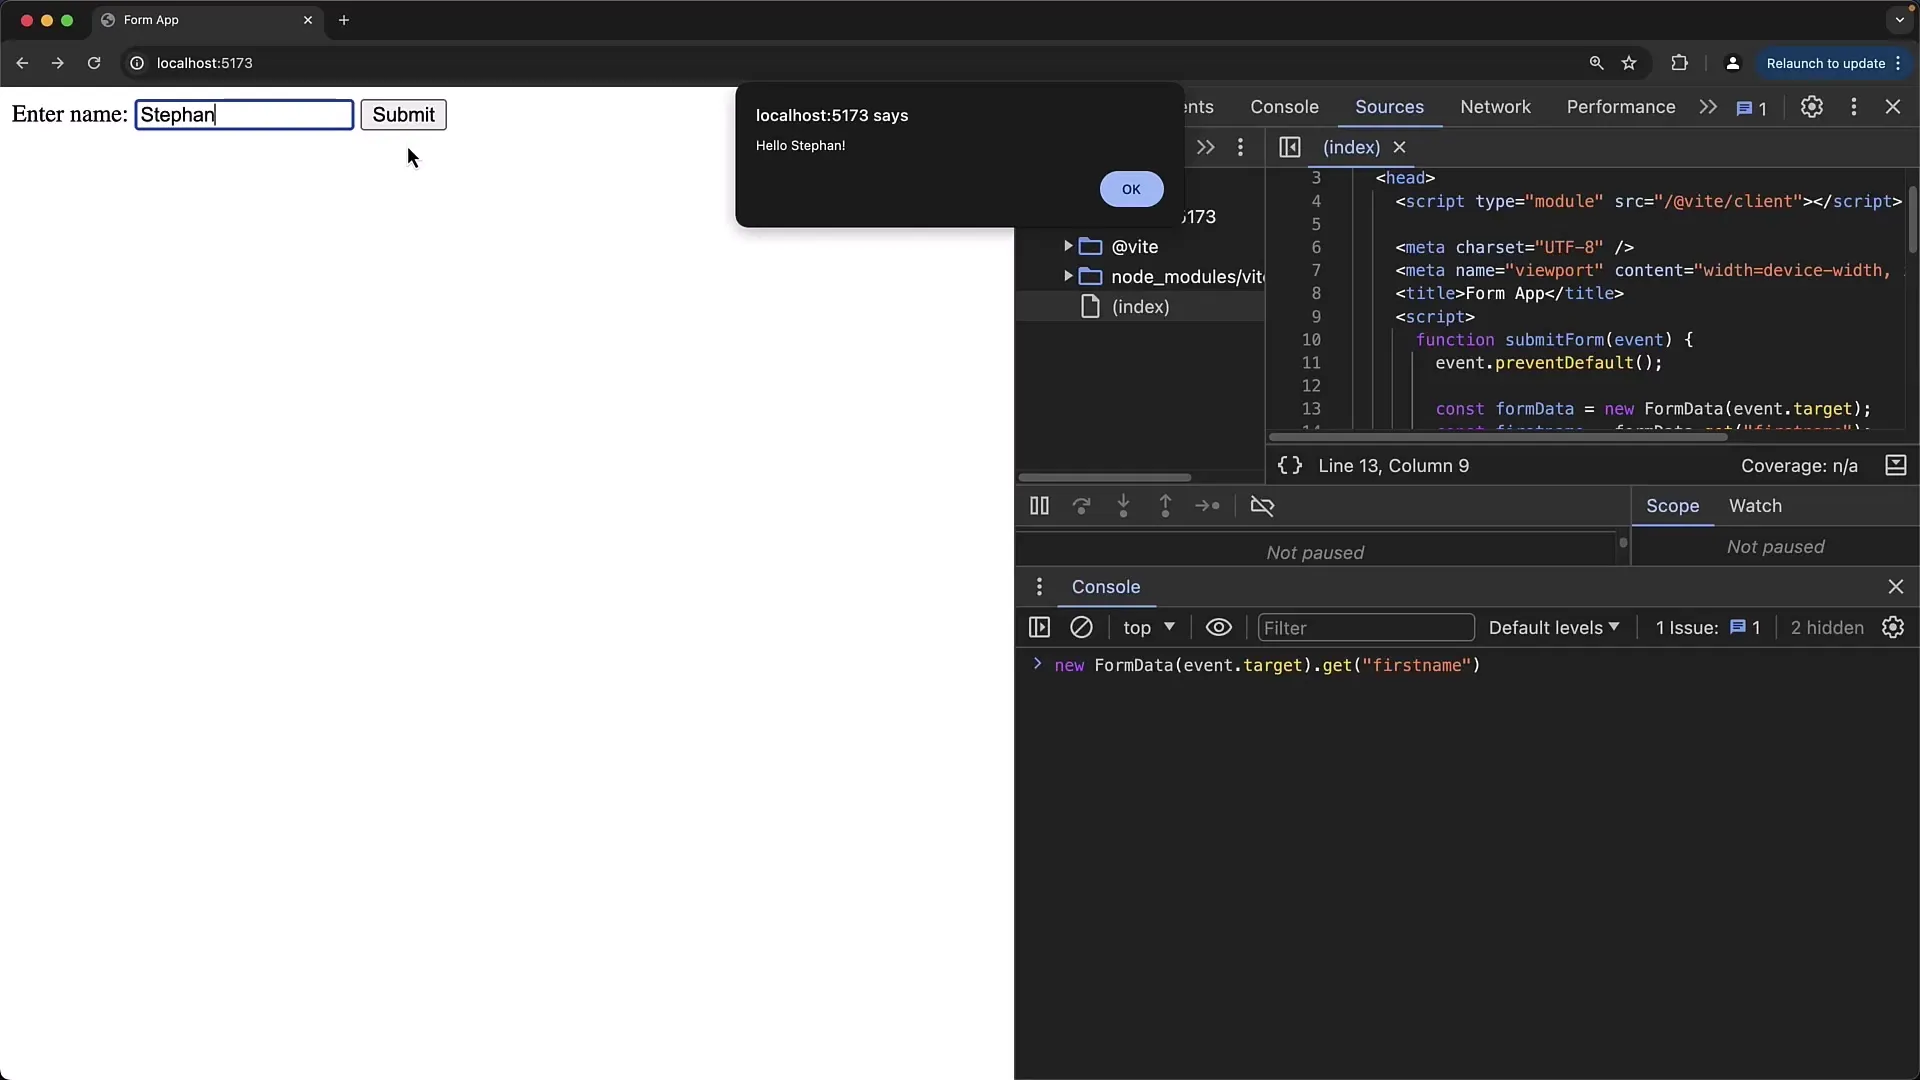
For a more efficient and scalable solution, we can use the FormData API. This is a modern browser feature designed specifically to make collecting form data easier. You simply create a new FormData object and pass it your form element. It automatically gathers all the values from the inputs that have a name attribute.
Let's read about this and compare it to the direct approach.
Handling Form Input with Vanilla JavaScript
This article from the OpenReplay blog provides an excellent overview of different methods for accessing form data. We'll focus on comparing the manual method with the FormData API.
Please read the section titled 'Accessing Form Input Values'. Focus on 'Method 1: Access Individual Elements' (which you just saw in the video) and contrast it with 'Method 3: Using FormData API'. Notice how FormData simplifies the process by taking the entire form as an argument.
To use FormData, your inputs must have a name attribute, like <input type="text" name="username">. The FormData object uses these names as keys to access the data.
Here is a visual summary of the FormData workflow:
2. Reading Values in Real-Time with the input Event
Sometimes you need data as the user is typing. This is essential for features you've likely designed yourself, such as:
- Live previews of a profile card.
- Character counters on a "bio" or "tweet" field.
- Real-time search filtering.
For this, we use the input event. It fires every single time the user types, deletes, or even pastes text into an input field.
Inside the input event listener, we can get the element's current value using event.target.value. Here, event.target refers to the element that triggered the event (the input field itself).
Learn JavaScript EventListeners in 4 Minutes
This short video from Coding2GO has a great example of using the input event to create a live display—a perfect illustration of a dynamic UX pattern.
Watch from 03:07 to 03:52. Pay attention to how the input event is used to update a heading in real-time. The key concept here is event.target.value, which gives you the current value of the element that triggered the event.
3. Handling Different Input Types
Forms contain more than just text fields. The principles for reading values from radio buttons, checkboxes, and dropdowns are similar, but with slight differences.
- Radio Buttons: You need to find which one is selected. You can do this with the CSS pseudo-class
:checked. For example:document.querySelector('input[name="plan"]:checked').value. - Checkboxes: Since multiple can be selected, you'd select all
:checkedcheckboxes and loop through them to get their values. - Select (Dropdown): This is simple; you can just get the
.valueof the<select>element itself, which will be the value of the chosen<option>.
Let's quickly review the code patterns for these.
Handling Form Input with Vanilla JavaScript
How do we read values from these other controls? The same article we viewed earlier provides clear code examples for these common input types.
Scroll to the section 'Handling Different Input Types'. Quickly review the examples for 'Radio Buttons', 'Checkboxes', and 'Select Dropdowns'. You don't need to memorize this, but notice the patterns: using :checked to find the selected radio/checkbox and accessing .value for a select menu.
4. Your Turn: Capturing Profile Data
Let's apply these concepts to our profile previewer. The live preview using the input event is already implemented from a previous lesson. Your task is to enhance the submit handler to use the modern FormData API.
Your Goal: When the "Save Profile" button is clicked, use FormData to collect the input values and log them to the console.
Important: For FormData to work, we need to add name attributes to our form inputs. I've updated the HTML for you.
<!DOCTYPE html>
<html lang="en">
<head>
    <meta charset="UTF-8">
    <title>Interactive Profile Previewer</title>
    <style>
        body { font-family: sans-serif; display: flex; justify-content: center; align-items: flex-start; gap: 40px; padding-top: 40px; background-color: #f4f4f9; }
        .form-container, .card-container { background: #fff; padding: 2rem; border-radius: 8px; box-shadow: 0 4px 12px rgba(0,0,0,0.1); width: 350px; }
        h2 { margin-top: 0; }
        .form-group { margin-bottom: 1rem; }
        label { display: block; margin-bottom: 0.5rem; font-weight: bold; }
        input[type="text"], textarea { width: 100%; padding: 0.5rem; border: 1px solid #ccc; border-radius: 4px; box-sizing: border-box; }
        button { width: 100%; padding: 0.75rem; border: none; border-radius: 4px; cursor: pointer; font-size: 1rem; }
        .btn-submit { background-color: #007bff; color: white; }
        .profile-card { border: 1px solid #ddd; padding: 1.5rem; border-radius: 8px; text-align: center; }
        .profile-card h3 { margin: 0 0 0.5rem 0; }
        .profile-card p { margin: 0; color: #666; }
    </style>
</head>
<body>

    <div class="form-container">
        <h2>Edit Your Profile</h2>
        <!-- Note the `name` attributes added to the inputs -->
        <form id="profile-form">
            <div class="form-group">
                <label for="name-input">Name</label>
                <input type="text" id="name-input" name="profileName" value="Jane Doe">
            </div>
            <div class="form-group">
                <label for="bio-input">Bio</label>
                <textarea id="bio-input" name="profileBio" rows="3">UI/UX Designer & Problem Solver</textarea>
            </div>
            <button type="submit" class="btn-submit">Save Profile</button>
        </form>
    </div>

    <div class="card-container">
        <h2>Live Preview</h2>
        <div id="profile-card" class="profile-card">
            <h3 id="card-name">Jane Doe</h3>
            <p id="card-bio">UI/UX Designer & Problem Solver</p>
        </div>
    </div>

    <script>
        const nameInput = document.querySelector('#name-input');
        const bioInput = document.querySelector('#bio-input');
        const profileForm = document.querySelector('#profile-form');
        const cardName = document.querySelector('#card-name');
        const cardBio = document.querySelector('#card-bio');

        // Live preview for name (input event)
        nameInput.addEventListener('input', (event) => {
            cardName.textContent = event.target.value;
        });

        // Live preview for bio (input event)
        bioInput.addEventListener('input', (event) => {
            cardBio.textContent = event.target.value;
        });

        // Form submission handler (submit event)
        profileForm.addEventListener('submit', (event) => {
            event.preventDefault();

            // --- YOUR TASK ---
            // 1. Create a new FormData object from the `profileForm`.
            //    const formData = new FormData(profileForm);
            //
            // 2. Get the value for the name input using its `name` attribute ('profileName').
            //    Hint: Use formData.get('your-input-name');
            //
            // 3. Get the value for the bio input using its `name` attribute ('profileBio').
            //
            // 4. Log the retrieved name and bio to the console.
            //    Example: console.log('Name:', retrievedName);

            // YOUR CODE HERE
        });
    </script>

</body>
</html>
Your Task:
Copy the code above into an HTML file and open it in your browser. Implement the logic described in the // YOUR TASK section within the submit event listener. Open the developer console, change the text in the form, and click "Save Profile" to see your captured data.
Click here to see the solution
profileForm.addEventListener('submit', (event) => {
    event.preventDefault();

    // 1. Create a new FormData object.
    const formData = new FormData(profileForm);

    // 2. Get the value for the name input.
    const retrievedName = formData.get('profileName');

    // 3. Get the value for the bio input.
    const retrievedBio = formData.get('profileBio');

    // 4. Log the retrieved values.
    console.log('Profile Saved!');
    console.log('Name:', retrievedName);
    console.log('Bio:', retrievedBio);
});
Conclusion
Great job! You've now mastered the essential skill of reading data from forms, both at the moment of submission and in real-time as the user interacts with the page.
Key Takeaways:
- The
submitevent is for capturing all form data at once after the user is done. - The
inputevent is for creating dynamic, real-time experiences by reading data as it changes. - You can access an input's value directly with the
.valueproperty. - The
FormDataAPI offers a clean, modern, and scalable way to collect data from an entire form using thenameattributes of the inputs. event.target.valueis a convenient shortcut to get an element's value inside an event handler.
In this lesson, we learned how to read data. In our next lesson, we'll focus on what to do with it: performing basic validation. We'll use conditional logic to check if the data is valid and provide clear feedback to the user, a critical step in building robust and user-friendly forms.