Recommended resources
The freely available resources this lesson will direct you to.
Welcome back! In our last lesson, you successfully launched your own self-hosted n8n instance using Docker Compose. This was a massive step towards taking full control of your automation platform. You now have a running n8n service connected to a persistent PostgreSQL database, configured with a basic .env file.
Today, we're going to build directly on that foundation. This lesson focuses on the learning outcome: to configure your n8n deployment using environment variables. You'll learn how to move beyond the initial setup and use these variables to customize your n8n instance's behavior, from its public-facing URLs to its data retention policies. This is the key to tailoring n8n to your specific needs, whether for local development or a future production deployment.
1. Why Environment Variables Matter
In the last lesson, you created a .env file to store database credentials and set a timezone. But the power of this configuration method goes much further. Environment variables are the standard way to configure containerized applications like n8n without modifying the application code itself.
To see a practical example of why this is so important, let's look at what happens when a key variable is misconfigured.
Master n8n: Set Up Environment Variables Easily!
Watch this short clip from the video "Master n8n: Set Up Environment Variables Easily!" by syncbricks. It clearly demonstrates the problems caused by an incorrect WEBHOOK_URL.
Watch from the beginning until 01:12. Pay close attention to how the incorrect domain name appears in both the webhook URLs and the OAuth credential setup pages. This illustrates why n8n needs to know its own public address.
As you saw, if n8n doesn't know its correct address, crucial features like webhooks and OAuth2 authentication will fail because they will generate incorrect URLs. Environment variables are our tool to provide this and other essential context to the n8n application.
2. Methods for Setting Environment Variables
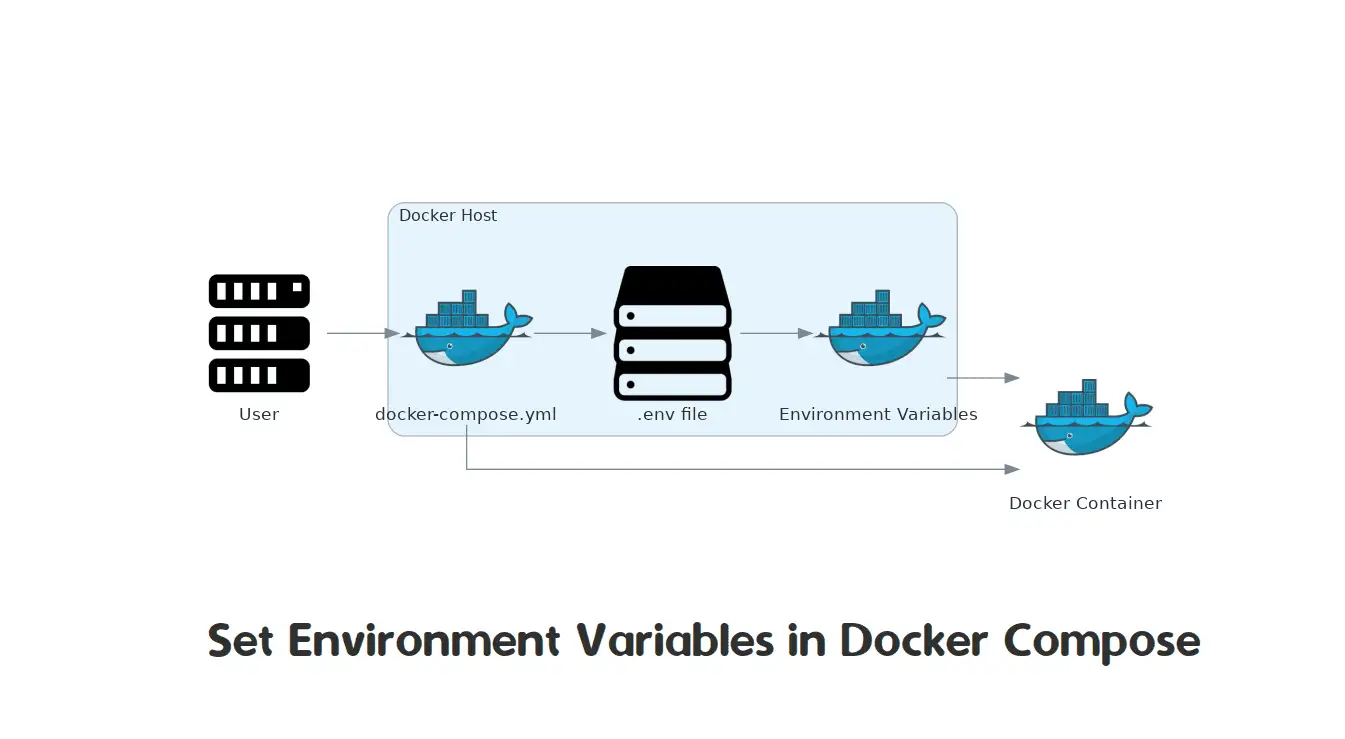
There are two primary ways to provide these variables in a Docker Compose setup. Your current setup from the previous lesson already uses the recommended best practice.
- Inline in
docker-compose.yml: You can list variables directly under theenvironment:key for a service. This is quick for non-sensitive data but can become cluttered. - Using an
.envfile: You can create a separate.envfile and link to it withenv_file: - .env. This keeps your configuration, especially secrets, separate from your container orchestration logic. This is the method we are using.
The following diagram illustrates how Docker Compose uses these files to configure your container.
For a more detailed breakdown of these two approaches, the following article is an excellent reference.
How to Self-Host n8n on Docker in 5 Simple Steps
This article, 'How to Self-Host n8n on Docker in 5 Simple Steps,' provides a clear, textual explanation of setting variables inline versus using a separate .env file.
Read 'Step 3', focusing on the 'Environment Variables' subsection, to see the inline method. Then, read 'Step 4: Creating an Environment File' to understand the benefits of the .env file approach, which reinforces why our current setup is a good practice.
3. Hands-On: Customizing Your n8n Instance
Let's apply this knowledge by adding some of the most important configuration variables to your n8n instance. Open the docker-compose.yml and .env files from the previous lesson in your code editor.
We will be adding all new variables to your .env file to keep our configuration clean.
A. Setting the WEBHOOK_URL
As we saw earlier, this is one of the most critical variables. It tells n8n its own public-facing base URL. For our local setup, this will be http://localhost:5678. In a future lesson, this will become your public domain name.
Add the following line to your .env file:
# The public-facing URL of your n8n instance
WEBHOOK_URL=http://localhost:5678
B. Managing Execution Data
By default, n8n saves the data for every single workflow execution. While useful for debugging, this can consume a lot of database space over time. We can configure n8n to automatically prune this data.
Add the following lines to your .env file to enable pruning and keep the last 30 days of successful execution data:
# Enable automatic pruning of execution data
EXECUTIONS_DATA_PRUNE=true
# Set the maximum age of successful execution data to keep (in hours)
# 720 hours = 30 days
EXECUTIONS_DATA_MAX_AGE=720
There are other related variables, such as EXECUTIONS_DATA_PRUNE_MAX_COUNT, which you can explore in the n8n documentation to set a maximum number of executions to keep.
Your .env file should now look something like this (with your own timezone and password):
# Timezone for the n8n instance
GENERIC_TIMEZONE=America/New_York

# Set to 'false' for local HTTP access without a reverse proxy/SSL
N8N_SECURE_COOKIE=false

# The port n8n will run on inside the container
N8N_PORT=5678

# Set Node.js environment to production for performance
NODE_ENV=production

# PostgreSQL Database credentials
POSTGRES_DB=n8n
POSTGRES_USER=n8nuser
POSTGRES_PASSWORD=mysecretpassword

# The public-facing URL of your n8n instance
WEBHOOK_URL=http://localhost:5678

# Enable automatic pruning of execution data
EXECUTIONS_DATA_PRUNE=true
# Set the maximum age of successful execution data to keep (in hours)
EXECUTIONS_DATA_MAX_AGE=720
Test your understanding!
You set EXECUTIONS_DATA_MAX_AGE to 720. If you ran a workflow successfully every hour for 45 days, what would you expect to see in the "Executions" list in the n8n UI after the pruning process runs?
Show answer
You would expect to see only the executions from the last 30 days (720 hours). The executions from the first 15 days of that period would have been automatically deleted by the pruning process because their age exceeded the configured maximum. Note that by default, pruning only applies to successful executions; failed executions are kept longer unless configured otherwise.
4. Applying and Verifying Your Changes
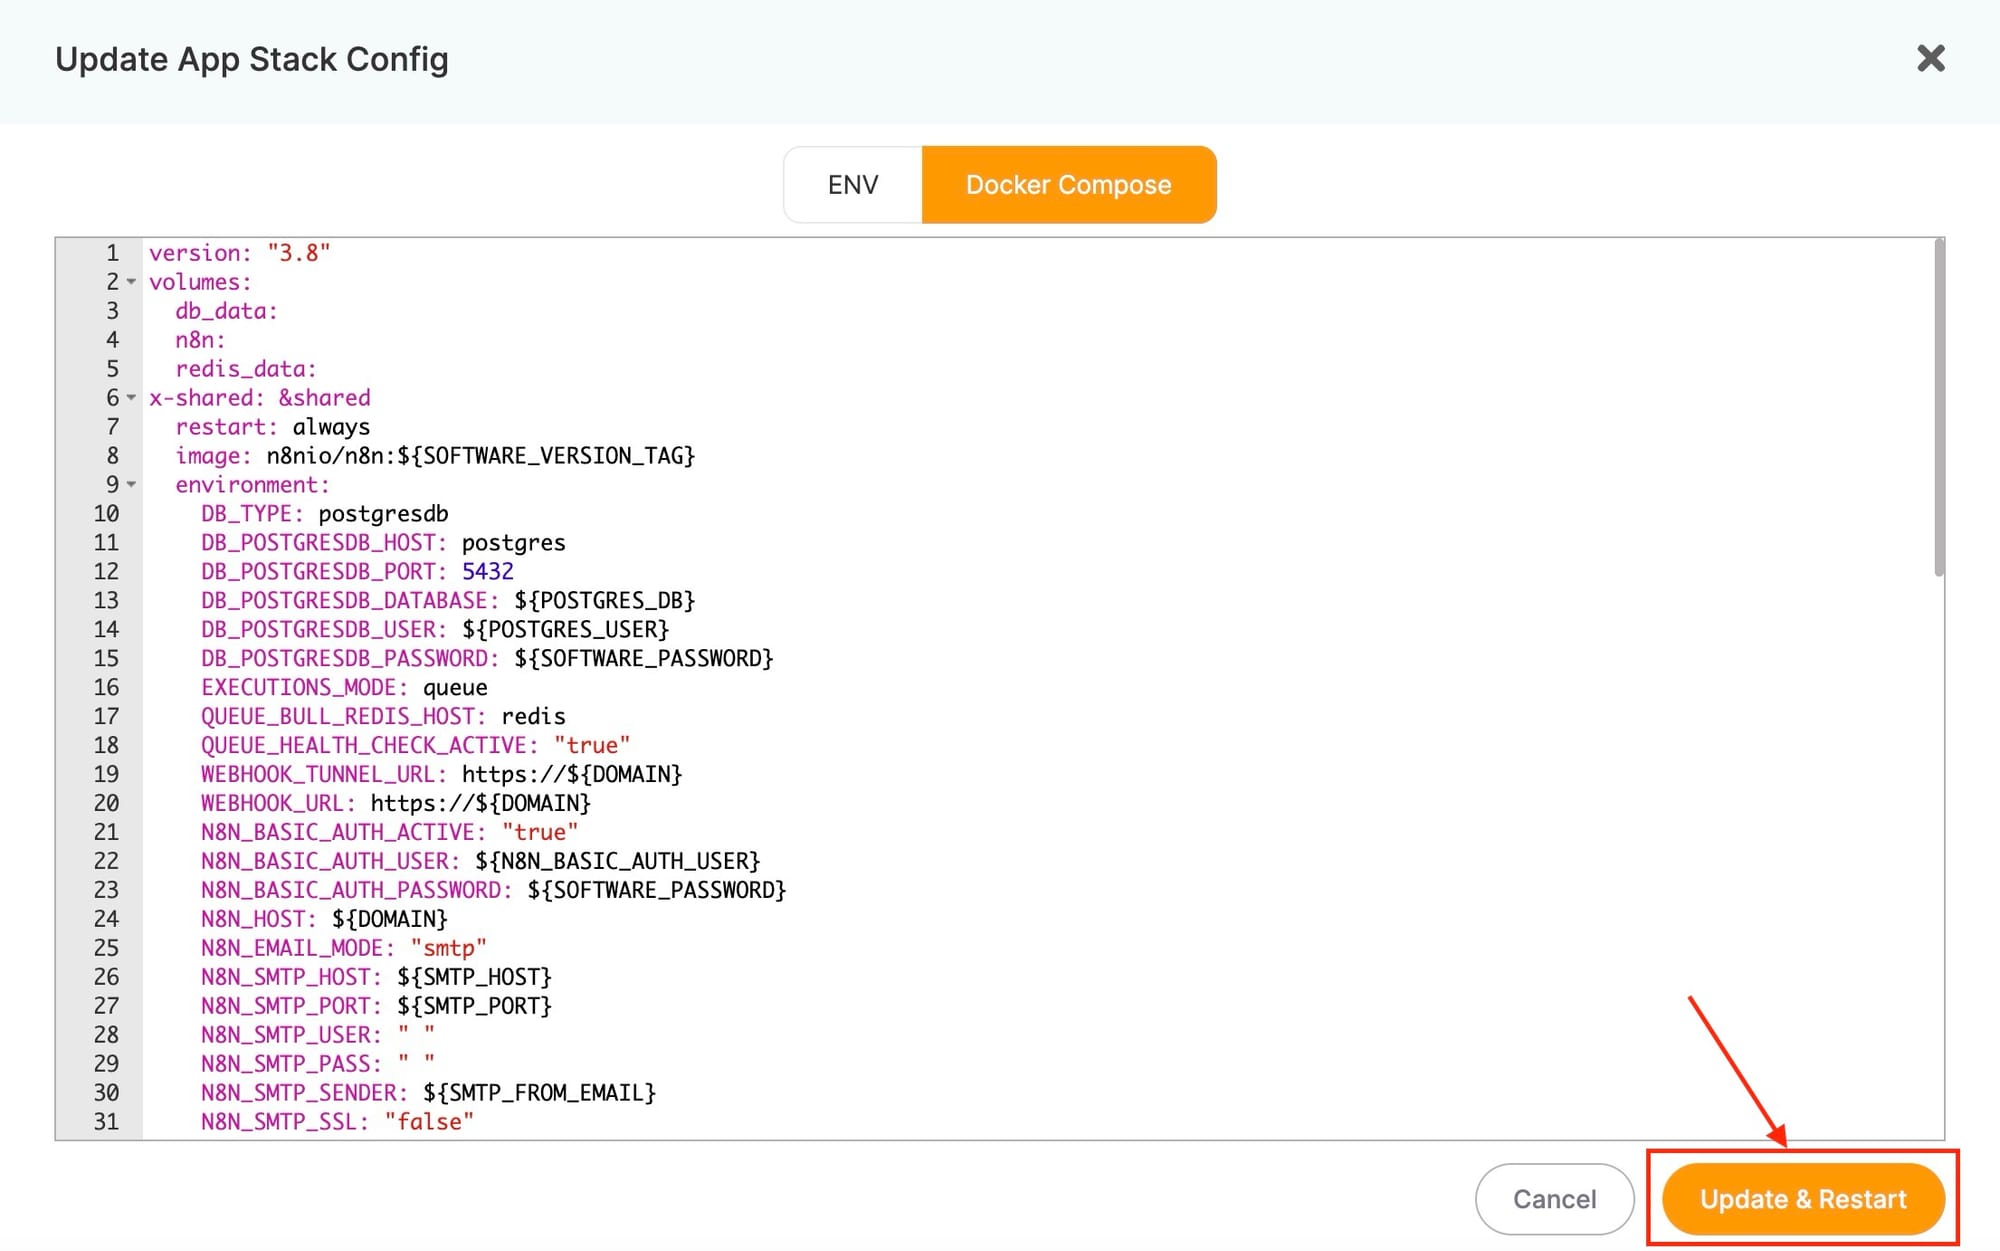
Environment variables are read by the n8n container only when it starts. To apply our changes, we need to restart the stack.
-
Navigate to your project directory (
~/n8n-deploymentor wherever you created it) in your terminal. -
Bring the stack down. This stops and removes the old containers. Your data is safe because it's stored in the volumes we created.
docker compose down -
Bring the stack up again. This will create new containers that read the updated values from your
.envfile.docker compose up -d -
Verify the
WEBHOOK_URLchange.- Open your n8n instance at
http://localhost:5678. - Create a new, empty workflow.
- Add a Webhook node.
- In the node's properties panel on the right, look at the "Test URL". It should now correctly show
http://localhost:5678/webhook-test/.... This confirms n8n has picked up your new configuration!
- Open your n8n instance at
5. Secure Configuration for Production
While putting secrets in a .env file is good, professional production environments often use more advanced secret management systems like Docker Secrets or Kubernetes Secrets. The n8n application supports this through a clever convention.
The official documentation explains that by appending _FILE to an environment variable, you can tell n8n to read the value from a file instead of the variable itself.
Configuration methods | n8n Docs
Review the official n8n documentation on configuration to learn about the _FILE suffix, a powerful technique for securely managing secrets.
Read the section 'Keeping sensitive data in separate files'. You don't need to implement this now, but understand the concept: if you set DB_POSTGRESDB_PASSWORD_FILE=/path/to/secret, n8n will read the password from that file rather than from an environment variable named DB_POSTGRESDB_PASSWORD.
This technique is fundamental for high-security deployments, as it allows you to inject secrets into your containers using your orchestrator's native features without ever exposing them as environment variables.
Conclusion
In this lesson, you have taken a significant step in mastering your self-hosted n8n deployment. You now have the knowledge and practical skills to configure your instance to your exact specifications.
Key Takeaways:
- Environment variables are the primary method for configuring a self-hosted n8n instance.
- Using a dedicated
.envfile is a best practice for separating configuration from orchestration and keeping secrets out of yourdocker-compose.yml. - Critical variables like
WEBHOOK_URLare essential for core n8n functionality, while others likeEXECUTIONS_DATA_PRUNEhelp you manage system resources. - Applying configuration changes requires a
docker compose downandupcycle to force the container to restart and read the new variables. - For production-grade security, n8n supports advanced patterns like the
_FILEsuffix for integration with secret management systems.
Preview of the Next Lesson:
That WEBHOOK_URL you configured is about to become even more important. In our next lesson, we will replace localhost with a real domain name and learn how to set up a reverse proxy with an SSL certificate. This will make your n8n instance securely accessible from the public internet, paving the way for integrations with cloud services.