Recommended resources
The freely available resources this lesson will direct you to.
Welcome to your first lesson! I'm excited to start this journey with you. Your goal is to move beyond simply following an AI's instructions and to truly understand the "why" behind building and launching an app. You're already comfortable with the design and "vibe" of a product; this course will help you connect that vision to the underlying code and infrastructure with confidence.
To begin, we'll look at the different environments where this "vibe coding" happens. When you ask an AI to create something, where does it actually happen? On a website? In a specialized app on your computer? In a cryptic-looking black window? Today, we'll compare these three main arenas: browser-based tools, local code editors, and command-line (CLI) tools. Understanding their strengths and weaknesses is the first step toward choosing the right tool for the right task and mastering your creative workflow.
The Three Arenas of AI-Assisted Coding
The term "vibe coding" perfectly captures the new reality of software development: describing your intent in natural language and letting an AI translate it into code. But not all "vibe coding" tools work the same way. They generally fall into three distinct categories, each suited for a different stage of a project.
To get a clear overview of these categories, let's start with a short reading.
Best Vibe Coding Tools in 2026: A Strategic Comparison for Founders and Teams
This article does a great job of categorizing the explosion of new AI coding tools. We'll focus on the first few sections to establish our mental model.
Please read the introduction titled What is vibe coding? and then the section 138 tools, 3 operating models that matter. Pay close attention to the three bolded categories the author identifies.
As the article explains, the three main operating models are:
- Full-stack app generators: These are typically browser-based. You work entirely on a website, type in your idea, and the tool spits out a working application. Think of Claude's "Artifacts" feature or dedicated platforms like Replit.
- AI IDEs / codebase agents: These are local editors. You install a program on your computer (like Cursor, which is a version of the popular VS Code editor) and the AI assists you directly within that program. The code files live on your machine.
- Terminal agents: These are CLI (Command Line Interface) tools. You interact with the AI using text commands in a terminal window. Claude Code is a prime example of this.
Think of it like stages in a design process:
- Browser-based tools are like quick, digital napkin sketches. You can validate an idea in minutes.
- Local editors are like your detailed Figma or CAD environment, where you have full control to refine every pixel and component.
- CLI tools are like running a powerful generative script that can build complex architectural structures based on a set of rules you provide.
Let's explore each of these in more detail.
1. Browser-Based Generators: The Launchpad
These tools are your fastest path from idea to a shareable link. You work entirely in your web browser, describe the app you want, and the platform handles everything: generating the code, setting up the necessary files, and often even hosting it for you.
When to use them:
- Rapid Prototyping: You have an idea and want to see if it works right now.
- Idea Validation: You want to build something quickly to show users or stakeholders before committing to a full build.
- Learning: You want to see how an AI would structure a certain type of app without any local setup.
In this video, investor and builder Greg Isenberg suggests that if you have no prior coding experience, you should start with these simpler, browser-based tools before "graduating" to more advanced workflows.
Be a 10x Vibe Coder (Claude Code + Cursor + MCP)
Watch this short clip where Greg Isenberg discusses the right starting point for beginners.
Watch the segment from this point, where he recommends tools like 'create anything.com' (a browser-based generator) as the ideal first step.
The major downside of these tools is that they can feel like a "black box." You get a finished product, but you have less control over the underlying structure. When you want to make complex changes or integrate specific technologies, you often hit a limit. That's when you need to bring the code onto your own machine and use a local editor or CLI tool.
2. Local Editors vs. CLI Tools: Taking the Wheel
Once you have the code on your computer, you have two main ways of working with an AI: inside a visual code editor or through the command line. This is where tools like Cursor and Claude Code come in. While they can both edit your code, their philosophies are fundamentally different.
- Cursor is an IDE-first tool. IDE stands for "Integrated Development Environment," which is just a fancy term for a code editor with extra features (like a file browser and a terminal). You are the driver, and the AI is your super-powered assistant, suggesting completions and making edits that you approve visually.
- Claude Code is an agent-first tool. The AI is the driver. You give it a high-level goal, it creates a plan, and it autonomously executes that plan across your entire codebase.
This video from Codevolution gives an excellent explanation of this core difference.
Cursor vs Claude Code | The Ultimate Comparison Guide
This video provides a very clear, structured comparison of the user experience for Cursor and Claude Code.
First, watch the introduction from the beginning to understand the fundamental difference in how you interact with each tool. Then, jump to the end for a fantastic analogy from the summary that clarifies their distinct roles.
The analogy is perfect: Claude Code builds the house. Cursor paints the walls.
Let's look at their features side-by-side.
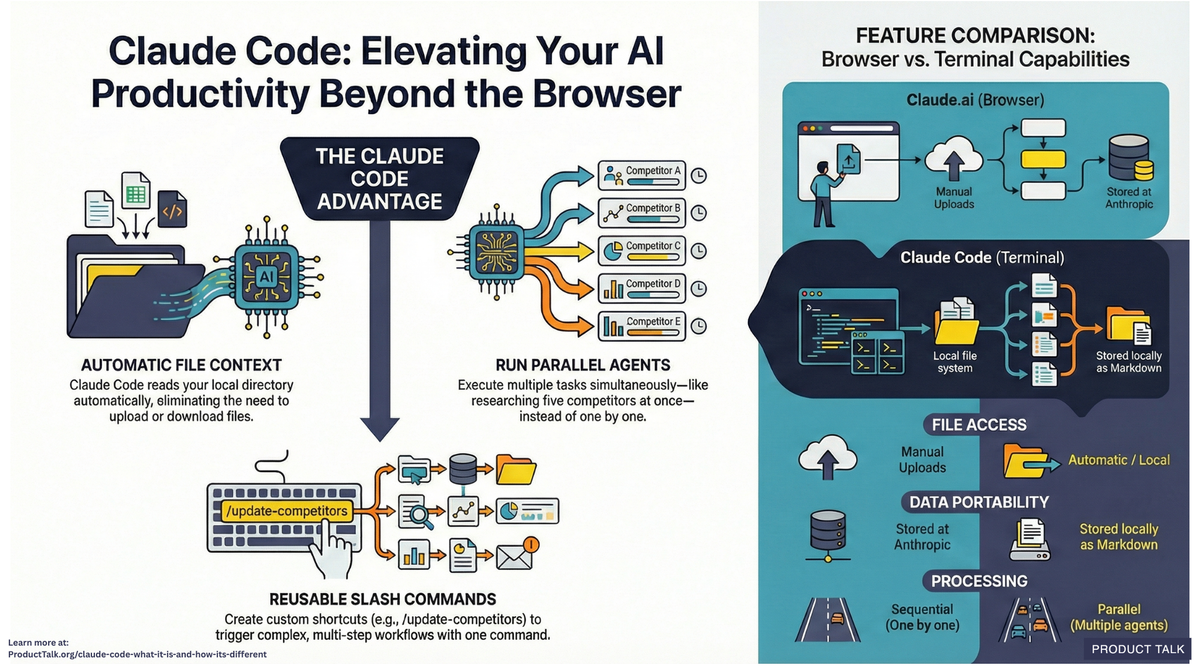

Here's a breakdown of how they compare in practice:
| Aspect | Local Editor (Cursor) | CLI Tool (Claude Code) |
|---|---|---|
| Interface | Visual, graphical (like a normal app) | Text-based (in a terminal window) |
| Workflow | Interactive. You write code, highlight it, ask the AI to change it, and see instant visual feedback. | Conversational/Delegated. You tell the AI a goal, it formulates a plan, and then it executes. |
| Best For | Fine-tuning details, fixing small bugs, writing code line-by-line, UI polishing. "Painting the walls." | Large-scale changes, refactoring multiple files at once, generating entire new features, automation. "Building the house." |
| Control | Granular. You see red/green "diffs" (differences) and can accept or reject every single line of change. | High-level. You approve the overall plan, but the AI handles the step-by-step execution. Changing a small detail often requires another prompt. |
The Power User Workflow: Using Both
As you've probably gathered, the choice isn't necessarily "one or the other." Many advanced users, including the "vibe coders" you see building apps on social media, use both tools together to get the best of both worlds. They use Claude Code for the heavy lifting and then switch to Cursor for the detailed refinement.
This final video shows you exactly what that combined workflow looks like in practice.
Be a 10x Vibe Coder (Claude Code + Cursor + MCP)
Greg Isenberg provides a practical look at how he combines Claude Code and Cursor to build apps, including iOS apps with Xcode. This is a great window into a real-world "vibe coding" setup.
First, watch how he sets up his screen to use both tools simultaneously, from the setup. Next, listen to his explanation of why he uses both, focusing on their different strengths for complex problems, from this segment and again from this part. Finally, watch the fascinating live comparison where he gives the exact same prompt to both Claude Code and Cursor's "plan mode" and compares the results from this live demo. It perfectly demonstrates their different approaches.
The key insight from the demo is that even when using the same underlying AI model, the way you interact with it (a direct command vs. a "plan mode" that lets the AI think first) can produce dramatically different results.
Key Takeaways
You've now seen the three primary environments for coding with AI. There is no single "best" one; the right choice depends entirely on your task.
- Browser-Based Generators are for speed and idea validation. They get you a working prototype in minutes with zero setup.
- Local Editors (like Cursor) are for interactive control and refinement. They are your digital workshop for polishing details and making precise changes.
- CLI Tools (like Claude Code) are for autonomous power and scale. They are your heavy machinery for building foundational structures and automating complex, multi-file tasks.
Understanding this landscape is the first crucial step. You can now recognize what kind of tool an AI is asking you to use and, more importantly, why.
In our next lesson, we will zoom in on the local development environment. We'll answer the question: What exactly is a code editor like VS Code or Cursor, and what does it mean to "run code locally" on your own machine?