Recommended resources
The freely available resources this lesson will direct you to.
Welcome to the final lesson in our module on the terminal and npm. In our last session, we took a deep dive into npm install. You learned that it's the command you use to fetch all the necessary "parts" (dependencies) and "workshop tools" (devDependencies) for your project, all managed by the package.json file.
Today, we're going to put those parts together and turn on the power. We'll focus on npm run dev, the command your LLM assistant will ask you to run constantly. This lesson will demystify what happens when you type those words. You'll learn what a "local development server" is, how it gives you an instant feedback loop, and how to launch one yourself. By the end of this lesson, you'll have started a project from scratch and seen it come to life in your browser.
Your Project's Remote Control: package.json Scripts
If package.json is the blueprint for your project, then the scripts section within it acts as a remote control with pre-programmed buttons. Instead of typing out long, complex commands every time you want to perform a common action, you create simple aliases.
The most common "button" on this remote is dev. When you execute npm run dev, you're telling npm: "Look inside my package.json file, find the scripts object, and run whatever command is assigned to the dev key."
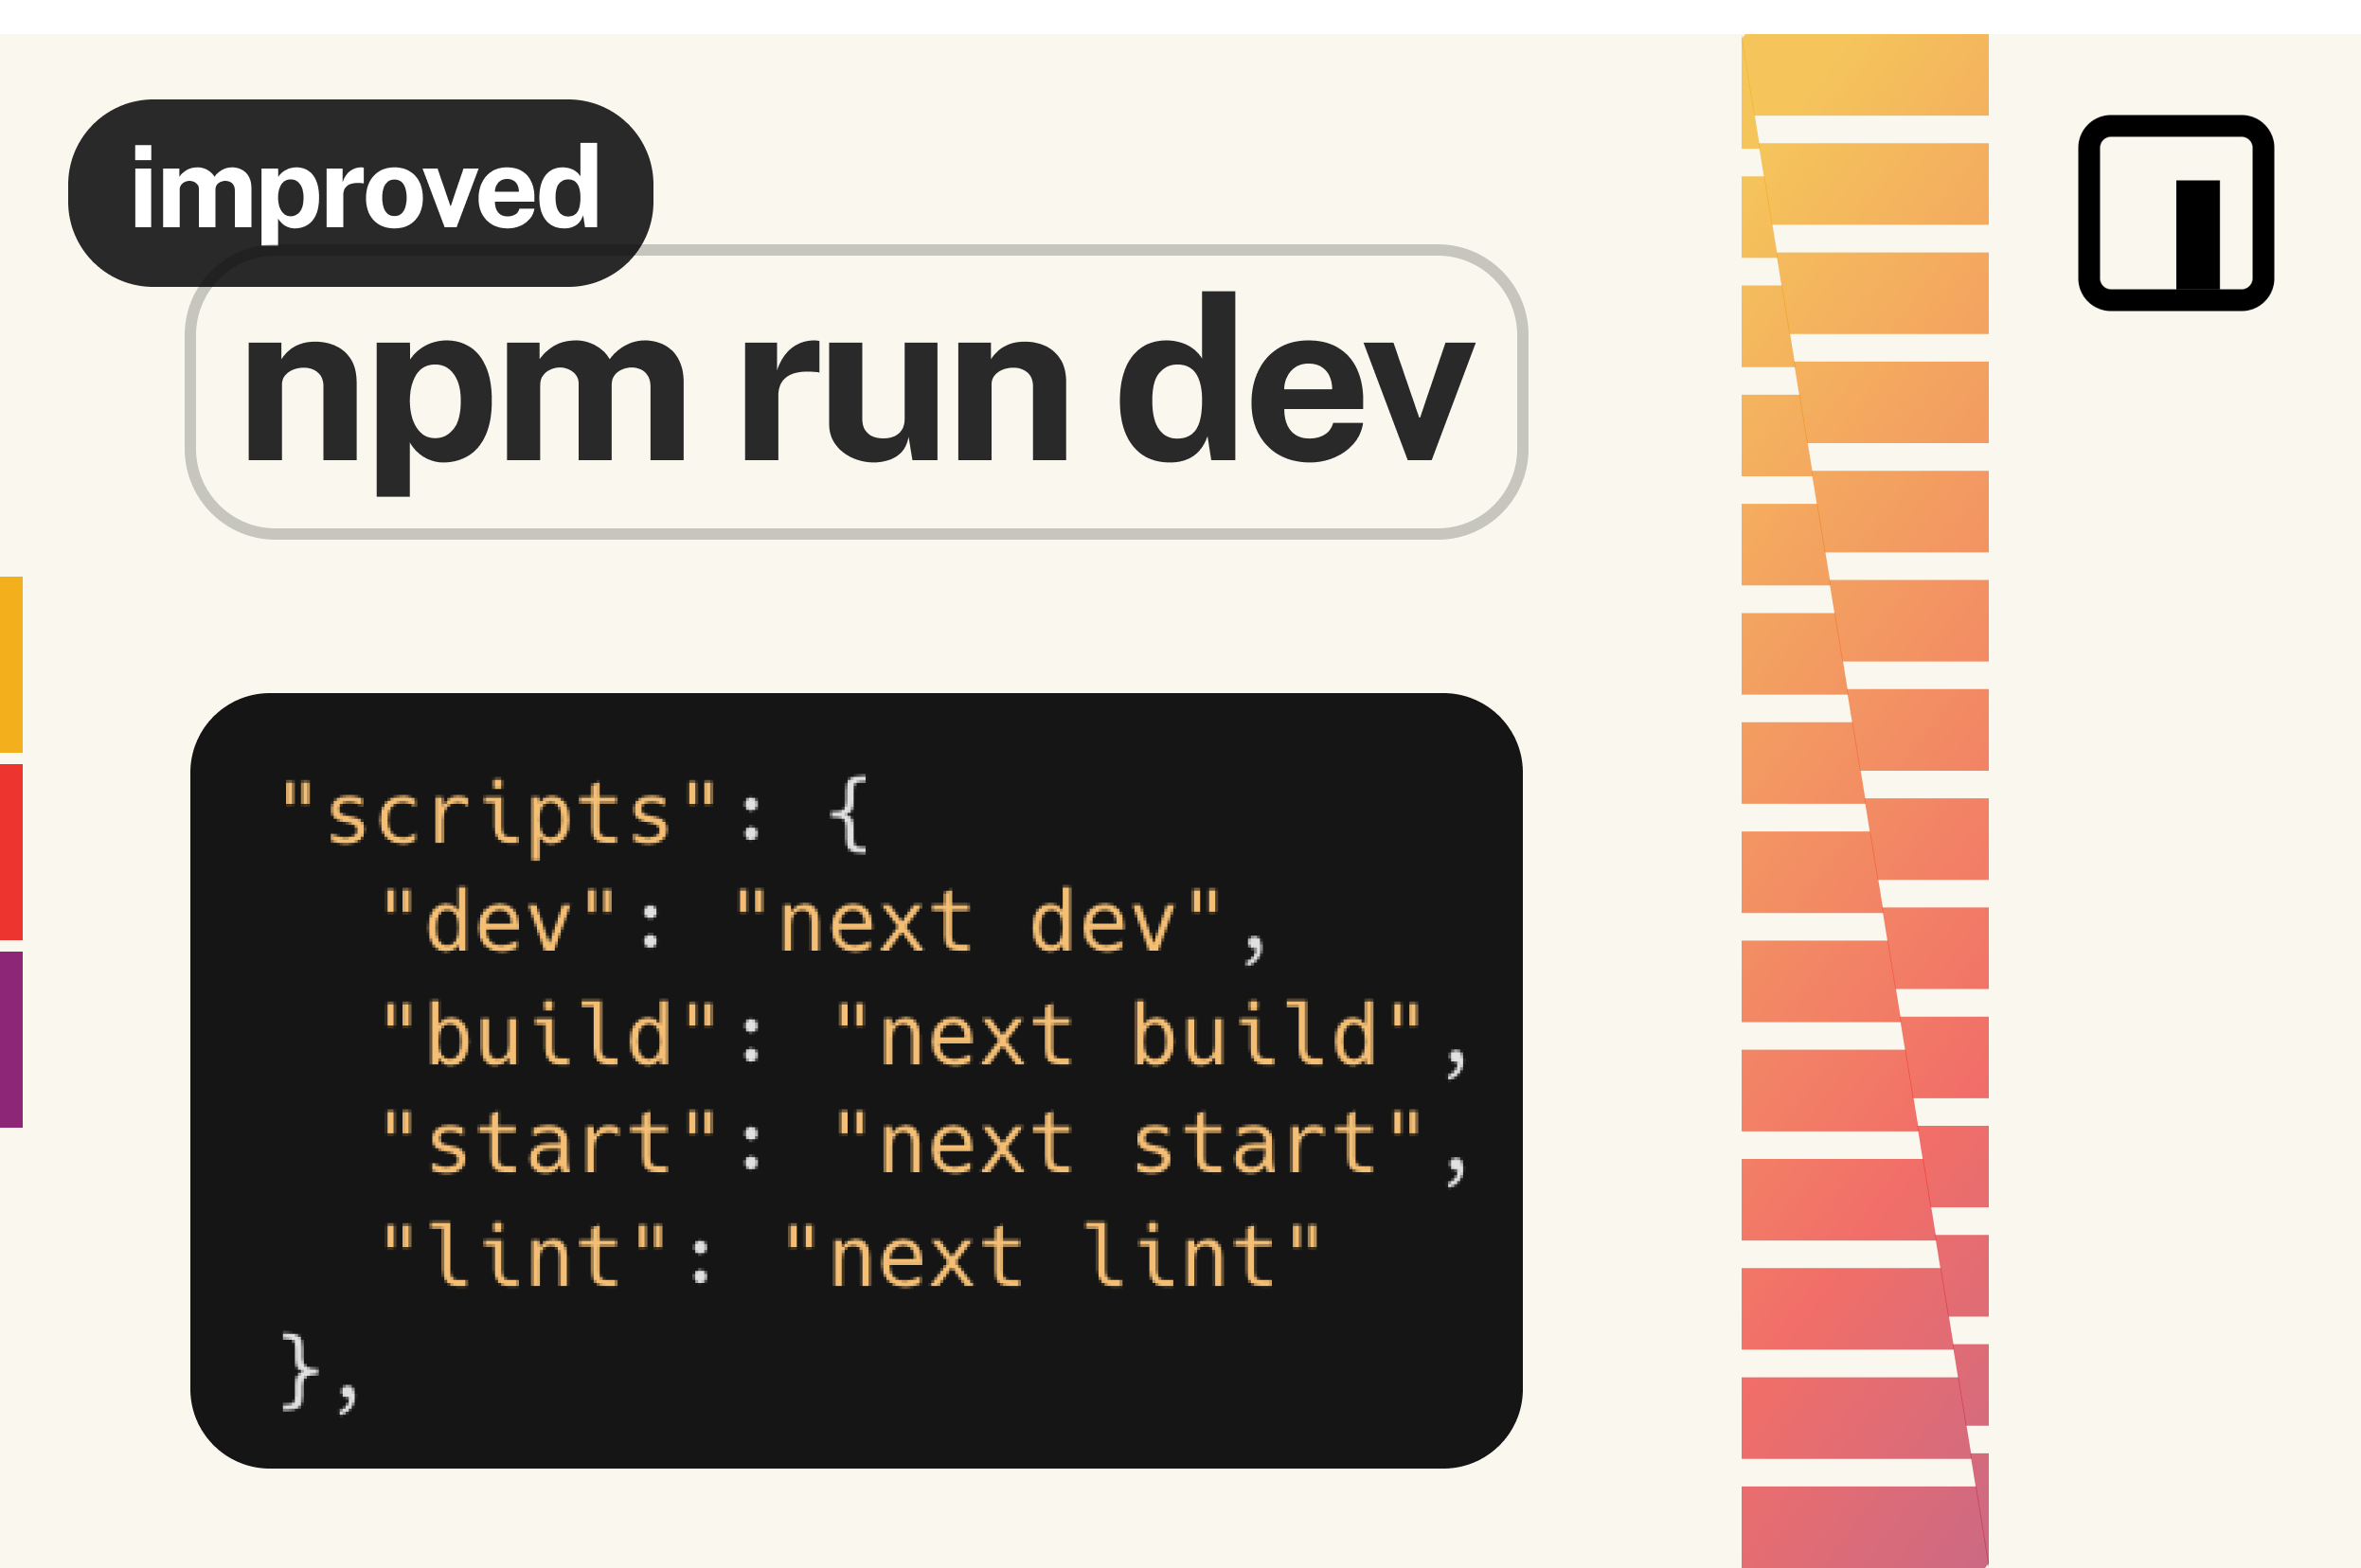
This dev script almost always starts a local development server. Let's read a bit more about what this means.
Supercharge `npm run dev` with package.json scripts
This article from the Convex blog provides a clear and direct explanation of what npm run dev does and where it's defined.
Start from the top and read through to the end of the section titled <tf start="What does npm run dev do?" end="lint": "next lint"">"How and where they're defined". This will explain that npm run dev is a standard for running your project locally and show you how it's configured in package.json.
As the article mentions, different frameworks might have slightly different underlying commands (vite, next dev), but the standard way to run them is almost always npm run dev. This consistency is one of the main reasons scripts are so useful—it creates a predictable workflow no matter what technology you're using.
The Magic of the Local Dev Server: Hot Reloading
So, why do we need a "local development server"? Why not just open the HTML file in the browser like we did in the first module?
The main reason is to get a powerful feature called hot reloading (or sometimes live reloading). This is the secret to the rapid, iterative workflow you see in modern development. When a development server is running, it watches your project files for changes. The moment you save a file, the server instantly updates the project in your browser—no manual refresh required.
For a designer, this is game-changing. You can tweak a color, adjust spacing, or change an animation in your code editor, and see the result immediately on your screen. It’s like having a live preview of your digital creation.
This article captures the feeling of this "immediacy" perfectly.
The Immediacy of Web Development - Hot Reloading - DEV Community
This piece from DEV Community enthusiastically explains the "why" behind development servers—the magic of hot reloading.
Read the first few paragraphs, from the beginning, to get a feel for the benefit of hot reloading. Then, skim the "How to make it happen" section to see the pattern: you install a tool (parcel-bundler in this case) and add a command to the scripts section of package.json to run it.
The process described in the article is the same for any modern tool: you install the tool as a devDependency and then use an npm script to run it.
Let's watch a quick video that shows this command in action.
In this clip from his "npm for absolute beginners" video, Kevin Powell clearly explains and demonstrates how to use npm run to execute a script.
Watch the segment from this point. Notice how he says npm run and then the name of the script (dev) to launch the server.
Let's Do It: Launching Your First Project
Now it's your turn. We're going to use a tool called Vite (pronounced "veet") to create and run a new project. Vite is a very fast and modern tool that's perfect for getting started. The process you're about to follow is exactly what an LLM would guide you through when starting a new web app.
Follow these steps in your terminal.
- Navigate to your projects folder: Use the
cdcommand to go to the directory where you store your work. - Create a new Vite project: Run the command
npm create vite@latest.- It will ask for a Project name. Type a name like
my-first-appand press Enter. - It will ask you to Select a framework. Use the arrow keys to highlight Vanilla and press Enter.
- It will ask you to Select a variant. Highlight JavaScript and press Enter.
- It will ask for a Project name. Type a name like
Once it's finished, the terminal will print out the final three commands you need to run, just like in the screenshot below.

-
Navigate into your new project folder:
cd my-first-app(Replace
my-first-appwith the name you chose). -
Install the dependencies:
npm installThis reads your new
package.jsonfile and installs the tools Vite needs to run (our topic from the last lesson!). -
Start the development server:
npm run dev
Your terminal will now show that the server is running and give you a URL, something like http://localhost:5173. Open this URL in your web browser. You should see a basic "Hello Vite" page.
Now for the best part. Keep the browser window visible, open the project folder in VS Code, find the index.html file, and change the text inside the <h1> tag. Save the file. The webpage in your browser will update instantly, without you needing to do anything. This is hot reloading in action!
To stop the server, go back to your terminal and press Ctrl+C.
Conclusion
You've now completed the entire local development setup loop: you've initialized a project, installed its dependencies with npm install, and launched it with npm run dev. This three-step dance (create, install, run) is the foundation for almost all modern web development.
When your LLM tells you to run npm run dev, you now understand it's not a magical command. It's simply activating a pre-defined script that starts a local server on your machine, giving you a powerful, real-time preview of your work.
Key Takeaways:
- The
scriptssection inpackage.jsoncontains shortcuts for common commands. npm run devexecutes thedevscript, which typically starts a local development server.- A local development server runs your project on your own machine and enables features like hot reloading.
- Hot reloading provides an immediate feedback loop by automatically updating your browser when you save code changes.
This lesson concludes our module on the terminal and npm. You've gone from simply typing commands to understanding the powerful engine running behind the scenes. In our next module, Making Sense of Project Files, we'll explore the anatomy of the project you just created. We'll look at the different folders (src, public) and files (.html, .css, .js) to understand how a project is organized.