Recommended resources
The freely available resources this lesson will direct you to.
Hello! Welcome back.
In our last lesson, we built the inventory and equipment screens, which was a huge step forward. We created a robust Inventory class to manage the player's items and a data-driven system for item effects. We now have a solid foundation for managing items and character gear.
Today, we'll build on that foundation to implement another essential JRPG feature: the shop. Our learning outcome is to implement the UI for a shop, including buy/sell logic that interacts with the inventory and currency systems. We'll create the scene where the player can spend their hard-earned gold on new gear and sell off unwanted loot. This will involve designing the UI, managing currency, and connecting everything to the Inventory API we've already built.
1. The Architecture of a Shop
Before diving into code, let's consider the design of a classic JRPG shop. From a user's perspective, it's a simple menu. From an architectural perspective, it's a system that needs to be both efficient for the player and reusable for the developer.
Your front-end development experience has likely shown you that good UI often balances aesthetics, immersion, and pure functional efficiency. A blog post by Kamranicus, "Immersive UI in RPGs," discusses this exact trade-off.
Immersive UI in RPGs - Thoughts, Concerns, et al.
This article discusses different approaches to shop UIs in RPGs. We'll focus on its argument for why the classic, menu-based system has remained a standard.
Please read the sections 'Buying/Selling' and 'Closing thoughts'. Pay attention to the distinction the author makes between an 'immersive storefront experience' and an 'efficient' trade UI. The author advocates for having both, and for our classic JRPG, we're focusing on the efficient, list-based UI.
The key takeaway is that while immersive UIs are great, a fast, list-based menu is critical for players who want to quickly manage their inventory. That's the model we'll build.
Architecturally, we need a few key pieces, inspired by the Unity tutorial on creating a shop system, which breaks down the problem nicely:
- A Data Model for Shops: What items does a specific shop sell? This should be defined in our data files, not hard-coded in the scene.
- A Currency System: We need functions to check, spend, and earn gold.
- A
ShopSceneClass: This will manage the UI and the state of the interaction. - UI Components: We'll reuse our
WindowandSelectableListcomponents to build the interface.
Let's start with the data.
2. Data-Driven Shop Inventories
In RPG Maker, a "Common Event" is often used to define a shop so that multiple NPCs can call the same event, ensuring a single source of truth for the shop's inventory. We can achieve the same goal through a data-driven approach.
RPG Maker MZ Tutorial #21 - Common Events!
This RPG Maker tutorial demonstrates using a 'Common Event' for a shop. While the tool is different, the core concept—creating a single, reusable definition for a shop that can be called from anywhere—is a universal design pattern.
Watch the section 'Implementing a Shop with Common Events' from 03:43 to 06:25. Notice how changing the common event updates the inventory for all NPCs that use it. We will model this by creating a central shopData.js file.
Let's create a new data file, shopData.js, to define our shops. Each shop will have a unique ID and a list of item IDs that it sells.
// /data/shopData.js

export const shopData = {
    'town1_general': {
        name: 'Emporium',
        items: ['potion01', 'str_tonic'] // Let's assume you added the 'str_tonic' from the last lesson's exercise!
    },
    'town1_weapons': {
        name: "Garrick's Armory",
        items: ['wpn001', 'arm001']
    }
};
We also need to add a price to our items in itemData.js. The selling price can then be calculated, usually as a fraction of the buy price.
// /data/itemData.js (Updated)

export const itemData = {
    'wpn001': {
        id: 'wpn001',
        name: 'Bronze Sword',
        type: 'equipment',
        slot: 'rightHand',
        price: 150, // Added price
        description: 'A basic sword made of bronze.',
        modifier: { add: { str: 5 } }
    },
    'arm001': {
        id: 'arm001',
        name: 'Leather Armor',
        type: 'equipment',
        slot: 'body',
        price: 120, // Added price
        description: 'Simple armor made from hardened leather.',
        modifier: { add: { def: 4 } }
    },
    'potion01': {
        id: 'potion01',
        name: 'Potion',
        type: 'consumable',
        target: 'single_ally',
        price: 20, // Added price
        description: 'Restores 50 HP.',
        effect: (user) => { /* ... */ }
    }
};
3. Implementing the Currency System
Our gameState object already has a gold property. Now, let's create a small module with an API to interact with it. This is analogous to the GameManager script in the Unity tutorial, but tailored to our existing architecture.
Unity 5 Tutorial: Shop System #1 - GUI & Currency System
The following video builds a shop in Unity. While the language is C#, the architectural principles for managing currency are directly applicable. We will implement a similar set of functions in JavaScript.
Watch the segments 'Setting up the Game Manager and Currency Script' (38:55 - 50:52) and 'Updating the Currency UI' (50:52 - 54:54). Focus on the functions created: one to check if a transaction is possible (requestMoney), one to reduce money, one to add money, and one to update the UI display. This is the exact API we will build.
Let's create our own simple currency API.
// /systems/CurrencySystem.js

import { gameState } from '../state/gameState.js';

export const CurrencySystem = {
    /**
     * Checks if the player has enough gold.
     * @param {number} amount The amount to check.
     * @returns {boolean} True if the player has enough gold.
     */
    canAfford(amount) {
        return gameState.gold >= amount;
    },

    /**
     * Spends player's gold.
     * @param {number} amount The amount to spend.
     * @returns {boolean} True if the transaction was successful.
     */
    spend(amount) {
        if (!this.canAfford(amount)) {
            console.warn(`Not enough gold. Needed ${amount}, but have ${gameState.gold}.`);
            return false;
        }
        gameState.gold -= amount;
        return true;
    },

    /**
     * Adds gold to the player's total.
     * @param {number} amount The amount to earn.
     */
    earn(amount) {
        gameState.gold += amount;
    }
};
This clean API encapsulates our currency logic, making the ShopScene code much cleaner and easier to read.
4. Building the Shop Scene
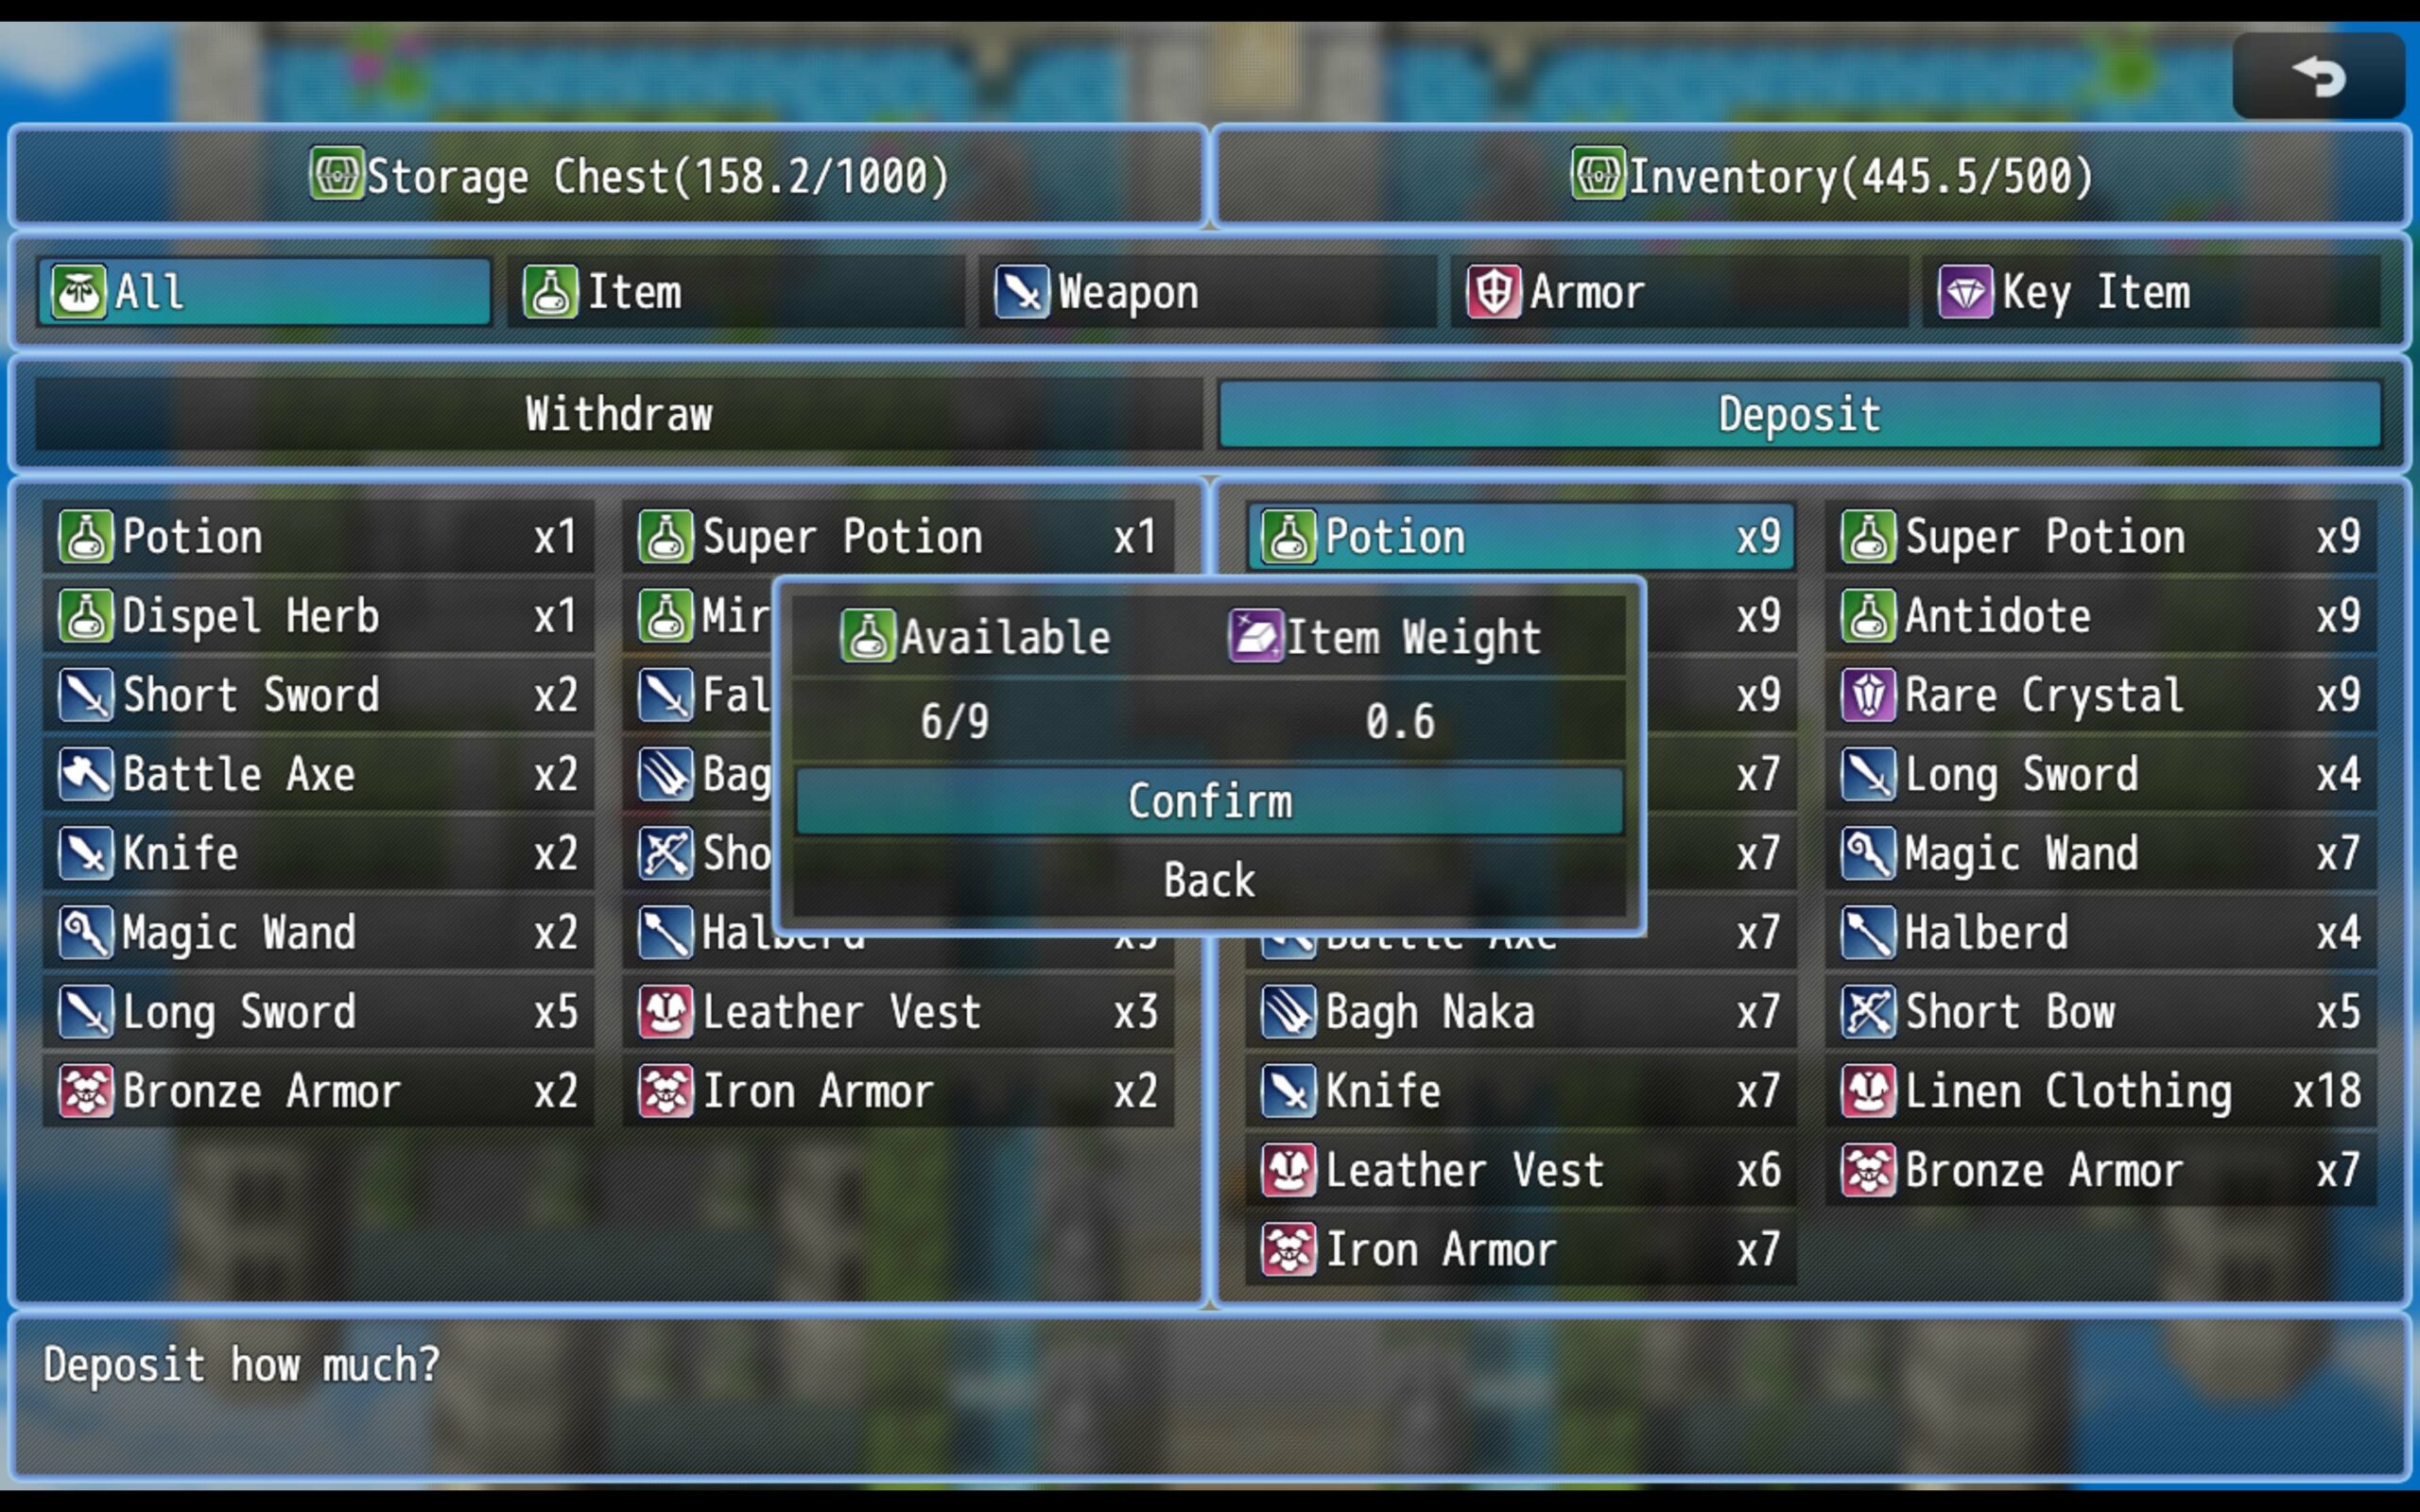
Now for the main event: implementing the ShopScene. This scene will be stateful, similar to the EquipmentScene. It will manage several windows and switch between different modes of interaction: choosing to buy or sell, selecting an item, and choosing a quantity.
Here are the states we'll manage with this.mode:
'COMMAND_SELECT': Choosing "Buy", "Sell", or "Exit".'BUY_SELECT': Selecting an item from the merchant's list.'SELL_SELECT': Selecting an item from the player's inventory to sell.'QUANTITY_SELECT': Deciding how many of an item to transact.
Below is the core structure of the ShopScene. It's a large piece, but it combines many concepts we've already mastered.
// /scenes/ShopScene.js

import { UIComponent } from '../components/UIComponent.js';
import { Window } from '../components/Window.js';
import { SelectableList } from '../components/SelectableList.js';
import { gameState } from '../state/gameState.js';
import { shopData } from '../data/shopData.js';
import { itemData } from '../data/itemData.js';
import { CurrencySystem } from '../systems/CurrencySystem.js';

export class ShopScene extends UIComponent {
    constructor({ sceneManager, shopId }) {
        super({ x: 0, y: 0, width: 816, height: 624 });
        this.sceneManager = sceneManager;
        this.shop = shopData[shopId];
        this.mode = 'COMMAND_SELECT';
        this.selectedItem = null;
        this.quantity = 1;
        this.sellPriceModifier = 0.5; // Items sell for 50% of their price

        // --- UI Windows ---
        this.goldWindow = new Window({ x: 586, y: 20, width: 210, height: 70 });
        this.commandWindow = new Window({ x: 586, y: 100, width: 210, height: 150 });
        this.itemWindow = new Window({ x: 20, y: 20, width: 550, height: 470 });
        this.helpWindow = new Window({ x: 20, y: 500, width: 776, height: 104 });
        this.quantityWindow = new Window({ x: 208, y: 250, width: 400, height: 120, visible: false });

        this.addChild(this.goldWindow);
        this.addChild(this.commandWindow);
        this.addChild(this.itemWindow);
        this.addChild(this.helpWindow);
        this.addChild(this.quantityWindow);

        // --- Selectable Lists ---
        this.commandList = new SelectableList({
            x: 20, y: 20, items: [
                { text: 'Buy', value: 'buy' },
                { text: 'Sell', value: 'sell' },
                { text: 'Exit', value: 'exit' }
            ]
        });
        this.commandWindow.addChild(this.commandList);
        this.commandList.activate();

        this.itemList = new SelectableList({ x: 20, y: 30, items: [] });
        this.itemWindow.addChild(this.itemList);
        this.itemList.deactivate();

        this.updateGoldDisplay();
        this.updateHelpText();
    }

    updateGoldDisplay() {
        this.goldWindow.drawContent = (context) => {
            context.font = '24px Arial';
            context.fillStyle = 'white';
            context.fillText(`Gold: ${gameState.gold}`, 20, 40);
        };
    }

    updateHelpText() {
        let text = '';
        const activeList = this.commandList.active ? this.commandList : this.itemList;
        const selectedValue = activeList.getSelectedValue();

        if (this.mode === 'QUANTITY_SELECT') {
            text = `How many? (Total: ${this.selectedItem.price * this.quantity} G)`;
        } else if (selectedValue) {
            if (this.mode === 'BUY_SELECT' || this.mode === 'SELL_SELECT') {
                const item = itemData[selectedValue];
                text = item ? item.description : '';
            } else {
                text = `What would you like to do?`;
            }
        }
        this.helpWindow.drawContent = (context) => { /* ... draws text ... */ };
    }

    // --- State Switching Methods ---

    enterBuyMode() {
        this.mode = 'BUY_SELECT';
        this.commandList.deactivate();
        const itemsForSale = this.shop.items.map(itemId => {
            const item = itemData[itemId];
            return { text: `${item.name} - ${item.price} G`, value: itemId };
        });
        this.itemList.setItems(itemsForSale);
        this.itemList.activate();
    }

    enterSellMode() {
        this.mode = 'SELL_SELECT';
        this.commandList.deactivate();
        const itemsToSell = gameState.inventory.getAllItems().map(({ itemId, quantity }) => {
            const item = itemData[itemId];
            const sellPrice = Math.floor(item.price * this.sellPriceModifier);
            return { text: `${item.name} (x${quantity}) - ${sellPrice} G`, value: itemId };
        });
        this.itemList.setItems(itemsToSell);
        this.itemList.activate();
    }

    enterQuantityMode(item) {
        this.selectedItem = item;
        this.quantity = 1;
        this.mode = 'QUANTITY_SELECT';
        this.itemList.deactivate();
        this.quantityWindow.visible = true;

        this.quantityWindow.drawContent = (context) => {
            context.font = '24px Arial';
            context.fillStyle = 'white';
            context.fillText(`${this.selectedItem.name}`, 20, 40);
            context.fillText(`Quantity: ${this.quantity}`, 20, 80);
        };
        this.updateHelpText();
    }

    exitQuantityMode(performTransaction = false) {
        if (performTransaction) {
            if (this.commandList.getSelectedValue() === 'buy') {
                this.executeBuy();
            } else {
                this.executeSell();
            }
        }

        this.quantityWindow.visible = false;
        this.selectedItem = null;
        this.quantity = 1;

        if (this.commandList.getSelectedValue() === 'buy') {
            this.enterBuyMode();
        } else {
            this.enterSellMode();
        }
    }

    // --- Transaction Logic ---

    executeBuy() {
        const totalCost = this.selectedItem.price * this.quantity;
        if (CurrencySystem.spend(totalCost)) {
            gameState.inventory.addItem(this.selectedItem.id, this.quantity);
            this.updateGoldDisplay();
        } else {
            // TODO: Add a sound effect or visual feedback for "not enough gold"
            console.log("Not enough gold!");
        }
    }

    executeSell() {
        if (gameState.inventory.removeItem(this.selectedItem.id, this.quantity)) {
            const totalGain = Math.floor(this.selectedItem.price * this.sellPriceModifier) * this.quantity;
            CurrencySystem.earn(totalGain);
            this.updateGoldDisplay();
        }
    }

    // --- Input Handling ---

    handleConfirm() {
        const selectedValue = this.itemList.active ? this.itemList.getSelectedValue() : this.commandList.getSelectedValue();

        switch (this.mode) {
            case 'COMMAND_SELECT':
                if (selectedValue === 'buy') this.enterBuyMode();
                else if (selectedValue === 'sell') this.enterSellMode();
                else if (selectedValue === 'exit') this.sceneManager.pop();
                break;
            case 'BUY_SELECT':
            case 'SELL_SELECT':
                if (selectedValue) {
                    this.enterQuantityMode(itemData[selectedValue]);
                }
                break;
            case 'QUANTITY_SELECT':
                this.exitQuantityMode(true);
                break;
        }
        this.updateHelpText();
    }

    handleCancel() {
        switch (this.mode) {
            case 'BUY_SELECT':
            case 'SELL_SELECT':
                this.mode = 'COMMAND_SELECT';
                this.itemList.deactivate();
                this.commandList.activate();
                break;
            case 'QUANTITY_SELECT':
                this.exitQuantityMode(false);
                break;
            default:
                this.sceneManager.pop();
                break;
        }
        this.updateHelpText();
    }

    update(input) {
        if (!this.visible) return;

        if (this.mode === 'QUANTITY_SELECT') {
            // Handle quantity change
            if (input.isPressed('ArrowUp')) this.quantity++;
            if (input.isPressed('ArrowDown') && this.quantity > 1) this.quantity--;
            // TODO: Add caps for quantity (max gold, max inventory)
        } else {
            const activeList = this.commandList.active ? this.commandList : this.itemList;
            activeList.update(input);
        }

        if (input.isPressed('Enter')) this.handleConfirm();
        if (input.isPressed('Escape')) this.handleCancel();

        this.updateHelpText(); // Refresh help text on any interaction
    }

    draw(context) {
        // ... standard draw logic for children and their drawContent methods
    }
}
This code sets up the entire flow. When a ShopScene is created, it's given a shopId. It uses this ID to load the correct inventory from shopData.js. The state machine (this.mode) ensures that player input is correctly routed to either the command list, the item list, or the quantity selection.
Test your understanding!
In the update method for 'QUANTITY_SELECT' mode, we need to cap the quantity.
When buying, the player shouldn't be able to select a quantity that costs more than their current gold.
When selling, they shouldn't be able to select a quantity greater than what they have in their inventory.
How would you modify the ArrowUp logic in the update method to enforce these caps?
Show answer
You would add a condition before incrementing this.quantity.
// Inside update() method, within the 'QUANTITY_SELECT' block:
if (input.isPressed('ArrowUp')) {
    const isBuying = this.commandList.getSelectedValue() === 'buy';
    if (isBuying) {
        const nextTotalCost = this.selectedItem.price * (this.quantity + 1);
        if (CurrencySystem.canAfford(nextTotalCost)) {
            this.quantity++;
        }
    } else { // Selling
        const currentOwned = gameState.inventory.getQuantity(this.selectedItem.id);
        if (this.quantity < currentOwned) {
            this.quantity++;
        }
    }
}
This demonstrates how our separated systems (CurrencySystem, Inventory) provide clean APIs to enforce game rules within the UI layer.
Conclusion
Excellent work today! We have successfully implemented a fully functional, data-driven shop system—a cornerstone of the JRPG experience.
Key Takeaways:
- Data-Driven Design: We defined shop inventories in a separate
shopData.jsfile, making it easy to create and manage multiple unique shops without changing any scene code. - Encapsulated Logic: The
CurrencySystemprovides a clean API (canAfford,spend,earn) for all gold-related transactions, keeping theShopScenefocused on UI and flow control. - Stateful UI Management: We expanded on the state machine pattern (
this.mode) to handle a more complex multi-step interaction involving buying, selling, and quantity selection. - System Integration: This lesson was a perfect example of how our systems work together. The
ShopSceneseamlessly interacted withgameState, theInventoryAPI, and our newCurrencySystemto create a cohesive feature.
Preview of the next lesson:
We've spent a lot of time building menus and world-navigation systems. Now, it's time to dive into the heart of a JRPG: combat. In the next lesson, we will move to a new module and begin a multi-part journey to build our battle system. We'll start by designing the architecture for a classic turn-based combat system, including a state machine (start, input, execution, end). Get ready to design the logic for heroes and monsters to finally clash