Recommended resources
The freely available resources this lesson will direct you to.
Hello! This course begins by building a Linux workspace on Windows 11. You’ll use it first for Bash and Git, then for AWS CLI and Terraform labs. Today’s goal is practical: install Ubuntu under WSL 2, confirm that it is running, and put your lab files in a sensible place. Allow roughly 35–45 minutes, plus any time needed for downloads and a restart.
Know which terminal you’re using
WSL lets you run Linux command-line tools on a Windows computer. WSL 2 runs Ubuntu with a Linux kernel in a lightweight virtualized environment; you do not need to replace Windows or set up a separate Linux desktop.
You will work in two command environments:
- PowerShell runs Windows commands such as
wsl --installandwsl --list --verbose. - Ubuntu runs Linux commands such as
sudo apt update.
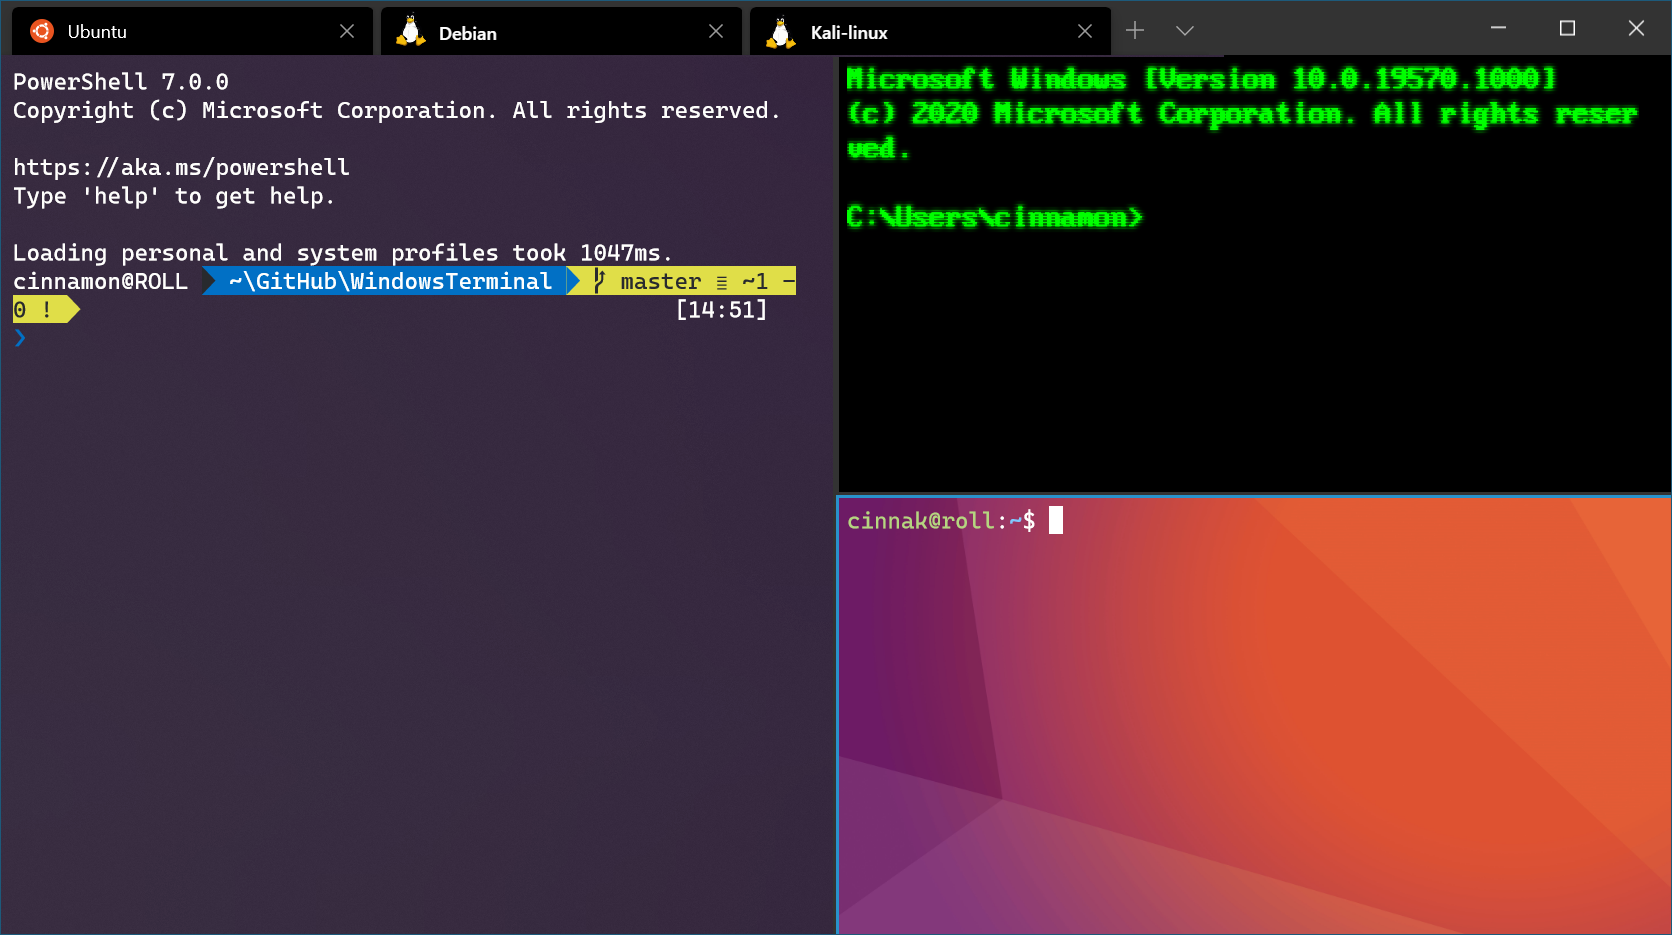
Windows Terminal can display both, but opening a new tab does not make their commands interchangeable. Check the tab or prompt before entering a command.
Before installing, make sure you have an internet connection, permission to administer this Windows computer, and a chance to restart it. WSL 2 also requires hardware virtualization. To check, open Task Manager, select Performance, then CPU, and look for Virtualization: Enabled. If it says Disabled, the relevant firmware setting must be enabled before WSL 2 will work; the steps depend on the computer, and a managed device may require administrator help.
How to Install WSL 2 & Ubuntu on Windows 11 (The Complete Guide for 2025)
Watch “How to Install WSL 2 & Ubuntu on Windows 11” from Lite AI Lab for a visual walkthrough. Use the written commands in this lesson when typing: some commands in the video’s narration are difficult to hear clearly.
Start with the prerequisite check to see where virtualization appears in Task Manager. Watch installation and restart, then Ubuntu setup for the Linux account prompt. Finally, verification and updates shows how the finished environment is opened and maintained. The video installs Ubuntu separately after the restart; on your computer, check whether the first install command has already installed it before repeating that step.
Install WSL and create your Ubuntu account
Microsoft’s installation guide describes the one-command route for Windows 11, including what to do if WSL is already present.
How to install Linux on Windows with WSL
Read Microsoft’s “How to install Linux on Windows with WSL” for the primary installation procedure and its common exceptions.
In “Install WSL command,” read the install procedure, from opening administrator PowerShell through the first launch. Then read the installation note immediately below it, which covers an existing WSL installation and a stalled download.
Open PowerShell as administrator from the Windows Start menu. In that PowerShell window, run:
wsl --install
Let it finish, then restart Windows when prompted. This command enables the necessary Windows features and normally installs Ubuntu as the default Linux distribution. After restarting, launch Ubuntu from the Start menu if it does not open automatically.
If wsl --install displays help text because WSL is already installed, or if Ubuntu is not available after restarting, stay in PowerShell and check the available distribution names:
wsl --list --online
Then install Ubuntu if needed:
wsl --install -d Ubuntu
Do not run a second installation merely because the video shows one: first check whether Ubuntu is already there. If a distribution download remains at 0%, Microsoft’s installation note gives this alternative:
wsl --install --web-download -d Ubuntu
On Ubuntu’s first launch, you will be asked to create a Linux username and password. These are separate from your Windows sign-in. Nothing appears on screen while you type the password—not even dots—which is normal.
Set up a WSL development environment
Read Microsoft’s account-setup guidance so the first Ubuntu prompt and later administrative password requests are unsurprising.
Under “Set up your Linux username and password,” read the account guidance. It begins with opening Ubuntu from Start and ends by explaining that each distribution has its own accounts. Notice the explanation of invisible password entry and sudo.
Your new account is the normal account for lab work. When Ubuntu asks for your password during a sudo command, enter the Linux password you just created.
Confirm that it really is WSL 2
An Ubuntu prompt confirms that the distribution opens; it does not, by itself, confirm which WSL version that distribution uses. Return to PowerShell and run:
wsl --list --verbose
Look for Ubuntu in the list and check that its VERSION column says 2. A distribution name may be more specific than Ubuntu; use the name shown on your own computer in any command that targets it.
How to install Linux on Windows with WSL
Return to Microsoft’s installation guide for the distinction between checking a distribution’s version and changing it.
In “Upgrade version from WSL 1 to WSL 2,” read the version guidance, from the statement about new installations through the Ubuntu conversion example. Focus on wsl -l -v and wsl --set-version: one checks the installed distribution, while the other changes it.
New installations made with wsl --install should already use WSL 2. Only if the VERSION column says 1, convert that installed distribution from PowerShell:
wsl --set-version Ubuntu 2
Replace Ubuntu if your listing shows a different name, then run wsl --list --verbose again. Setting a default version affects future installations; it is not a substitute for checking or converting an Ubuntu installation that already exists.
You can also update WSL itself from PowerShell:
wsl --update
This maintains the Windows-side WSL software. Updating packages inside Ubuntu is a separate task.
Prepare a workspace for the labs
Open Ubuntu from Start or from its Windows Terminal profile. Confirm that you are in Linux and signed in as the account you created:
uname -s
whoami
The first command should print Linux; the second should print your Linux username. Now refresh Ubuntu’s package information and install available package updates:
sudo apt update && sudo apt upgrade
Review any confirmation prompt before accepting. Windows Update does not perform this Ubuntu package-maintenance step for you.
For later Bash scripts and Terraform configurations, keep projects in your Ubuntu home directory when you intend to work on them with Linux tools. Windows drives are accessible from Ubuntu—for example, the C: drive appears under /mnt/c—but accessing project files across the Windows/Linux filesystem boundary can be slower.
Set up a WSL development environment
Read Microsoft’s guidance on Ubuntu package updates and file placement; these choices will carry through the later cloud labs.
In “Update and upgrade packages,” read the update guidance. Then go to “File storage” and read the storage advice. Focus on why a Linux-tooling project belongs in the WSL filesystem even though Windows can also access it.
Create one workspace inside Ubuntu:
mkdir -p ~/cloud-labs
cd ~/cloud-labs
pwd
pwd should show a path beginning with /home/ and ending with /cloud-labs, not one beginning with /mnt/c/. You do not need to master these filesystem commands yet; navigating paths and managing files are the subject of the next lesson. If you want to view this folder in Windows File Explorer, run explorer.exe . from the Ubuntu prompt—the final period means “this directory.”
At this point, your setup has a clear division: PowerShell manages WSL, while Ubuntu is where you will do the Linux-based lab work. You have an Ubuntu account, a confirmed WSL 2 distribution, updated packages, and a workspace in the Linux filesystem.
Wrap-up
The essential checks are that Ubuntu launches, wsl --list --verbose reports VERSION 2, and your lab workspace is under /home/. Keep track of which shell you are using whenever you copy a command.
Next, you’ll learn to navigate the Linux filesystem deliberately and manage files using paths and glob patterns—the skills needed to work confidently in this new workspace.