Recommended resources
The freely available resources this lesson will direct you to.
Welcome to the third module of our course! In the previous module, we explored the theoretical underpinnings of how Large Language Models are trained and aligned. We covered everything from pre-training on vast datasets to the nuances of scaling laws and emergent abilities.
Now, it's time to transition from theory to practice. This module, "Interacting with LLMs: APIs and Prompting," is all about getting your hands on the keyboard and making these models work for you.
Today's lesson directly addresses our first practical learning outcome: Use an LLM API (e.g., OpenAI) to send prompts and process responses programmatically. We will walk through every step, from getting your credentials to writing and running a Python script that communicates with an LLM. This foundational skill is the gateway to building every application that follows, from RAG systems to AI agents.
1. The API: Your Programmatic Gateway to LLMs
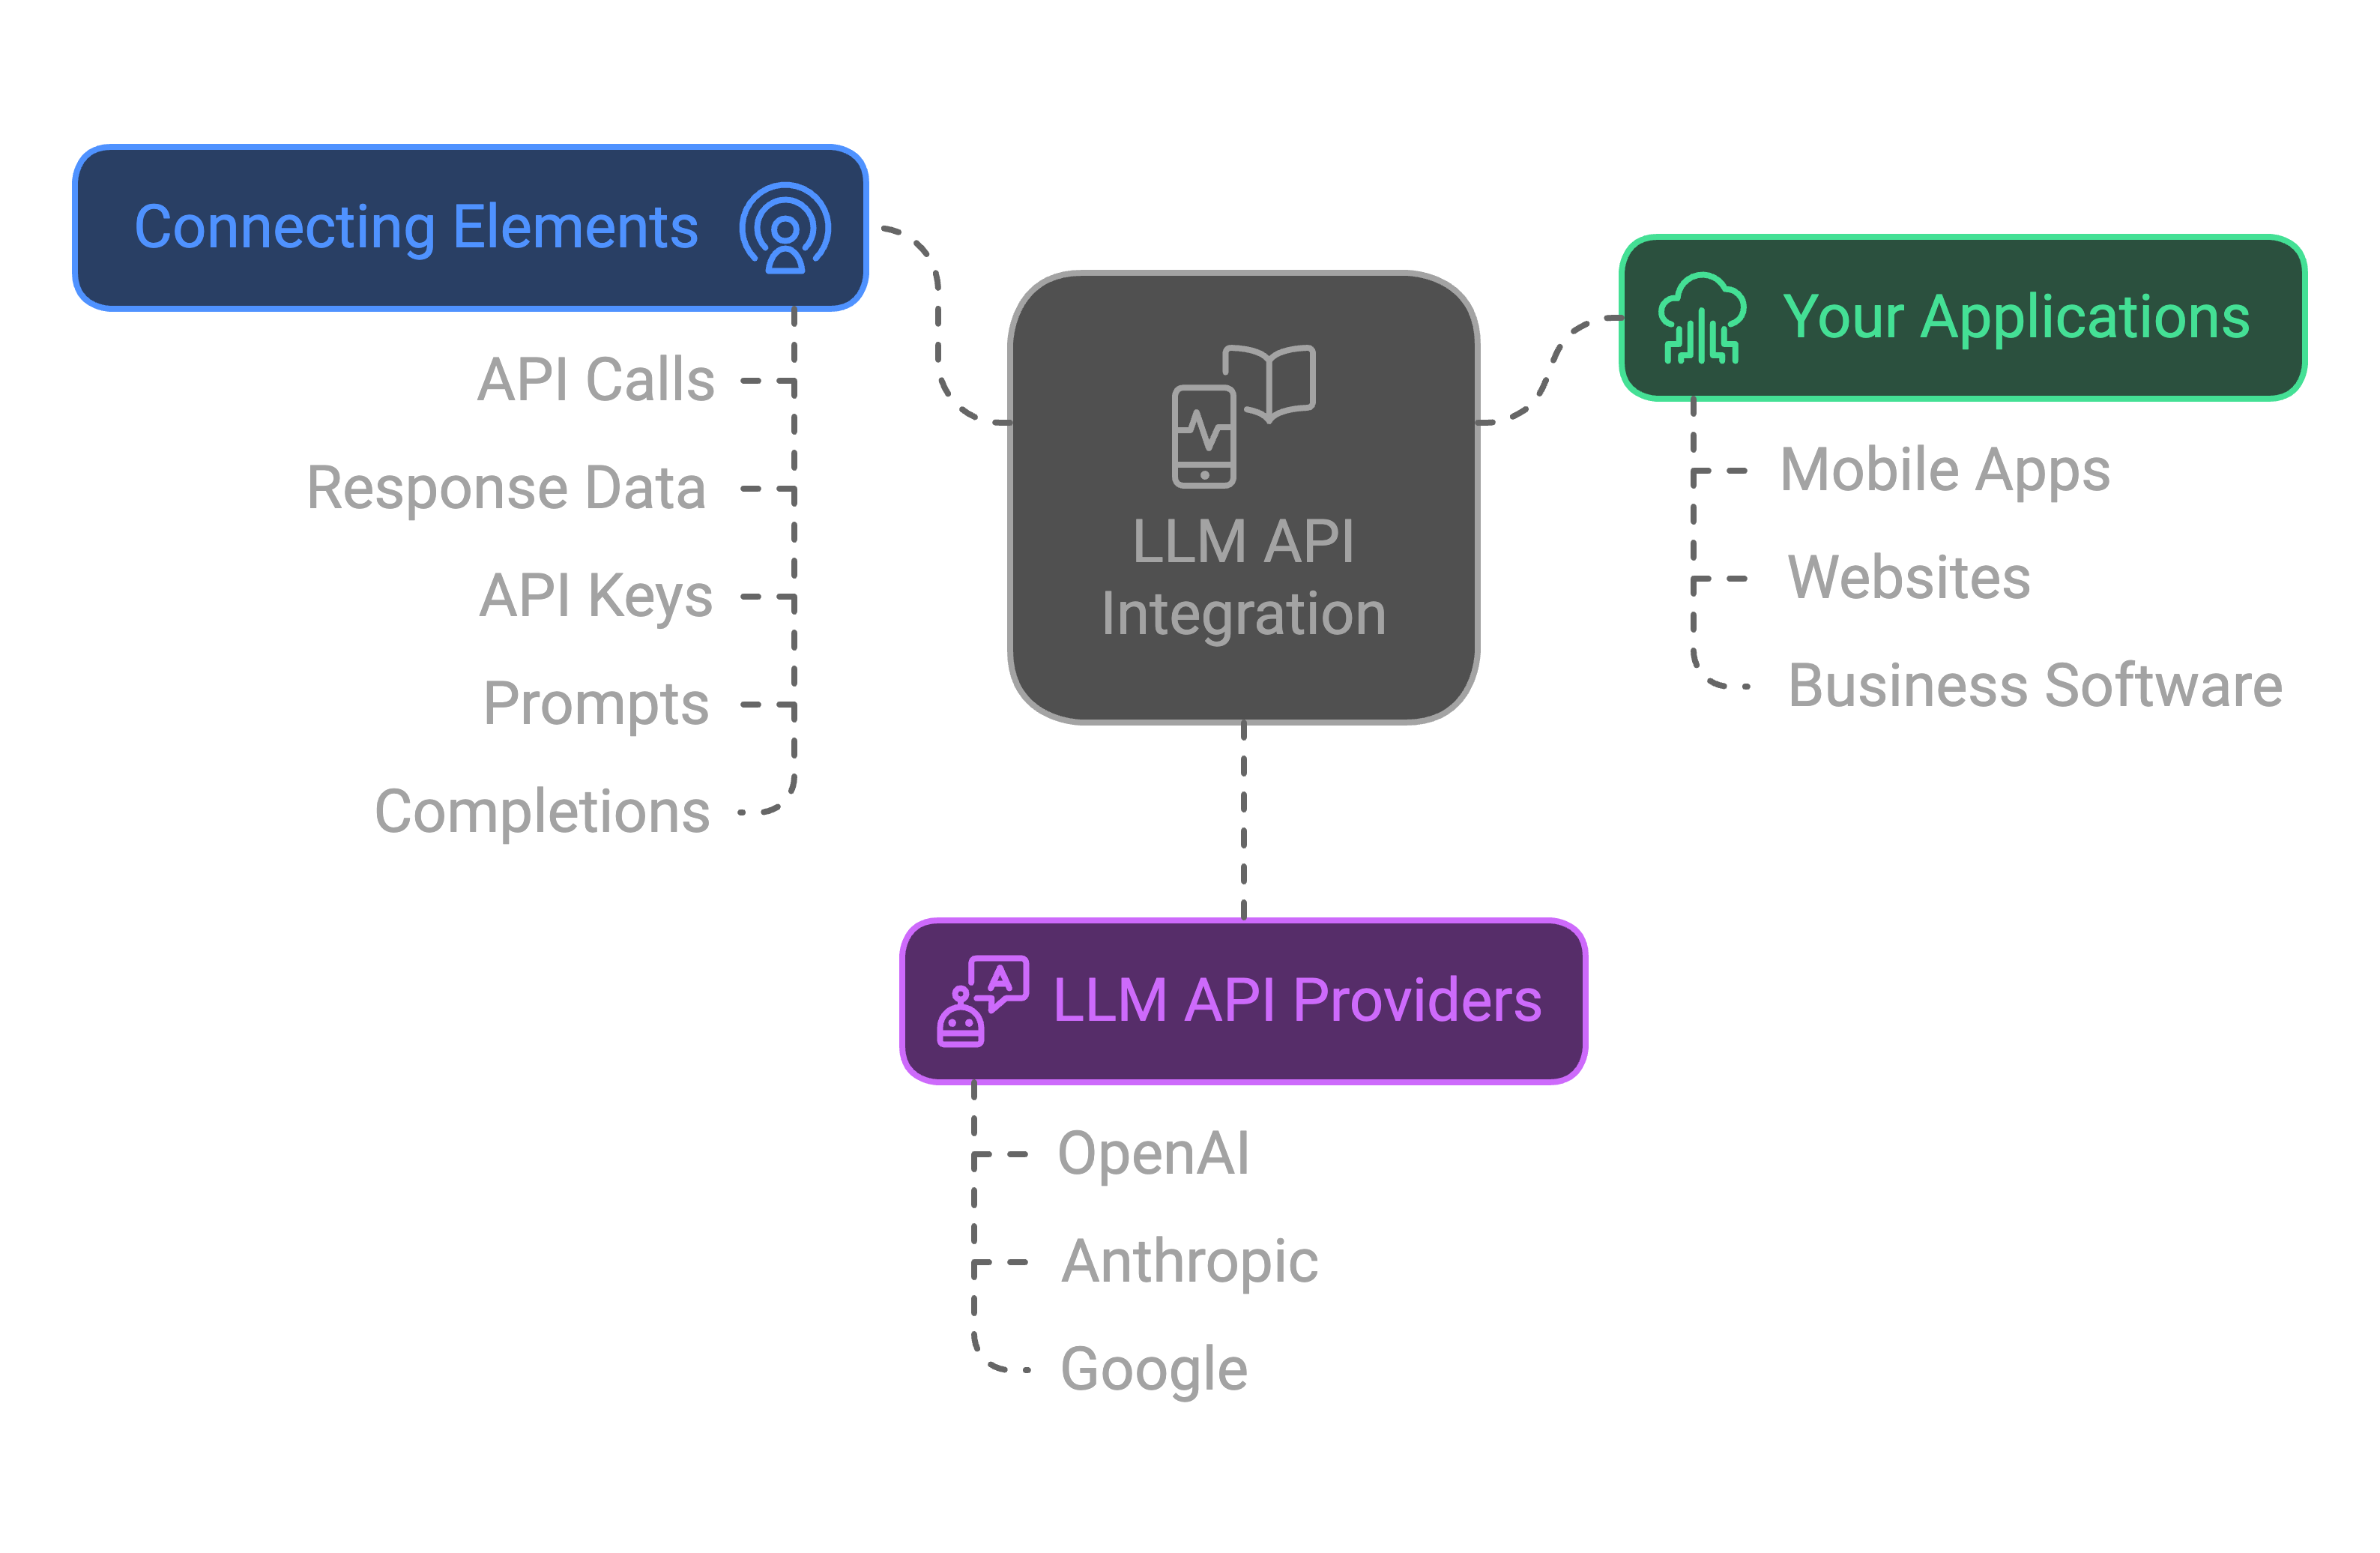
As a software engineer, you're already familiar with APIs (Application Programming Interfaces) as contracts that allow different software systems to communicate. LLM APIs are no different. They provide a structured way for your applications to send requests (prompts) to a powerful, remotely-hosted model and receive its generated responses (completions).
The OpenAI (Python) API | Introduction & Example Code
To start, let's watch a brief, high-level explanation of what an API is in this context. The video uses a simple and effective analogy.
Watch the segment from 00:48 to 02:27. It frames the API as a programmatic way to 'talk' to a remote application, just like you might text a friend for a restaurant recommendation.
This request-response cycle is the fundamental building block of any LLM-powered application.
2. Setup and Authentication: Your Keys to the Kingdom
Before you can make your first API call, you need to set up your account and get an API key. This key authenticates your requests and links your usage to your account for billing.
Step 1: Get Your OpenAI API Key
You'll need to create an OpenAI account, add a payment method, and generate a secret API key. While many introductory tutorials use free credits, setting up a payment method is a crucial step for building real applications. OpenAI's APIs are very affordable for development and experimentation—the code in this lesson will likely cost you less than a few cents.
The OpenAI (Python) API | Introduction & Example Code
This video provides a detailed walkthrough of the entire setup process, including a very important step: setting usage limits to prevent unexpected costs.
Watch the segment from 07:42 to 11:25. Follow along on the OpenAI website to: Create or log in to your account at platform.openai.com. Add a payment method under the 'Billing' section. Set a hard usage limit (e.g., $5) as a safety net. Navigate to 'API Keys' and create a new secret key. Important: Copy this key immediately and save it somewhere safe. You will not be able to see it again.
Step 2: Secure Your API Key
Never hardcode your API key directly in your source code. This is a major security risk, especially if you use version control like Git. The standard best practice is to store the key as an environment variable.
Your Python script can then read this variable from your environment at runtime. This keeps your credentials separate from your code.
Developer quickstart | OpenAI API
The official OpenAI documentation provides the standard command-line instructions for setting an environment variable on different operating systems.
Read the section 'Create and export an API key' and execute the command for your operating system (macOS/Linux or Windows) in your terminal. Replace "your_api_key_here" with the key you just generated.
For project-specific development, it's also common to use a .env file to manage environment variables. We'll explore this approach in the code example below.
Step 3: Set Up Your Python Environment
Finally, you need to install the official OpenAI Python library. Open your terminal and run the following command:
pip install openai
Optionally, if you prefer using .env files for managing your API key within a project directory, you can also install python-dotenv:
pip install python-dotenv
3. Making Your First API Call
With the setup complete, let's write the code. Create a new Python file named first_call.py.
Here is the complete script to send a prompt to OpenAI and print the response.
import os
from openai import OpenAI


# The OpenAI library automatically looks for the OPENAI_API_KEY
# environment variable.
# If you set it up correctly, you don't need to pass the api_key parameter.
client = OpenAI()


# This is the core of the API call
response = client.chat.completions.create(
  model="gpt-4o-mini", # Specifies which model to use
  messages=[
    {"role": "system", "content": "You are a helpful assistant."},
    {"role": "user", "content": "What is the difference between an API and an SDK?"}
  ]
)


# Extracting the content from the response object
assistant_reply = response.choices[0].message.content

print(assistant_reply)
Now, run the script from your terminal: python first_call.py. You should see the LLM's explanation appear on your screen!
Understanding the Code
Let's break down the key parts of that client.chat.completions.create() call.
-
model: This string tells the API which model you want to use."gpt-4o-mini"is a great choice for general tasks—it's fast, capable, and very cost-effective. You can easily swap this out for other models like"gpt-4o". -
messages: This is the most important parameter. It's a list of dictionaries, where each dictionary represents one part of the conversation. Each message has aroleandcontent.role: "system": The system message sets the context and instructions for the AI's behavior. It's like giving the AI its job description before the conversation starts.role: "user": This is the input from the end-user—the prompt you want the AI to respond to.role: "assistant": This role is used to include previous responses from the AI, which is how you build conversational memory. We'll explore this in a later lesson.
-
The Response Object: The API doesn't just return a simple string. It returns a complex JSON object containing the model's reply along with other metadata. The actual text is nested inside. The path
response.choices[0].message.contentis how you access the primary response text.
How to Use OpenAI API with Python | Latest Tutorial
This video shows the process of writing the code, running it, and inspecting the response object in more detail.
Watch from 03:55 to 07:04. The video demonstrates: How to structure the API call (note it also shows using a .env file, which is a great alternative to system-wide environment variables). What the full response object looks like. How to 'destructure' the response to get just the text content you need.
4. Controlling Model Output
You can customize the model's output by adding more parameters to your API call. Two of the most important are temperature and max_tokens.
Build an AI Chatbot with Python and the OpenAI API
This blog post from Dataquest provides a very clear explanation of these two parameters.
Read the subsection 'Key Parameters Explained'. It gives a concise definition of Temperature and Max Tokens.
Let's see this in action.
The OpenAI (Python) API | Introduction & Example Code
This video offers an excellent demonstration of how temperature and max_tokens affect the output.
Watch from 14:50 to 18:12. Pay close attention to: How setting max_tokens truncates the response (15:00). The difference between a low temperature (0.0) for deterministic output and a high temperature (2.0) for creative, random output (16:30).
Here's how you would add these to your code:
response = client.chat.completions.create(
  model="gpt-4o-mini",
  messages=[
    {"role": "system", "content": "You are a creative poet."},
    {"role": "user", "content": "Write a short, four-line poem about code."}
  ],
  temperature=0.8,  # Higher temperature for more creativity
  max_tokens=60     # Limit the response to 60 tokens
)
Experiment by changing these values in your script and see how the output changes. Getting a feel for these parameters is a key part of learning to control LLMs.
Conclusion
Congratulations! You have successfully moved from theory to practice by making your first programmatic call to a large language model. This is the fundamental skill upon which almost all modern AI applications are built.
Key Takeaways:
- LLM APIs allow your applications to interact with models via a standard request-response pattern.
- Securely managing your API key using environment variables is a critical security practice.
- The
openaiPython library provides a straightforward interface for making API calls. - The
messagesparameter, with itssystemanduserroles, is the primary way to structure your prompts. - The API returns a JSON object, and you need to parse it to extract the model's generated text (
response.choices[0].message.content). - Parameters like
temperatureandmax_tokensgive you essential control over the creativity and length of the model's output.
Preview of the Next Lesson:
Now that you know how to send a prompt, our next lesson will focus on what to send. We will dive into the world of prompt engineering, covering fundamental techniques like zero-shot, few-shot, and chain-of-thought prompting to elicit more accurate and complex behavior from the model.