Recommended resources
The freely available resources this lesson will direct you to.
Hello Ryazan,
Welcome to your fifth lesson. In our last session, you mastered the fundamental action of loading a track and initiating playback. You now have a "running application." Today, we'll add a layer of precision control.
In software development, you wouldn't test a new function by running the entire program from the beginning. You'd use a breakpoint to pause execution at a precise line of code. A Cue point in DJing serves the exact same purpose: it's a marker that lets you start a track from a specific, pre-defined moment with perfect timing.
By the end of this lesson, you will be able to set a main 'Cue' point at the first beat of a track using the Cue button. This is one of the most crucial skills for mixing, as it's the foundation for launching tracks in time with each other.
Approximate time to complete: 30 minutes.
Recap: From Play to Precision
In the previous lesson, you learned to load a track and press PLAY. When you do this, the track simply starts from the beginning (position 0:00). For mixing, we need to start from a very specific beat—usually the first "kick" drum of a musical phrase. The CUE button is the tool for this job.
1. What is a Cue Point?
A cue point is a stored position in a track. Its primary purpose is to allow you to instantly jump to that position and start playback. For beatmatching, you'll almost always set your main cue point on the first beat of the track, often called "the one."
To get a quick overview of why cue points are so important for preparing to mix, take a moment to read the first section of this guide.
Reading (2 minutes): CDJ Auto Cue - Mixing Guide. Please read the section titled "Cue points."
2. The CUE Button: Your Primary Tool
The large CUE button next to PLAY/PAUSE is your control center for this entire process. Its behavior might seem a little unusual at first because it does different things depending on whether the track is playing or paused.
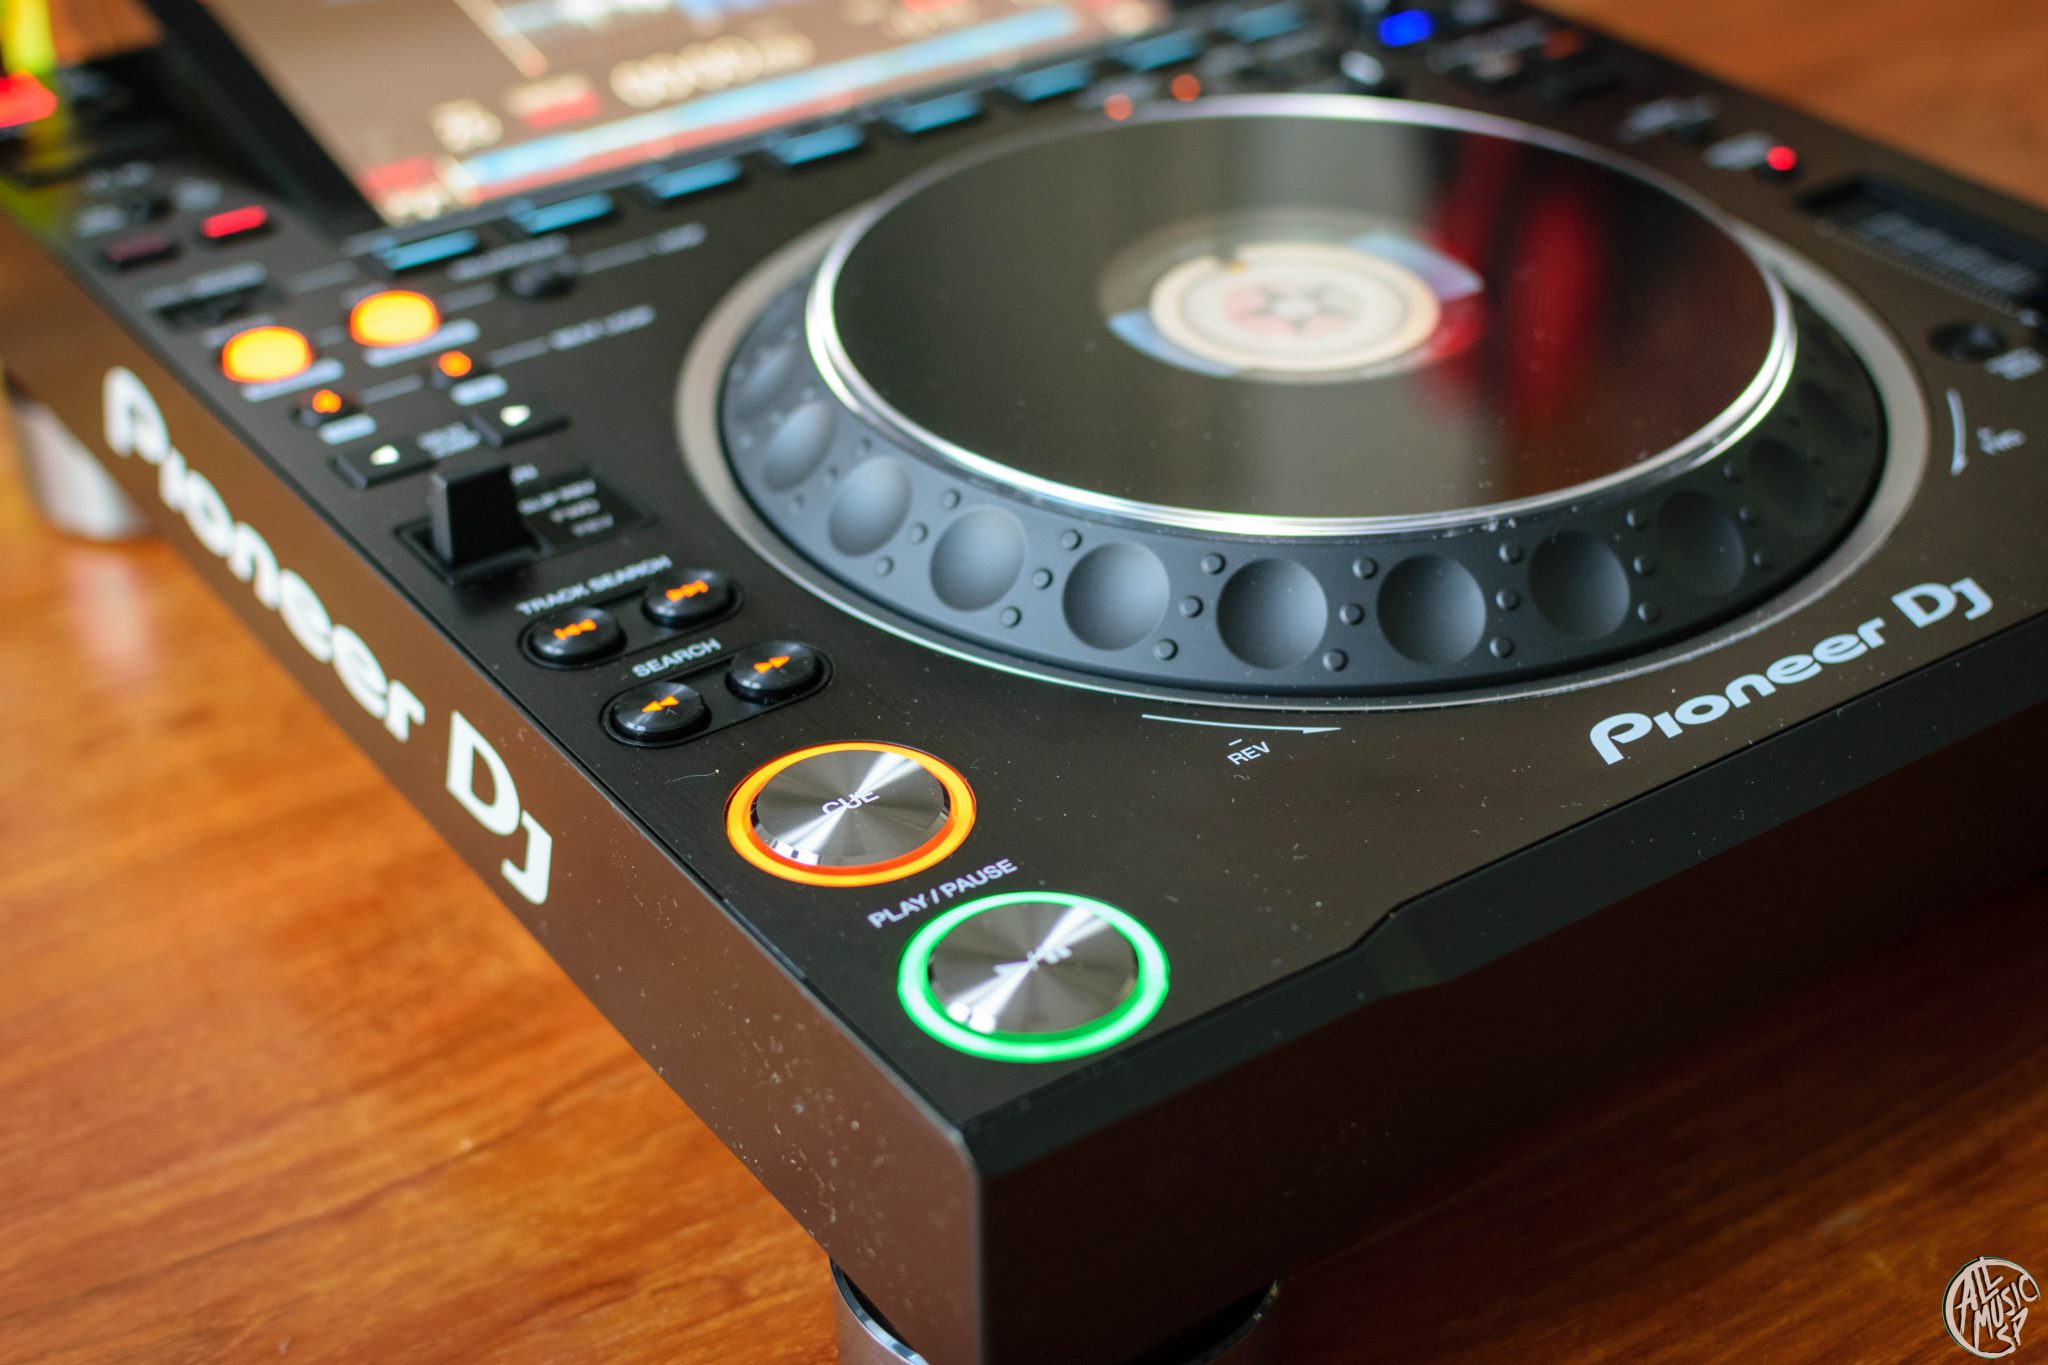
The CUE button, illuminated in orange, is your focus for this lesson.
This short video provides a perfect explanation of the CUE button's dual nature.

Watch from [00:00:24] to [00:01:30]. The key takeaways are:
- When the track is PAUSED: Pressing
CUEsets the main cue point at the current platter position. - When the track is PLAYING: Pressing
CUEreturns the track to the set cue point and pauses it. - Pressing and HOLDING
CUE: Plays the track from the cue point for as long as you hold the button. Releasing it stops playback and returns to the cue point. This is excellent for "stuttering" a sound or checking your cue point without having to pressPLAY.
3. Workflow: Setting a Cue Point Manually
Now, let's walk through the exact, step-by-step process of setting your main cue point on the first beat of a DnB track. This manual precision is a fundamental skill.
The following video demonstrates this entire workflow on the CDJ-3000.
Watch from [00:56:18] to [00:58:25]. The presenter will guide you through this procedure:
- Load a Track: Load a DnB track as you learned in the previous lesson.
- Pause the Track: If it starts playing automatically, press
PLAY/PAUSEto pause it. - Find the First Beat: Use the jog wheel to move the playhead. On the main display, you'll see the waveform. Look for the first large "spike," which is almost always the first kick drum. "Scrub" the jog wheel back and forth over this point to hear the sound and pinpoint its exact start.
- Set the Cue: Once you have the playhead positioned exactly at the beginning of that first beat, press the
CUEbutton. A small white or orange cue marker will appear on the waveform display. Your cue point is now set. - Test the Cue: Press and hold the
CUEbutton. You should hear the track start cleanly with the kick drum. Release it. Now, pressCUE(to return to the point) and thenPLAY. The track should start perfectly from that first beat.
If it's not quite right, simply repeat steps 3 and 4 to adjust and re-set the cue point.
4. Saving Your Work: The MEMORY Button
The main cue point you just set is temporary. If you load another track, it will be lost. To save this cue point so it loads automatically with the track every time, you need to store it in the player's memory.
As this is directly related to your goal, I encourage you to read the following short text.
Reading (1 minute): What do all of these buttons do?. Focus on the paragraph that begins "For example, if a track has a beatless intro...".
To save your cue point:
- Set your main cue point exactly as described above.
- Press the
MEMORYbutton (located near theCUE/LOOP CALLbuttons). - A red triangle will appear on the full waveform display, confirming the cue point is now saved to your USB drive's track data. The next time you load this track, this memory cue will be ready.
This process is also demonstrated in the video you just watched, starting right after the main cueing section. You can see it from [00:58:25] to [00:59:15].
5. Automation: The AUTO CUE Feature
Like any good software tool, the CDJ has an automation feature. Auto Cue will attempt to set the first cue point for you automatically when you load a track. It does this by listening for the first point where the audio crosses a certain volume threshold.
- To enable/disable
Auto Cue: Press and hold theTIME MODE / AUTO CUEbutton for one second. The words "AUTO CUE" will light up on the screen when it's active.
This feature is a fantastic time-saver, especially since modern track analysis is very accurate. However, it's not infallible. For tracks with quiet intros or ambient sounds before the first beat, it might set the cue point incorrectly. This is why learning the manual method first is essential—so you can quickly fix it when the automation gets it wrong.
The video resource covers enabling and using Auto Cue from [01:00:37] to [01:01:55].
Conclusion
Today you've moved from simply playing a track to controlling its execution with precision. You've learned the critical difference between PLAY and CUE, and how to use them together to prepare a track for mixing.
Key Takeaways:
- A cue point is a starting marker for a track, essential for launching it on beat.
- The
CUEbutton sets the point when a track is paused and returns to it when playing. - You can find the first beat manually by "scrubbing" with the jog wheel and looking at the waveform.
- The
MEMORYbutton saves your main cue point permanently to the track's data on your USB. Auto Cueis a useful shortcut that automates this process but should always be double-checked.
Preview of the Next Lesson:
Now that you can get a track perfectly cued up and ready on one player, how do you do this while another track is playing out to the audience? You can't use the main speakers. The answer lies in the mixer's headphone system. In the next lesson, we will cover how to use the DJM-900NXS2 headphone cueing system to listen to a channel privately, which is the final step in preparing a track to be mixed.