Recommended resources
The freely available resources this lesson will direct you to.
Hello! Let's dive back into our JRPG combat system.
In the last lesson, we built the "heartbeat" of our battle system: the Active Time Battle (ATB) turn-ordering mechanism. We now have a system that fills each combatant's gauge based on their Agility and, once full, transitions our combat Finite State Machine (FSM) into an INPUT state, ready for a command.
Today's lesson addresses the essential learning outcome: Implement core combat actions: Attack, Defend, and Escape. Now that our system can decide who acts, we'll define what they can do. We will implement the logic for these three fundamental commands, bridging the gap between player intention and changes in the game state.
1. From Input to Execution: The Command Menu
When a character's ATB gauge fills, the classic JRPG presents the player with a menu of options. This is the core of the INPUT phase of our FSM.
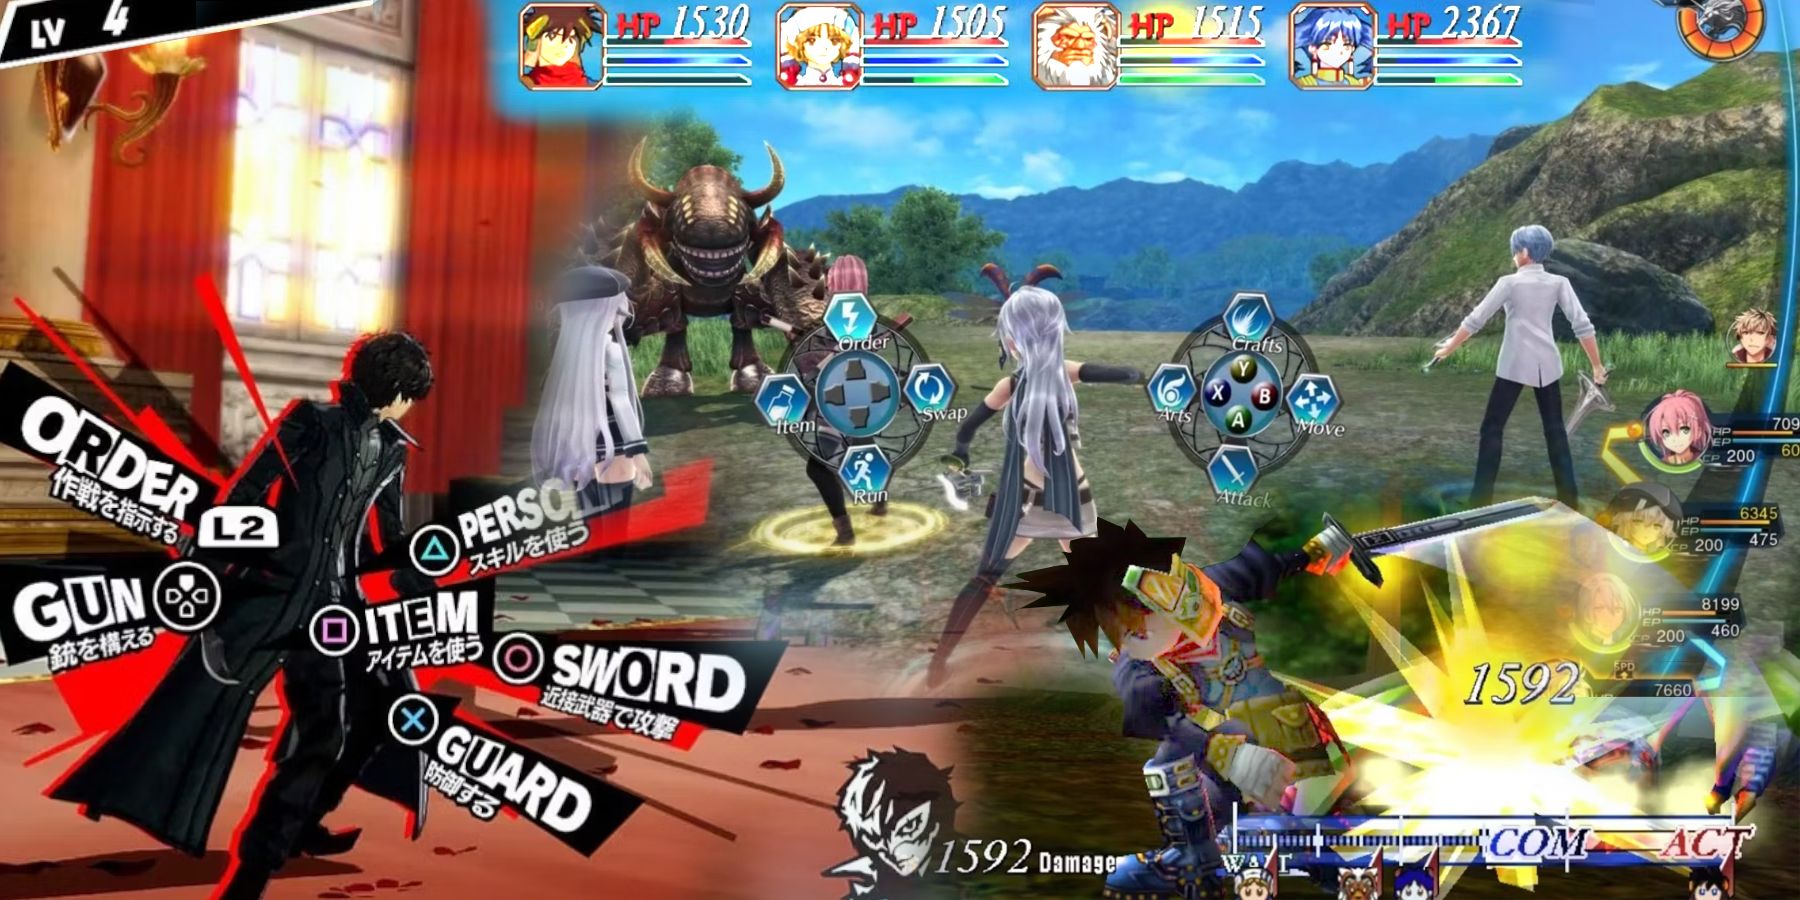
While we will build the actual UI much later (in Module 8), we need to implement the underlying logic now. Architecturally, you can think of this as the player's choice dispatching an action in a state management system. When the player selects "Attack", our BattleScene receives this command and moves the FSM from the INPUT state to the EXECUTION state to carry out the logic.
Let's assume we have a function that gets called when the player makes a choice:
// This function is the entry point for executing a chosen command.
// It will be called by our future UI/input handling layer.
handlePlayerAction(actionType, targets) {
    const actor = this.activeCombatant;

    // Transition to the execution phase so ATB gauges stop ticking.
    this.fsm.transition('EXECUTION');

    // ... logic to call the correct function based on actionType ...

    // After the action is resolved, we'll call onActionComplete.
    this.onActionComplete(actor);
}
Our goal today is to write the functions for attack, defend, and escape that will be called from here.
2. The 'Attack' Action: A Two-Step Process
The most common action in any JRPG is the basic physical attack. In classic games, this isn't as simple as just subtracting damage. It's usually a two-step process: first, determine if the attack even hits, and second, calculate the damage if it does.
Building an RPG Battle System – Part 1
The article 'Building an RPG Battle System – Part 1' from Random Potion provides a great breakdown of this two-step process. It clearly separates the 'to-hit roll' from the 'damage roll'.
Read the section titled 'Violent Resolutions'. Focus on the explanation of the 'To Hit Roll' and the 'Damage Roll' and how they are distinct steps.
Let's implement this logic.
Step 1: The To-Hit Roll
Before any damage is done, we must check if the attack lands. A missed attack does no damage and has no effect. In front-end terms, this is like a validation check before processing a form submission. While some modern RPGs have removed miss chances for basic attacks, they are a staple of the classic era you're aiming for.
A simple implementation can be a high base chance to hit, perhaps modified by stats like Agility or Luck. For now, we'll use a fixed percentage.
function checkHit(attacker, defender) {
    const baseHitChance = 0.95; // 95% base chance to hit
    // In the future, we could add: + (attacker.agi - defender.agi) * 0.01;
    return Math.random() < baseHitChance;
}
Step 2: The Damage Roll
If the attack hits, we then calculate the damage. This is where the ATK and DEF stats from our combatant data structure come into play. We will dedicate the entire next lesson to sophisticated damage formulas, so for today, we'll use the most fundamental formula: Damage = Attacker's ATK - Defender's DEF.
We can now write our executeAttack function.
// --- To be added to your BattleScene class ---

executeAttack(attacker, defender) {
    // 1. Check if the attack hits
    if (!this.checkHit(attacker, defender)) {
        console.log(`${attacker.name} attacks ${defender.name} but misses!`);
        // We'll need a way to show "Miss" on screen later.
        return;
    }

    // 2. Calculate damage (basic formula for now)
    const damage = Math.max(1, attacker.stats.atk - defender.stats.def);

    // 3. Apply damage
    defender.hp -= damage;
    console.log(`${attacker.name} hits ${defender.name} for ${damage} damage!`);
    // We'll add damage pop-ups later.

    // Ensure HP doesn't go below 0
    if (defender.hp < 0) {
        defender.hp = 0;
        console.log(`${defender.name} has been defeated!`);
        // Handle death logic (e.g., set a 'isDead' flag)
    }
}
3. The 'Defend' Action: Trading Offense for Defense
The 'Defend' (or 'Guard') command allows a character to skip their turn in exchange for increased durability until their next turn. It's a strategic choice, useful when anticipating a powerful enemy attack.
How is this typically implemented? The ORK Framework documentation gives us a common industry standard.
12 Battle System Setup - RPG Editor
Let's look at the '12 Battle System Setup' guide for the ORK Framework. This guide, while for a specific tool, reveals standard design patterns for JRPG combat.
In the section 'Battle System > General Settings', find the subsection 'Chances & Factors'. Notice the 'Base Defend Rate' is set to 50, indicating that the defend command reduces damage by 50%. This is a very common implementation.
To implement this, we can add a boolean flag to our combatant's state in memory, such as isDefending.
// --- To be added to your BattleScene class ---

executeDefend(combatant) {
    combatant.isDefending = true;
    console.log(`${combatant.name} is defending!`);
}
This is simple enough, but the real work is in modifying our executeAttack function to respect this new state.
// --- Modified executeAttack function ---

executeAttack(attacker, defender) {
    // ... (to-hit roll logic remains the same)

    // 2. Calculate damage
    let damage = Math.max(1, attacker.stats.atk - defender.stats.def);

    // Check if the defender is defending!
    if (defender.isDefending) {
        damage = Math.ceil(damage / 2); // Halve the damage, rounding up.
        console.log(`${defender.name} defends against the attack!`);
    }

    // 3. Apply damage
    // ... (rest of the function is the same)
}
Now, when does the isDefending flag get cleared? It should be cleared right before that character's next turn begins. A good place for this is when their ATB gauge becomes full.
// --- In your checkForReadyCombatant() function from the last lesson ---

checkForReadyCombatant() {
    const readyCombatant = this.combatants.find(c => c.currentAtb >= ATB_MAX && c.hp > 0);

    if (readyCombatant) {
        // Clear the defending state before their turn starts!
        if (readyCombatant.isDefending) {
            readyCombatant.isDefending = false;
        }

        readyCombatant.isReady = true;
        // ... rest of the function
    }
}
Test your understanding!
The ORK Framework resource also mentions an option called Defend First. This setting makes any 'Defend' action execute before all other actions in a turn, regardless of Agility. How might you start to architect this in our ATB system?
Show answer
This is a tricky design problem with a few solutions. One approach could be:
When a player chooses 'Defend', instead of immediately resetting their ATB gauge, you could give them a massive, temporary boost to their ATB gauge (e.g., currentAtb += ATB_MAX). This would cause their next turn to come up almost instantly. On that "bonus" turn, you would apply the isDefending flag and then reset their gauge to 0 as normal.
Alternatively, you could have a special "pre-turn" phase in your FSM where you check for any queued 'Defend' actions and resolve them before starting the normal ATB process for the round. The first approach is generally simpler to integrate into an existing ATB loop.
4. The 'Escape' Action: Running from Battle
The final core action is 'Escape' or 'Run'. This is an attempt to end the battle prematurely. A failed attempt usually results in a wasted turn.
The logic involves a probability check. The success chance can be a fixed value, or it can be more complex, comparing the party's average Agility against the enemies'. Let's start with a simple formula.
// --- To be added to your BattleScene class ---

executeEscape(actor) {
    const escapeChance = 0.5; // 50% chance to escape

    if (Math.random() < escapeChance) {
        console.log("Got away safely!");
        // Transition the FSM to a final state
        this.fsm.transition('BATTLE_END', { outcome: 'fled' });
        // The scene manager would then listen for this and switch back to the map.
        return true;
    } else {
        console.log("Couldn't escape!");
        // The action fails, and the turn is simply over.
        return false;
    }
}
If the escape is successful, the battle is over. If not, the character's turn is consumed, and the battle continues.
5. Integrating Actions into the FSM
Now we can complete our handlePlayerAction function, which acts as the central router for player commands.
// --- Final version of our action handler in BattleScene ---

handlePlayerAction(actionType, targets) {
    const actor = this.activeCombatant;

    // We can assume we are already in the 'EXECUTION' state.

    switch (actionType) {
        case 'ATTACK':
            // For now, assume single target. targets[0] is the defender.
            const defender = targets[0];
            this.executeAttack(actor, defender);
            break;

        case 'DEFEND':
            this.executeDefend(actor);
            break;

        case 'ESCAPE':
            this.executeEscape(actor);
            break;

        default:
            console.error(`Unknown action type: ${actionType}`);
    }

    // Crucially, signal that the action is complete.
    // This function from the previous lesson resets the ATB gauge
    // and returns the FSM to the 'IDLE' state to continue the battle.
    this.onActionComplete(actor);
}
This structure clearly separates the concerns: the handlePlayerAction function routes the commands, and the individual execute... functions contain the specific game logic. This is very similar to how a web server route calls a specific controller method to handle a request.
Conclusion
Congratulations! You have now implemented the logical foundation for the three most fundamental combat commands. By combining state flags (isDefending), probability checks (checkHit, executeEscape), and simple arithmetic, we've brought our combat system to life. A character can now take their turn and have a meaningful impact on the battle.
Key Takeaways:
- Action Flow: Player actions are handled by transitioning the FSM from
INPUTtoEXECUTION, running the action's logic, and then transitioning back toIDLE. - Attack is Two-Step: A classic 'Attack' involves a to-hit roll followed by a damage roll.
- Defend uses State: The 'Defend' action works by setting a temporary state (
isDefending) on a combatant, which other functions (like damage calculation) must then check for. - Escape is Probabilistic: 'Escape' is a simple pass/fail check that can end the battle or result in a lost turn.
Preview of the next lesson:
Our current executeAttack function uses a placeholder damage formula. To make combat truly strategic, we need to expand on this. In our next lesson, we will design and implement damage calculation formulas inspired by classic JRPGs. We'll explore how to incorporate variance, critical hits, and make stats like ATK and DEF feel impactful and rewarding.