Hello! Welcome to the final lesson of our first module on drawing fundamentals.
In our last two lessons, you learned how to construct primitive 3D forms and then how to use contour lines to describe their surfaces, much like defining a wireframe mesh in graphics programming.
Today, we're going to put those skills together. Our learning outcome is to combine multiple primitive forms to create simple composite objects in space. This is the drawing equivalent of constructive solid geometry (CSG) in 3D modeling, where you build complex shapes by adding, subtracting, and intersecting simpler ones. This lesson is the capstone of our first module and the bridge to deconstructing the complex subjects—buildings, vehicles, and portraits—that you're aiming to master.
1. Seeing in Primitives: The Art of Structuralization
Before we can combine forms, we need to learn to see complex objects as being made of simple forms. This process is often called structuralization or "mannequinization." It's the ability to look at a car, a chair, or a person and mentally break it down into an arrangement of cubes, cylinders, spheres, and cones.
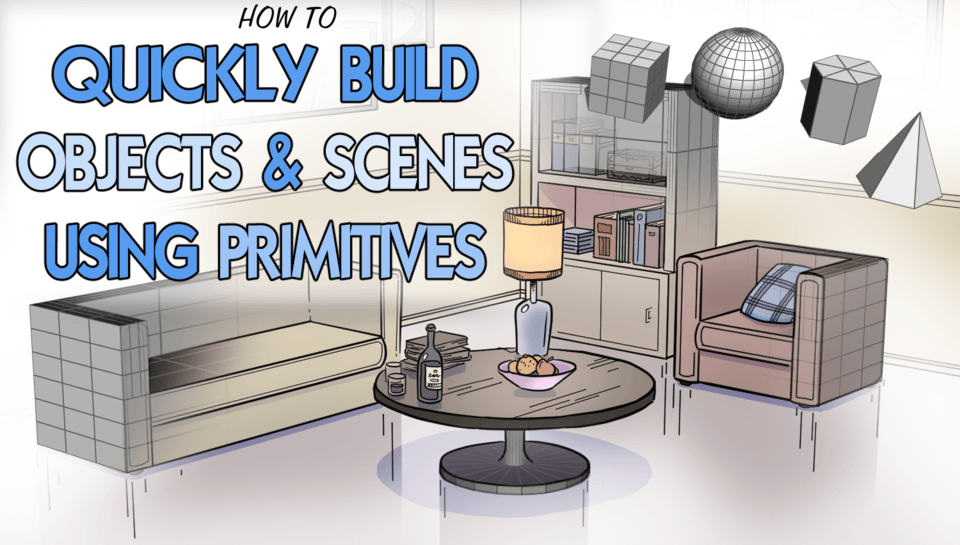
To introduce this idea, let's watch a short clip that frames this as the very first step in learning to draw anything.
In his video '6 Steps to Draw Anything,' the artist from the Proko channel explains this foundational concept of 'structuralization'.
Please watch from 02:15 to 03:59. The key idea is developing the spatial awareness to see and draw clusters of primitive shapes intuitively.
2. Thinking Like a Sculptor: Additive and Subtractive Methods
Once you can see the primitive forms in an object, the next step is to construct them on paper. There are two primary methods for this, which are analogous to Boolean operations in 3D software:
- Additive Construction: This is the process of attaching forms together. Think of building with blocks: placing a cone on top of a cylinder to make a tower, or attaching four long cylinders to a flat box to make a table.
- Subtractive Construction: This involves carving one shape out of another. Imagine starting with a large cube of clay and scooping out a cylindrical chunk to create an archway.
The most effective way to learn this is to "think like a sculptor." You start with a block of your primary form and then add to it or carve from it.
The following guide provides an excellent, detailed walkthrough of this process. It uses a step-by-step approach that is very clear and easy to follow.
The Ultimate Guide To Drawing In Perspective
The article 'The Ultimate Guide To Drawing In Perspective' from How to Draw Comics Academy has a fantastic section on this topic.
Please read the section titled 'Thinking Like a Sculptor'. It's divided into 'Subtracting' and 'Adding'. Follow the images closely to see how a cylinder is subtracted from a cube to create an arch, and then how another cube is added to that new form. Pay close attention to how the artist finds the intersection points.
As you saw in the article, the key steps are:
- Draw Through: Construct both forms as if they are transparent wireframes.
- Find the Intersection: Identify the lines where the surfaces of the two forms meet. Your practice with contour lines is invaluable here, as you're essentially finding where one "wireframe" passes through another.
- Define the Final Form: Erase the guidelines and the parts of the forms that are now hidden or removed. Go over the final outlines to make the new, composite object solid.
To see this process in motion, the following video demonstrates these modifications dynamically.
How to Draw Anything with the help of basic shapes
In 'How to Draw Anything with the help of basic shapes', Robert Laszlo Kiss provides a great time-lapse demonstration of cutting, extending, and connecting basic forms to create more complex structures.
Watch the main demonstration from 02:36 to 12:28. You don't need to follow every single line, but observe the overall process. Notice how he starts with a simple box and continuously modifies it by cutting away pieces, extending faces, and connecting new forms. This is a great visualization of the 'sculpting' mindset.
Test your understanding!
You want to draw a wooden coffee mug, which is essentially a thick cylinder with a cylindrical hole for the coffee and a handle attached to the side. Which combination of additive and subtractive operations would you use?
Show answer
You would use both! You'd start with a large cylinder for the main body of the mug. Then, you would use a subtractive operation to carve a smaller cylinder out of the top to create the hole. Finally, you would use an additive operation to attach another curved or rectangular form for the handle.
3. Practice Drills: Building Your First Composite Objects
Now it's time to apply these concepts. These exercises will move from simple combinations to deconstructing a real-world object.
Practice Drill 1: Simple Additive Object (10 minutes)
Choose one of the following simple objects and construct it by adding primitive forms together. Remember to draw through your shapes to place them correctly in relation to one another.
- A dumbbell: A central cylinder with two cubes or spheres on the ends.
- A simple floor lamp: A flat cylinder for the base, a tall thin cylinder for the pole, and a cone or half-sphere for the shade.
- A snowman: Three spheres of decreasing size stacked on top of each other.
Focus on how the forms connect. Where does the base of one sphere sit on the sphere below it? How does the pole connect to the center of the base?
Practice Drill 2: Simple Subtractive Object (10 minutes)
Let's practice carving.
- Draw a cube in space, making sure to draw all sides as if it's transparent.
- Now, perform a subtractive operation. You could:
- Carve a smaller cube out of one of its corners.
- Carve a cylindrical hole through the middle of it (as seen in the reading).
- Carve a wedge (a triangular prism) off one of its edges.
- Carefully determine the new edges and faces created by the cut, and erase the lines that are no longer there.
Practice Drill 3: Deconstructing an Everyday Object (10 minutes)
This final drill brings everything together. We will use a method called "Simplify and Conquer" to analyze and draw an object from the real world. The article we read earlier has a perfect walkthrough for this.
The Ultimate Guide To Drawing In Perspective
Let's return to 'The Ultimate Guide To Drawing In Perspective' to see how to apply these ideas to a real object.
Read the section 'Simplify and Conquer'. It demonstrates how to deconstruct a baseball cap into a half-sphere and a curved plane. Follow the logic of how the artist simplifies the object into its core volumes before adding details.
Now, your turn. Find a simple object near you—a computer mouse, a bottle, a stapler, or a salt shaker.
- Analyze: Look at the object and identify its major primitive components.
- Construct: On your paper, draw these primitive forms combined in the correct proportions. Draw them transparently.
- Refine: Once the main forms are in place, refine the outline and add the major connecting contours to create the final shape, just like the baseball cap example.
Conclusion
Congratulations on completing the first module! You have built a solid foundation, progressing from making simple marks to constructing composite 3D objects.
Key Takeaways:
- Structuralization is Key: All complex objects can be simplified into a combination of primitive forms (cubes, cylinders, spheres, cones).
- Think Like a Sculptor: Forms are combined using additive (joining) and subtractive (carving) methods, much like Boolean operations in 3D modeling.
- Draw Through to Intersect: Drawing forms as transparent wireframes is crucial for figuring out how and where they connect or intersect.
- From Primitives to Reality: This method of combining forms is the fundamental process for deconstructing and drawing any object from observation or imagination.
This lesson concludes our work on the fundamentals of form. So far, we've placed these objects in space based on intuition. To achieve true realism and accuracy, we need a system to govern their placement, scale, and orientation.
In our next lesson, we will begin Module 2: Foundations of Perspective. We will start by learning how to identify the horizon line and vanishing points in reference images, which are the essential first steps to building believable, structured 3D scenes.