Hello! Welcome to the start of your second capstone project.
In our previous lessons, you successfully planned, generated assets for, and edited a complete UGC-style marketing video. You've now experienced the entire AI video production pipeline from start to finish. Now, we're going to apply those skills to a different creative challenge: crafting a short animated story.
This lesson focuses on the crucial first step: planning. Your learning outcome is to finalize the script and storyboard for a short animated narrative. Think of this as creating the architectural blueprint for your animation. A solid plan here will make the entire creation process smoother and more efficient.
We will cover how to generate a story script using AI and, most importantly, how to translate that script into a structured, text-based storyboard that will guide your visual asset creation in the next lesson.
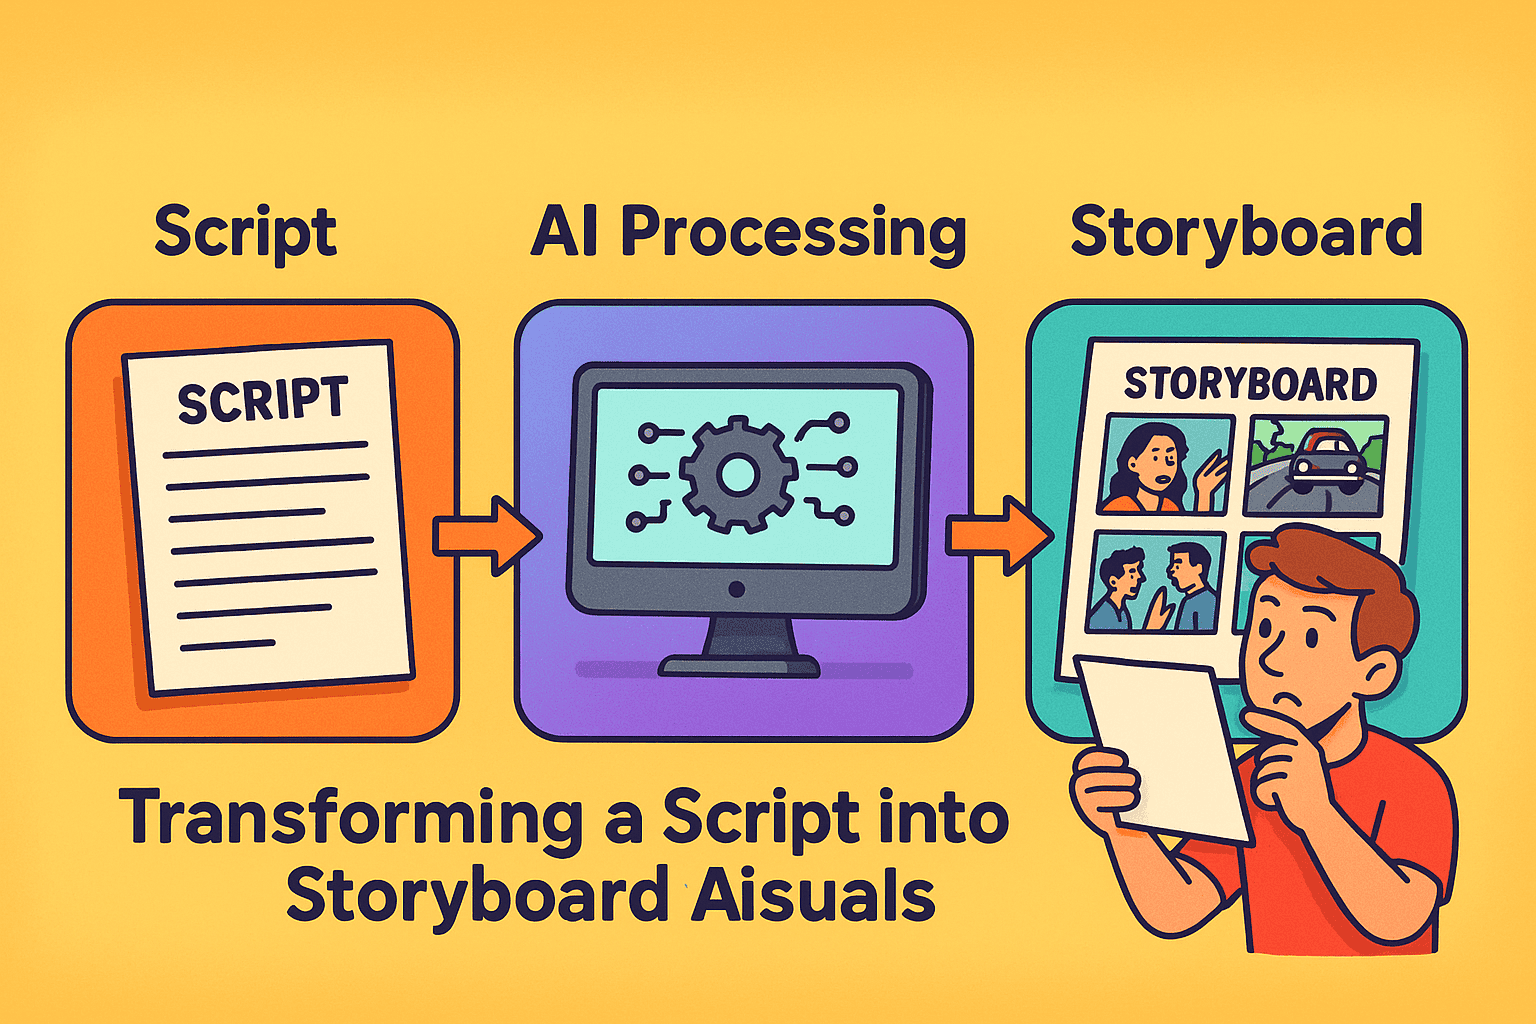
1. Understanding the Storyboard
Before we start creating, let's clarify what a storyboard is and why it's so vital for an animated story. In the last project, your storyboard was simpler because the main visual was a talking avatar. For an animated narrative with multiple scenes and actions, the storyboard is your single source of truth.
To begin, let's get a formal definition.
AI Storyboard Generator |Turn Ideas Into Visual Plans - CapCut
The 'AI Storyboard Generator' page on CapCut's website has a great, concise definition in its FAQ section.
Please read the answer to the first question in the 'Frequently Asked Questions' section: 'What is a storyboard?'. It clearly explains its purpose as a visual plan.
A storyboard breaks your script down into individual scenes or shots. For each shot, it specifies what will be seen and heard. This allows you to:
- Plan your visuals: Decide on character actions, settings, and camera angles before you spend time generating them.
- Ensure consistency: Keep the style, characters, and environment consistent from one scene to the next.
- Structure your narrative: See the flow of your story at a glance and identify any pacing issues early on.
For our AI-driven process, our storyboard will be text-based. Here's a great template that shows what information we need for each scene.
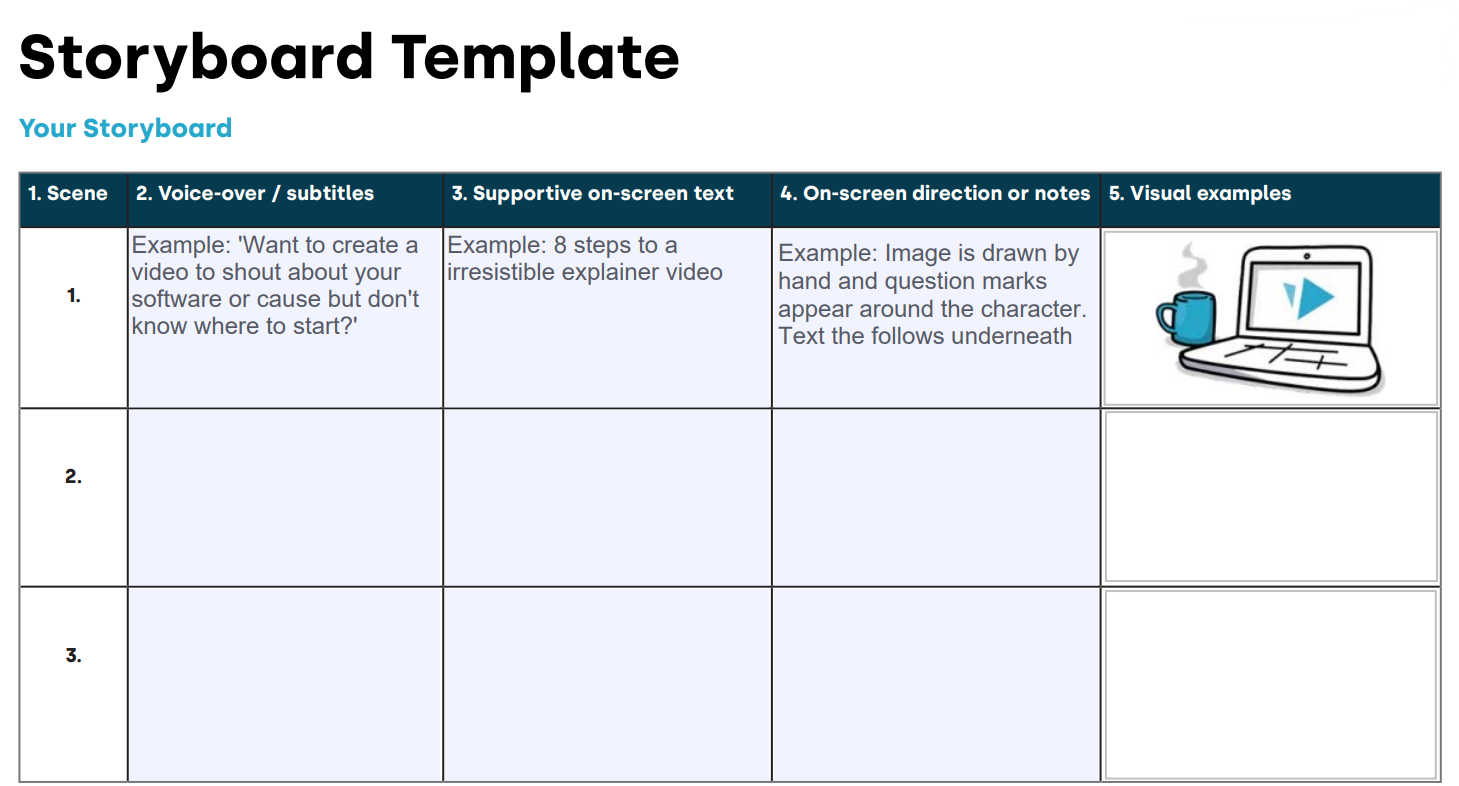
In our version, the 'Visual examples' column won't contain drawings. Instead, it will hold the detailed text-to-image prompts we will use to generate our scenes with AI. This is the heart of our blueprint.
2. Generating Your Story Script
The first step is to get your story idea out of your head and into a structured script format. Your goal is a short narrative broken down into distinct scenes. We'll explore two powerful, no-code methods to do this.
Method 1: Using CapCut's Integrated AI Tools
Since you're familiar with CapCut, its built-in AI story and storyboard generators are an excellent starting point. These tools can take a simple idea and generate a complete script and a basic storyboard.
AI Story Generator: Craft Infinite Stories - CapCut
CapCut offers dedicated tools for this process. This first article introduces the 'AI Story Generator', which focuses on creating the script.
First, read the introduction and the 'Features' section to understand what the tool does. Then, review 'How to use CapCut Web's short story script generator' to see the practical steps. Focus on how you can input an idea to get a structured script.
CapCut's "AI video maker" often combines script generation and storyboarding. The tool can automatically break your generated script into scenes.
AI Storyboard Generator |Turn Ideas Into Visual Plans - CapCut
This second article explains CapCut's 'AI Storyboard Generator'. It builds on the script generation and shows how the tool automatically breaks down the script into scenes.
Read the 'Key features' section, paying attention to 'AI script-to-storyboard generation' and 'Automatic scene and shot breakdown'. Then, review the step-by-step guide to see how to use the feature.
Method 2: Using ChatGPT for More Detailed Control
For more fine-grained control over character details and scene structure, a powerful Large Language Model (LLM) like ChatGPT is an excellent choice. You can have a conversation with the AI to refine your story, characters, and scene descriptions iteratively.
The following video demonstrates a workflow using a custom GPT to build a detailed animation script.
How To Create AI Animated Stories with ChatGPT!
The video 'How To Create AI Animated Stories with ChatGPT!' shows a powerful workflow for turning a simple idea into a detailed, scene-by-scene script with character descriptions and prompts.
Watch the section from 00:51 to 03:12. Pay close attention to how the creator provides a simple idea, answers clarifying questions, and receives a script broken down into shots, each with a description and a text-to-image prompt.
3. Finalizing Your Text-Based Storyboard
Regardless of the tool you used to generate the initial script, the next step is to refine it into a final, detailed storyboard. This means creating a precise visual plan for the AI image generator. This is where you, the director, take control.
A common challenge in AI animation is visual consistency—making sure your character and world look the same in every shot. The solution is a structured prompting method.
This next video explains the most important concept for this lesson: how to structure your prompts to maintain consistency.
Make Storyboard with Ai – 100% Free! No Drawing Required!
The creator of 'Make Storyboard with Ai' provides an excellent tutorial on structuring prompts for consistency. This is a critical skill for creating a coherent animated story.
Please watch these three key sections: (01:05 - 02:42) Focus on the formula for a structured prompt: Style + Character + Context + Action + Expression. (02:50 - 03:44) Observe how ChatGPT is used to break a story into scenes and generate initial prompts in a table format. (03:44 - 04:33) Pay close attention to the manual editing step, where a consistent 'hero character' description is copied into every prompt. This is the key to consistency.
Your Task: Create Your Storyboard
Now it's your turn to create the blueprint for your animated short.
1. Choose a Story Idea:
Think of a simple concept. For example:
- A curious robot finds the last living flower in a desolate city.
- A young witch's first attempt at a flying spell goes comically wrong.
- An astronaut on a lonely space station gets a surprise delivery from Earth.
2. Generate the Script:
Using either CapCut's AI Video Maker or ChatGPT, generate a short script based on your idea. Ask the AI to break it down into 4-6 distinct scenes. Each scene should have a short narration or description.
3. Define Your "Hero" Prompt Elements:
This is the most important step for ensuring consistency. In a text document, define the core visual elements that will be in every prompt:
- Style:
cinematic anime style, vibrant colors, detailed illustration(or whatever style you choose). - Character:
A small, curious robot with a round, friendly face, big blue optic sensors, a silver metallic body with slight rust, and caterpillar tracks for movement. - Context/Setting:
A desolate, post-apocalyptic city, empty streets, crumbling skyscrapers in the background, overcast sky.
4. Build the Scene-by-Scene Storyboard:
Create a table (you can do this in a simple document or spreadsheet). For each scene from your script, fill out the columns, combining your "hero" elements with the specifics for that scene.
Here’s an example based on the robot idea:
| Scene | Narration | Detailed Text-to-Image Prompt |
|---|---|---|
| 1 | In a silent city of rust and concrete, a small robot named Unit 7 rolled alone. | cinematic anime style, vibrant colors, detailed illustration. A small, curious robot with a round, friendly face, big blue optic sensors, a silver metallic body with slight rust, and caterpillar tracks for movement. In a desolate, post-apocalyptic city, empty streets, crumbling skyscrapers in the background, overcast sky. The robot is rolling down the center of a wide, empty street, looking from side to side with a curious expression. Full shot. |
| 2 | Suddenly, its sensors detected a flash of color amidst the grey. | cinematic anime style, vibrant colors, detailed illustration. A small, curious robot with a round, friendly face, big blue optic sensors, a silver metallic body with slight rust, and caterpillar tracks for movement. In a desolate, post-apocalyptic city, crumbling skyscrapers in the background. The robot is stopped, looking at a small, bright red flower growing from a crack in the pavement. Close-up shot on the robot's face showing a surprised expression. |
| 3 | It was something Unit 7 had never seen before—a flower, fragile yet defiant. | cinematic anime style, vibrant colors, detailed illustration. A close-up shot of a single, bright red flower with green leaves, growing out of a crack in grey concrete. The background is blurry, showing the desolate city out of focus. |
| 4 | Gently, it extended a metallic hand, careful not to harm the delicate petals. | cinematic anime style, vibrant colors, detailed illustration. A small, curious robot with a round, friendly face, big blue optic sensors, a silver metallic body with slight rust, and caterpillar tracks for movement. It is kneeling beside a small, bright red flower, slowly extending one metallic pincer-hand towards it. Over-the-shoulder shot from behind the robot. |
Notice how the bolded parts (Style, Character, and general Setting) are repeated to ensure the AI remembers what the core elements look like from shot to shot.
Conclusion
Excellent work! You've now created the most important document for your animation project. By investing time in a detailed script and storyboard, you've set a clear direction for yourself, which will make the next stages of production much more focused and creative.
Key Takeaways:
- A storyboard is the essential blueprint for any narrative video, especially animation.
- AI tools like CapCut's generator or ChatGPT can rapidly create a structured script with scene breakdowns.
- The key to visual consistency in AI-generated animation is a structured prompt, which includes consistent details for style, character, and context in every single shot.
- Your text-based storyboard, with its detailed prompts, is the direct input you will use for asset generation.
Next Lesson Preview:
With your blueprint complete, it's time to start construction. In the next lesson, we will take the detailed prompts from your storyboard and use AI image generation tools to create all the scenes and character assets for your story. You'll see your narrative world come to life, one image at a time.