Hello! Let's dive into the final lesson of our "Advanced Image and Runtime Management" module.
In our last session, we saw how docker cp can be used for debugging by copying files and artifacts out of containers. As you build, run, test, and debug applications, you'll find that Docker objects—stopped containers, old image layers, and unused volumes—start to accumulate. This can consume a significant amount of disk space and clutter your development environment.
Today, we'll tackle this head-on. This lesson covers the learning outcome: Prune unused images, containers, and volumes to manage local storage. As a DevOps Engineer, maintaining a clean and efficient Docker host is a crucial operational task, both on your local machine and within CI/CD runners.
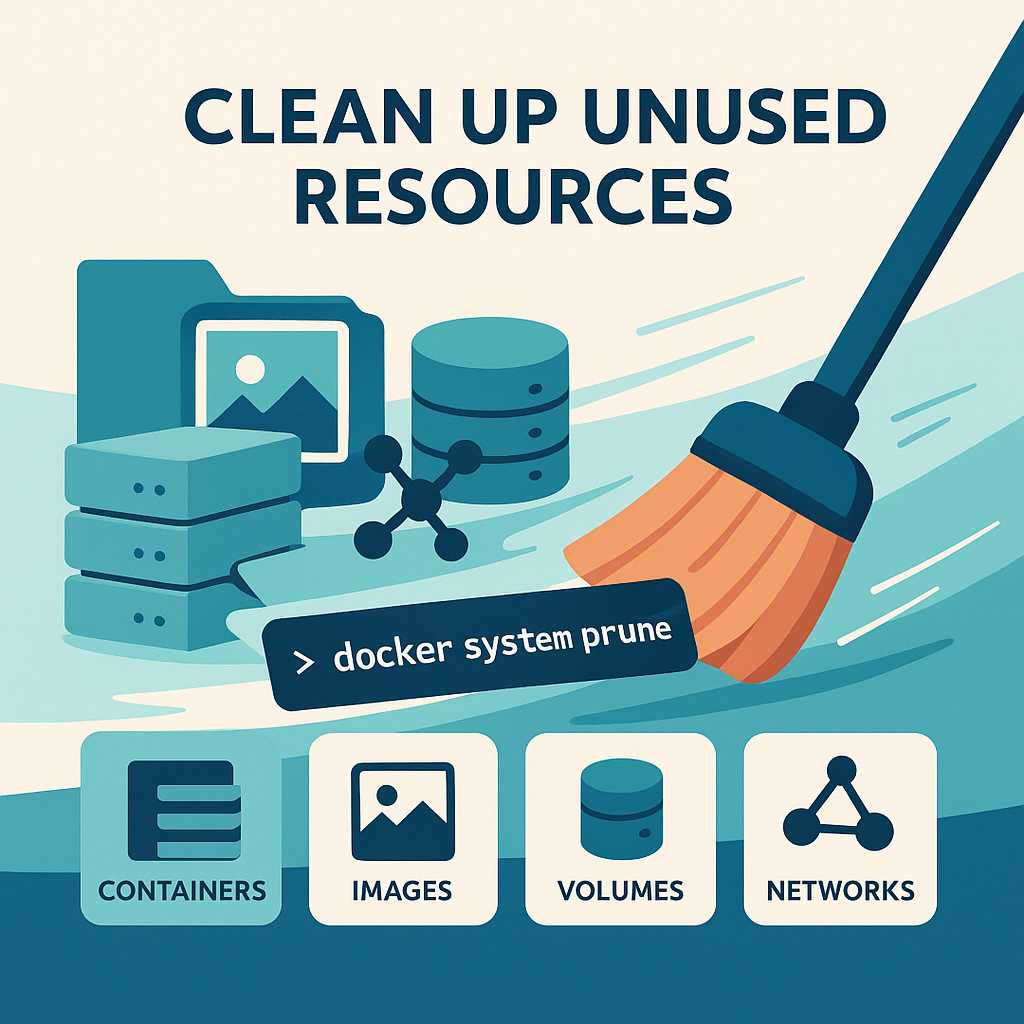
1. Why Prune? Diagnosing Disk Usage
Docker is conservative by design; it doesn't automatically delete objects you've stopped using. A stopped container, an old image version, or an unreferenced volume all remain on your system, occupying space, until you explicitly remove them. This is a safety feature to prevent accidental data loss, but it requires you to perform periodic cleanups.
Before you start deleting things, it's wise to see where your disk space is going. Docker provides a handy command for this: docker system df.
Docker tip: docker system prune and df
The official Docker channel has a concise video demonstrating the df command. Watch this short clip to understand how it breaks down disk usage.
Watch from 00:48 to 01:15. Pay attention to how the output shows the space used by Images, Containers, and Local Volumes, and most importantly, how much is 'RECLAIMABLE'.
Now, try it on your own system. Open your terminal and run:
docker system df
You might be surprised by the amount of reclaimable space, especially from images. This command gives you a clear "before" picture, helping you quantify the impact of the cleanup operations we're about to perform.
2. Granular Cleanup: Pruning by Object Type
While it's possible to delete everything at once, it's often safer and more deliberate to prune specific types of objects. This gives you granular control over the cleanup process. The official Docker documentation provides a clear, authoritative reference for these commands.
Let's review the official documentation, 'Prune unused Docker objects', to understand the specific commands for each resource type.
Please read the sections titled 'Prune images', 'Prune containers', 'Prune volumes', and 'Prune networks'. For each section, focus on what the command removes by default and what the available flags (like -a) do.
To summarize and add context to what you've just read:
docker container prune: Removes all stopped containers. If you often usedocker runwithout the--rmflag, you likely have many of these.docker image prune: This one is nuanced. By default, it only removes dangling images—these are image layers that have no tag and are not referenced by any other image or container. You often create these during builds.- To remove all unused images (images not associated with any existing container, even if tagged), you must use the
-aor--allflag. This is much more powerful.
- To remove all unused images (images not associated with any existing container, even if tagged), you must use the
docker volume prune: By default, this removes only anonymous volumes that are not attached to any container. Named volumes are preserved to prevent accidental data loss.docker network prune: Removes all custom networks that are not being used by at least one container. This is mostly for tidiness, as networks consume minimal disk space.docker builder prune: Cleans up the build cache. This is particularly useful for you as a developer/DevOps engineer who frequently builds images.
For a practical demonstration of these commands and the space they can save, the following video walks through them one by one.
Docker Quietly Eats Drives | Docker Prune & Cleanup Guide
The video 'Docker Quietly Eats Drives' provides a great hands-on walkthrough of the individual prune commands.
Watch from 04:30 to 08:45. The presenter demonstrates image prune (with and without -a), container prune, network prune, volume prune, and finally builder prune. Notice the difference in reclaimed space between image prune and image prune -a.
3. The All-in-One Solution: docker system prune
Running each prune command individually is effective, but for a general cleanup, Docker provides a master command: docker system prune.
This command is a shortcut that combines several cleanup operations. However, you must understand its behavior to use it safely.
Let's return to the official documentation to understand the system prune command and its important flags.
Read the final section, 'Prune everything'. Pay close attention to what docker system prune removes by default and how the --volumes flag changes its behavior.
Crucial Points for docker system prune:
- Default Behavior: It removes all stopped containers, all unused networks, all dangling images, and the build cache.
- Volumes are Special: It does not remove volumes by default. To include unused volumes in the system-wide prune, you must explicitly add the
--volumesflag. This is a critical safety mechanism to prevent unintended data loss. - All Unused Images: Just like
docker image prune,system pruneonly removes dangling images by default. To remove all unused images (not just dangling ones), you need to add the-aflag.
The most comprehensive and aggressive cleanup command you can run is:docker system prune -a --volumes
This command will remove:
- All stopped containers.
- All unused networks.
- All volumes not used by at least one container (both named and anonymous).
- All unused images (not just dangling ones).
- All build cache.
Test your understanding!
You have a development server where multiple teams are working. Team A has a set of containers that are currently stopped but contain important logs they wish to analyze later. You also have several named volumes containing persistent database data, some of which are not currently attached to any container.
Your goal is to free up as much disk space as possible by removing old, dangling build images and unused networks, without deleting the stopped containers or the persistent data in the named volumes.
Which command would be the most appropriate and safest choice?
docker system prunedocker system prune -a --volumesdocker image prune && docker network prunedocker image prune -a
Show answer
The correct answer is 3. docker image prune && docker network prune.
Here's why:
docker system prune(Option 1) would delete the stopped containers that Team A needs.docker system prune -a --volumes(Option 2) is too aggressive. It would delete the stopped containers and all the unused named volumes, leading to data loss.docker image prune -a(Option 4) only cleans up images and misses the unused networks.docker image prune && docker network prune(Option 3) is the most precise.docker image prune(by default) removes only dangling images, anddocker network prunecleans up unused networks. This combination achieves the goal without touching stopped containers or any volumes.
4. Safety and Best Practices in a Professional Context
Using prune commands is powerful, but with power comes responsibility. In a professional DevOps role, you must be cautious to avoid disrupting services or causing data loss.
Docker Prune: A Complete Guide with Hands-On Examples
The article 'Docker Prune: A Complete Guide' offers excellent advice on using these commands safely and establishing best practices, which is directly relevant to your professional goals.
Please read the sections 'Using Docker Prune Safely' and 'Best Practices for Docker Prune'. Focus on the 'inspect before you prune' workflow and the suggestions for automation.
Key best practices for a DevOps professional:
- Inspect Before You Prune: There is no
--dry-runflag for prune commands. The safest approach is to manually list what you're about to delete.docker ps -ato see all containers (running and stopped).docker image ls -ato see all images.docker volume lsto see all volumes.
- Use Filters for Safety: The
--filterflag provides a powerful safety net. A common pattern is to prune objects older than a certain time. This prevents you from deleting something you just stopped working with.# Remove all stopped containers that were exited more than 24 hours ago docker container prune --filter "until=24h" - Automate with Caution: As the article suggests, automating cleanup with a cron job on a Linux server is a common DevOps practice.
This scheduled, filtered cleanup is a robust strategy for production environments or shared CI/CD runners.# At 3 AM every Sunday, run a system prune, but only for objects older than 7 days (168h) 0 3 * * 0 /usr/bin/docker system prune -f --filter "until=168h"
Conclusion
Congratulations on completing the "Advanced Image and Runtime Management" module! You've learned how to tag and push images, inspect them, monitor them, manage their lifecycle, and now, how to clean up the resulting clutter.
Key Takeaways:
- Docker objects consume disk space and require manual cleanup.
- Use
docker system dfto diagnose disk usage and identify reclaimable space. - Use granular commands (
docker image prune,docker container prune, etc.) for targeted cleanup. docker system pruneis the all-in-one command, but be mindful of its flags:-ato include all unused images and--volumesto include volumes.- In a professional setting, adopt a safety-first mindset: inspect before pruning, use filters, and automate cautiously.
In our next lesson, we will begin a new module on Advanced Networking and Data Persistence. Having just learned about the importance of protecting volumes from accidental pruning, we'll start by taking a much deeper look at them, beginning with how to differentiate between volumes, bind mounts, and tmpfs mounts for stateful applications.