Introduction
Welcome to the final stage of creating your drawing. Over the last few lessons, you've taken a blank page and built a complete artwork: you've established a structural underdrawing, refined your line art, analyzed the light source, blocked in shadow shapes, and finally, rendered the forms with value and texture. It's tempting to call the drawing finished and move on, but there's one more step that is arguably the most critical for your long-term growth as an artist.
Today's lesson is about learning to be your own best teacher. Our goal is to perform a self-critique by comparing the finished drawing to the reference against a checklist. This isn't about being harsh or finding fault for the sake of it. Instead, think of it as debugging your code. You're running a diagnostic pass on your drawing to identify specific areas for improvement, not just finding "bugs," but understanding why they occurred. This analytical process is the bridge between finishing one drawing and starting the next one even better.
1. The Art of Seeing: How to Look at Your Own Work
When you've been working on a drawing for hours, you lose objectivity. Your brain starts to automatically correct errors and fill in gaps, making it difficult to see what's actually on the page. The first step in any good critique is to find a way to look at your work with "fresh eyes."
Before we build a formal checklist, let's explore some simple but powerful techniques to break your familiarity with the drawing.
19 Tips To Help You Draw More Accurately
The article '19 Tips To Help You Draw More Accurately' offers several excellent, practical methods for gaining a new perspective on your artwork.
Read the following tips from the article: Tip 3: Take A Step Back. Tip 4: Take Pictures Of Your Art. Tip 5: Flip The Drawing, look at it in a mirror. Tip 16: Leaving It For A Day Or More. Focus on why each of these techniques is effective at revealing mistakes you didn't notice while drawing.
As you read, you'll see a common theme: changing the context in which you view the drawing forces your brain to re-evaluate it.
- Stepping back or viewing a photo on your phone makes you see the drawing as a whole composition, revealing major proportional or value issues that are invisible when you're focused on details.
- Flipping the image in a mirror is especially effective at exposing problems with symmetry and balance, as it reverses the image your brain has gotten used to.
- Letting it rest is perhaps the most powerful tool. Coming back to a drawing a day later allows you to see it almost as a stranger would, without the memory of your intentions colouring your perception.
For today's exercise, taking a photo of your drawing with your phone is a quick and highly effective method.
2. The Critic's Toolkit: A Universal Checklist
A good critique is structured and systematic. Instead of vaguely feeling that "something is wrong," we will use a checklist to methodically examine our drawing against the core principles you've learned throughout this course.
A checklist turns a daunting task into a manageable process. It ensures you don't overlook key areas and helps you build a vocabulary to describe exactly what needs improvement.
Easy 6 Point Drawing Checklist Will Fast Track Your Improvement!
The YouTube channel Stephen Travers Art has an excellent video that breaks down the critique process into six clear, memorable points. This will form the foundation of our own checklist.
Watch the video from the beginning (00:00) to the summary (13:56). As you watch, take notes on the six key areas he covers: Angles, Proportion, Scale, Edges, Effect, and Values. Pay attention to how he physically compares his drawing to the reference for each point.
Now, let's organize those ideas—and everything you've learned in this course—into a comprehensive checklist. This checklist is your diagnostic tool.
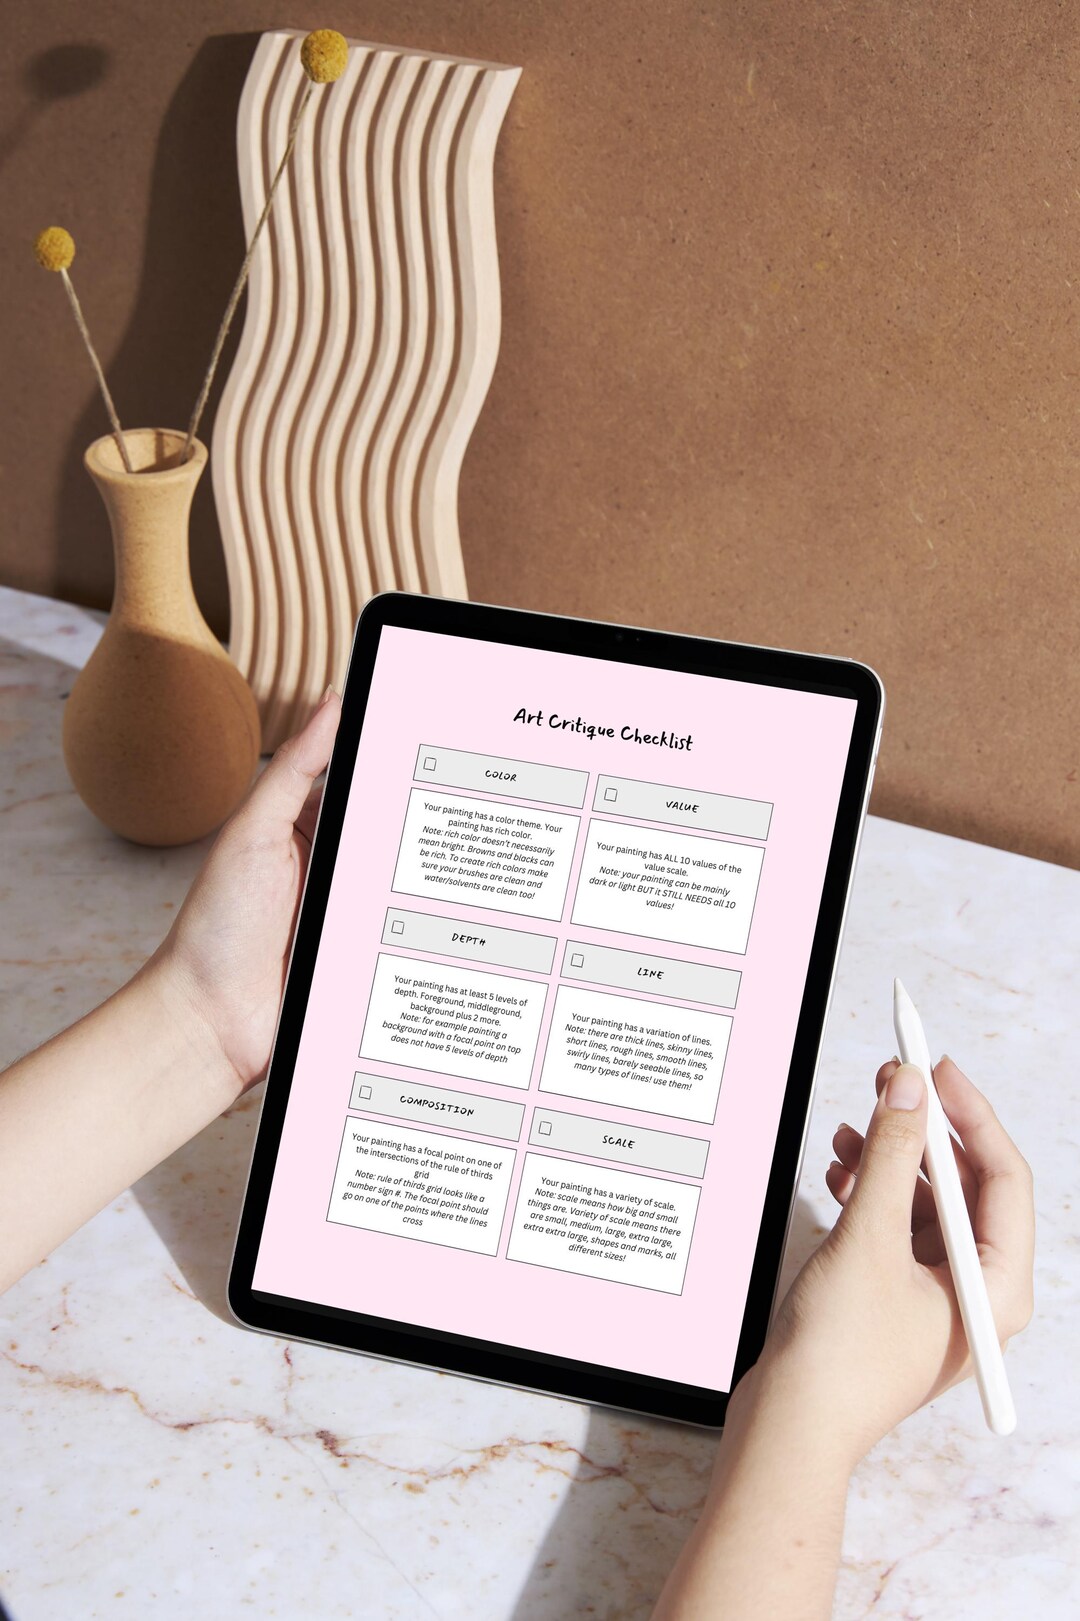
Your Self-Critique Checklist
For each question, compare your drawing to your reference. Make specific notes on what you find.
1. Construction, Proportion, & Scale (Modules 2, 4, 7)
- Proportion: Are the height-to-width relationships of the main objects correct? (e.g., "Is the bottle twice as tall as it is wide, just like in the reference?"). Use your pencil to take comparative measurements if needed.
- Scale: Are the relative sizes of different objects correct? (e.g., "Is the apple the right size compared to the bottle next to it?").
- Placement: Are objects positioned correctly relative to one another? Use alignment lines (imaginary horizontal and vertical lines) to check if features line up.
2. Perspective & Form (Modules 2, 3)
- Angles: Are the perspective lines and other key angles accurate? Use a pencil or ruler to check angles against the reference, as shown in the video.
- Form: Do the objects feel three-dimensional? Does your shading successfully describe the planes and curvature of the surfaces? Is there a convincing sense of volume?
3. Line & Edges (Modules 1, 6)
- Line Quality: Is your line work confident or scratchy? Is there intentional use of line weight to bring some elements forward and push others back?
- Edges: Have you used a variety of edges? Are the hard, soft, and lost edges in your drawing matching the reference and helping to describe the form and lighting? (e.g., soft transitions for curved surfaces, hard edges for cast shadows).
4. Value & Light (Modules 5, 6)
- Value Range: Does your drawing have a full range of values, from the white of the paper to the darkest darks you can make? Or is it all mid-tones?
- Shadow Shapes: Are the main shadow shapes (both form shadows and cast shadows) accurate in their shape and placement?
- Value Separation: Is there a clear distinction between the light family and the shadow family? Is your reflected light too bright (i.e., is it brighter than your halftones)?
5. Texture & Effect (Module 6)
- Rendering: Do your chosen shading techniques (hatching, circulism, etc.) effectively communicate the surface textures of the objects?
- Effect vs. Detail: Did you successfully create the effect of complex details (like wood grain or fabric patterns) without getting lost in drawing every single element? Is any part of the drawing overworked with too much detail?
3. Main Exercise: Conduct Your Self-Critique
Estimated Time: 25 minutes
Now it's time to become the drawing teacher. Take the drawing you completed in the previous lesson and let's put it under the microscope.
Your Task:
- Set Up Your Workspace: Place your reference and your drawing side-by-side. If possible, do this on an easel or propped up vertically so you can see them both from a slight distance.
- Take a Photo: Use your phone to take a picture of your drawing next to your reference. Look at the two images on the screen. This small, digital version will often make major errors jump out immediately.
- Go Through the Checklist (20 mins):
- Open a notebook or a text file.
- Go through each of the five categories in the checklist above, one by one.
- For each question, carefully compare your drawing to the reference and write down your honest observations. Be specific!
- Poor note: "Proportions are wrong."
- Good note: "The main subject's head is about 10% too large relative to its body. The angle of the left shoulder is too flat."
- Poor note: "Shading is bad."
- Good note: "The core shadow on the sphere is not dark enough, which makes the form look flat. I lost the highlight."
- Create an Action List (5 mins):
- Review your notes.
- Identify the top 3-5 most significant issues that, if fixed, would have the biggest positive impact on the drawing.
- Write these down as a simple "To-Do" list. This list will be the starting point for our next lesson.
Conclusion
Excellent work. Today, you moved beyond simply making art and stepped into the realm of analyzing it. This is a skill that requires discipline and honesty, and it is the single fastest way to improve. You've learned how to see your work with fresh eyes and how to use a systematic checklist to diagnose specific problems with proportion, perspective, value, and more.
Key Takeaways:
- Objective self-critique is a skill that can be learned and is essential for improvement.
- Techniques like stepping back, using a mirror, or taking a photo help you see your work with "fresh eyes."
- A structured checklist helps you move from a vague feeling of "something's wrong" to a specific, actionable diagnosis.
- Your critique should be specific and focus on fundamental principles (proportion, value, edges, etc.).
Preview of the Next Lesson:
The critique you just completed is not a final judgment; it's a road map for improvement. In our next and final lesson, you will learn how to revise the drawing based on the critique to improve its accuracy and impact. You'll take your action list and learn practical techniques for correcting errors and pushing your finished piece to a new level.