In our last session, we built a macro-level framework for evaluating engagements, focusing on the concepts of "Strong Side" versus "Weak Side" and the paramount importance of securing power positions like high ground. This gives you the ability to choose where to fight. Now, we will zoom in to the micro-level and focus on how to win those fights once you're in position.
Today's lesson is dedicated to mastering the dynamic use of cover and off-angles. For a solo queue player aiming for the highest ranks, this is a non-negotiable skill. You can't rely on a coordinated team to create crossfires or bail you out of poor engagements. You must learn to simultaneously apply offensive pressure while ensuring your own defensive safety, turning every piece of geometry on the map into a potential weapon.
1. The Geometry of a Gunfight: Angle Advantage and Thresholds
At the Diamond level, you instinctively use cover. However, to break into Masters and Predator, you need to move from instinct to a deliberate, analytical understanding of why certain ways of using cover are superior. The key lies in understanding angle advantage.
A coaching session by wrthcrw provides an excellent theoretical breakdown of this concept. It introduces the ideas of angle advantage/disadvantage and "thresholds"—the invisible lines extending from the edges of cover that define an engagement space.
Learn How Pro Players Abuse Angles and Swing in Apex Legends
This video introduces the fundamental geometry of peeking and fighting around cover. It will provide you with the vocabulary to analyze your own engagements.
Watch the initial segment where the coach breaks down these core ideas: Angle Disadvantage and Thresholds: Focus on the explanation of why slowly peeking a corner puts you at a massive disadvantage. The opponent knows exactly where you will appear. Gaining Angle Advantage: Pay close attention to the "pivot" concept and how creating a 1-on-1 angle isolates a fight, and how abilities like smoke can create new cover to facilitate this.
Let's distill these concepts:
- Angle Disadvantage: This occurs when you peek a corner in a way that allows multiple enemy sightlines to converge on you before you can see all of them. The most common mistake is "slicing the pie"—slowly creeping around a corner. Your character model becomes visible piece by piece, and every opponent will be pre-aiming that exact spot.
- Threshold: This is the invisible plane at the edge of cover. When you are on this line, you are at your most vulnerable. The goal is to cross it as quickly and unpredictably as possible to minimize time spent in this "kill zone."
- Angle Advantage/Equality: You achieve this by positioning yourself so you can engage a single opponent (a 1v1 angle) without being exposed to their teammates. You are controlling the lines of sight.
Think of it this way: when you slowly peek a corner, you are fighting the entire enemy team's crosshairs. When you correctly use cover to isolate one player, you are fighting one person at a time.
2. The Art of the Peek: Offensive Pressure with Defensive Safety
Understanding the theory is one thing; applying it under pressure is another. The goal is to deal damage without trading your own health pool—a crucial skill for surviving the multi-stage fights common in high-tier lobbies. This involves active, aggressive movement and disciplined peeking.
The klarity video demonstrates this "passive-aggressive" playstyle perfectly. Notice how he balances dealing damage with self-preservation.
Use THIS Solo Playstyle to INSTANTLY Improve at Apex Legends
This video showcases a solo queue playstyle that embodies the principle of applying pressure while staying safe. It's about being both the aggressor and a difficult target.
Watch the breakdown from "how I maintain my health." The key is un-peeking. As soon as he senses return fire, he is already back in cover. He doesn't stay exposed to finish a magazine if it means taking significant damage. Next, watch the clip from using an ability to fall back. When a situation becomes unfavorable, he doesn't hesitate to create space and reset the fight on his own terms.
To execute this effectively, you must combine this discipline with your existing mechanical skill. Crossing a threshold shouldn't be a slow walk; it should be an explosive movement.
Learn How Pro Players Abuse Angles and Swing in Apex Legends
Returning to the coaching session, this segment explains the practical technique for crossing thresholds to minimize exposure and gain an advantage.
Watch the section on "movement hygiene." The coach explains that you should time your slide-jump to carry maximum speed as you cross the threshold of cover. This makes you a harder target and shortens the time to your next point of cover.
By slide-jumping out of cover to initiate a peek and immediately un-peeking, you create a rhythm of engagement: Burst Damage -> Safety -> Reposition -> Repeat. This allows you to apply constant pressure, forcing enemies to use their healing resources while you preserve yours.

3. Creating Your Own Crossfire: Off-Angles in Solo Queue
In a coordinated team, you can have one player hold an angle while another pushes from a different direction to create a crossfire. In solo queue, you must be both players. You create your own off-angles by constantly and unpredictably repositioning.
An off-angle is simply an angle the enemy isn't expecting you to peek from. By hitting them from one spot and then, seconds later, hitting them from a completely different one, you create the illusion of multiple attackers and sow confusion.
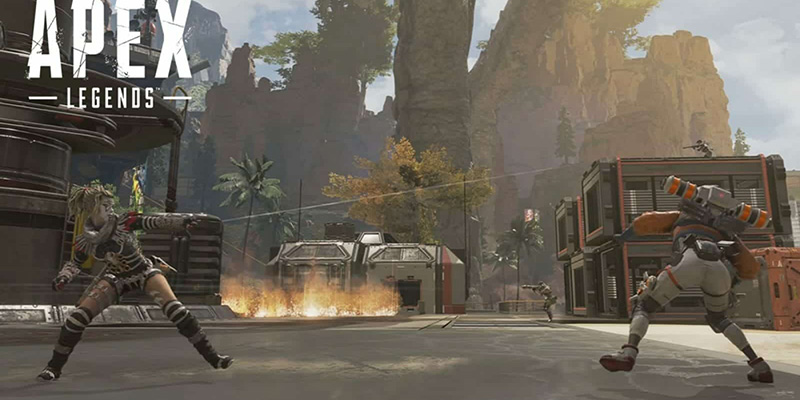
The klarity video again provides a masterclass in this solo-queue technique.
Use THIS Solo Playstyle to INSTANTLY Improve at Apex Legends
This video demonstrates how constant repositioning functions as a solo player's version of a coordinated crossfire.
Revisit the analysis from the discussion on repositioning. The core idea is to always be peeking from a different angle than you just did. This makes enemy callouts ("He's on the box!") instantly obsolete. Later in the video, observe how he uses the zipline building from floor to floor. He isn't just spamming movement; he's using the building's verticality to constantly change his angle of attack, which forces the enemy team to chase individually and allows him to isolate 1v1s.
This constant motion is your primary tool for breaking down teams. You damage one player from Angle A, forcing them to heal. As their teammate turns to cover them, you are already moving to Angle B to engage that second player. You are dictating the tempo and forcing them into a series of isolated duels rather than a unified 3v1.
4. Turning the Tables: Counter-Sieging and Flushing
What happens when you are the one being pressured? A common scenario is being trapped in a building while a full team holds all the exits. The passive approach is to wait, heal, and hope they make a mistake. The proactive, Masters-level play is to initiate a counter-siege.
A counter-siege involves turning a defensive situation into an offensive one by making a decisive, aggressive play to break the enemy's containment and regain tempo.
Learn How Pro Players Abuse Angles and Swing in Apex Legends
This final segment from the coaching video explains the advanced mindset required to break a siege instead of succumbing to it.
Watch the entire discussion on counter-sieging and flushing. Internalize these two key strategies: Counter-Sieging: You are being attacked from multiple angles. Instead of waiting, you commit fully to pushing one of those angles. You choose one attacker and swing on them to create a 1v1, temporarily ignoring the others. This breaks the siege and puts one opponent on the back foot. Flushing: The enemy has invested heavily in sieging your building (using grenades, abilities, etc.). Instead of fighting inside, you use your own resources (e.g., a smoke or portal) to exit the building entirely and re-engage from the outside. You force them to abandon their siege and fight you in a new, open space where their initial investment is wasted.
These are high-risk, high-reward maneuvers that require excellent game sense. However, as a solo player, passivity is often a death sentence. By proactively breaking a siege, you seize control of the fight's tempo. You stop reacting to the enemy and force them to react to you.
Conclusion
Mastering the use of cover and angles is about shifting your mindset from passive survival to active engagement control. It's a skill set that allows a single player to dismantle an entire team through superior intellect and positioning, not just raw mechanical aim.
Key Takeaways:
- Understand angle advantage and thresholds. Avoid slow peeks that put you at a disadvantage.
- Practice active peeking: use fast movement to cross thresholds, deal burst damage, and immediately un-peek to preserve your health.
- As a solo player, create your own off-angles by constantly repositioning. Never peek from the same spot twice.
- When under pressure, don't be passive. Use counter-sieging to challenge one attacker or flushing to reset the fight in a new location.
Preview of the Next Lesson:
We've now covered how to choose a power position and how to fight effectively from within it. But no position is perfect forever. In our next lesson, we will focus on the next critical decision: identifying the moment a position is compromised and executing a decisive repositioning maneuver. We'll learn how to recognize when your "strong side" is about to collapse and how to escape before it's too late.