Introduction
Welcome to the next lesson in your hands-on exploration of 4G attacks. In the previous lesson, you successfully configured your rogue base station to act as a man-in-the-middle, authenticate a test UE, and capture its user-plane traffic into a .pcap file. You performed an initial analysis and saw how the UE's raw IP packets were encapsulated within a GTP-U tunnel.
Today, we will achieve the learning outcome: Analyze captured traffic to identify unencrypted data like DNS queries or HTTP requests. We'll move beyond simply observing the encapsulated traffic and start extracting valuable, cleartext information from it. Your background in web security and experience with Wireshark will be particularly useful as we dissect these unencrypted protocols. This is where the impact of a man-in-the-middle attack becomes tangible.
1. The Analyst's Toolkit: Wireshark Filters and Streams
Your captured enb_gtpu.pcap file contains the raw IP packets sent by the UE. Our first task is to sift through this traffic to find protocols that are inherently unencrypted. Wireshark's display filters are the primary tool for this.
While you're already familiar with Wireshark, this video provides a focused refresher on the specific filters and tools we'll be using to hunt for cleartext data.
Wireshark Crash Course — See All Network Secrets | FULL Beginner to Pro (1 Hour Masterclass)
Please watch this section of the 'Wireshark Crash Course' by ACW360. It serves as an excellent practical guide to the display filters that are most relevant for our task, especially for HTTP and DNS.
Watch the segment from 07:12 to 12:31. Pay close attention to the explanation and demonstration of the http and dns display filters. These will be the two main filters you use in this lesson.
As the video explains, applying a filter like dns or http will immediately isolate the packets related to those protocols, cutting through the noise of other traffic like TCP handshakes or ICMP.
2. Case Study 1: Extracting DNS Queries
Before a UE can establish a connection to a website like google.com, it must first resolve that domain name into an IP address. This is done using the Domain Name System (DNS), which, by default, is unencrypted. By intercepting DNS queries, an attacker can build a profile of the user's online activity, even if the subsequent web traffic is encrypted with HTTPS.
Let's find these queries in your capture file.
Analysis Steps:
- Open the
enb_gtpu.pcapfile you created in the previous lesson. If you need to regenerate it, simply repeat the capture steps, and on the UE, open a browser and try to visit any website. - In the Wireshark display filter bar, type
dnsand press Enter. - You should now see a list of DNS packets. Look for a packet in the "Info" column described as a "Standard query". This is the UE asking for an IP address.
- Select this packet. In the packet details pane, expand the "Domain Name System (query)" section. Inside, you will see the exact domain name the UE was looking for.
- Find the corresponding "Standard query response" packet to see what IP address was returned to the UE.
The following video demonstrates this process clearly.
Wireshark Tutorial: The Ultimate Beginner's Guide to Packet Analysis (Capture HTTP, DNS,TELNET, FTP)
This clip from 'Wireshark Tutorial: The Ultimate Beginner's Guide' by Concepts & Tricks provides a concise demonstration of capturing and analyzing DNS packets.
Watch from 03:19 to 05:35. The presenter shows exactly how to apply a DNS filter and inspect the query and response packets to find the requested domain and the resolved IP address.
By capturing DNS, you have successfully intercepted metadata about the user's browsing habits.
3. Case Study 2: Intercepting Unencrypted HTTP Traffic
While DNS reveals where a user is going, intercepting unencrypted HTTP traffic can reveal what they are doing. Any data sent over HTTP—including usernames, passwords, session cookies, and form data—is transmitted in cleartext. Your man-in-the-middle position allows you to read it all.
A key Wireshark feature for this is "Follow TCP Stream". Since a single web page request can be split across many TCP packets, this tool reassembles them into a single, readable conversation.
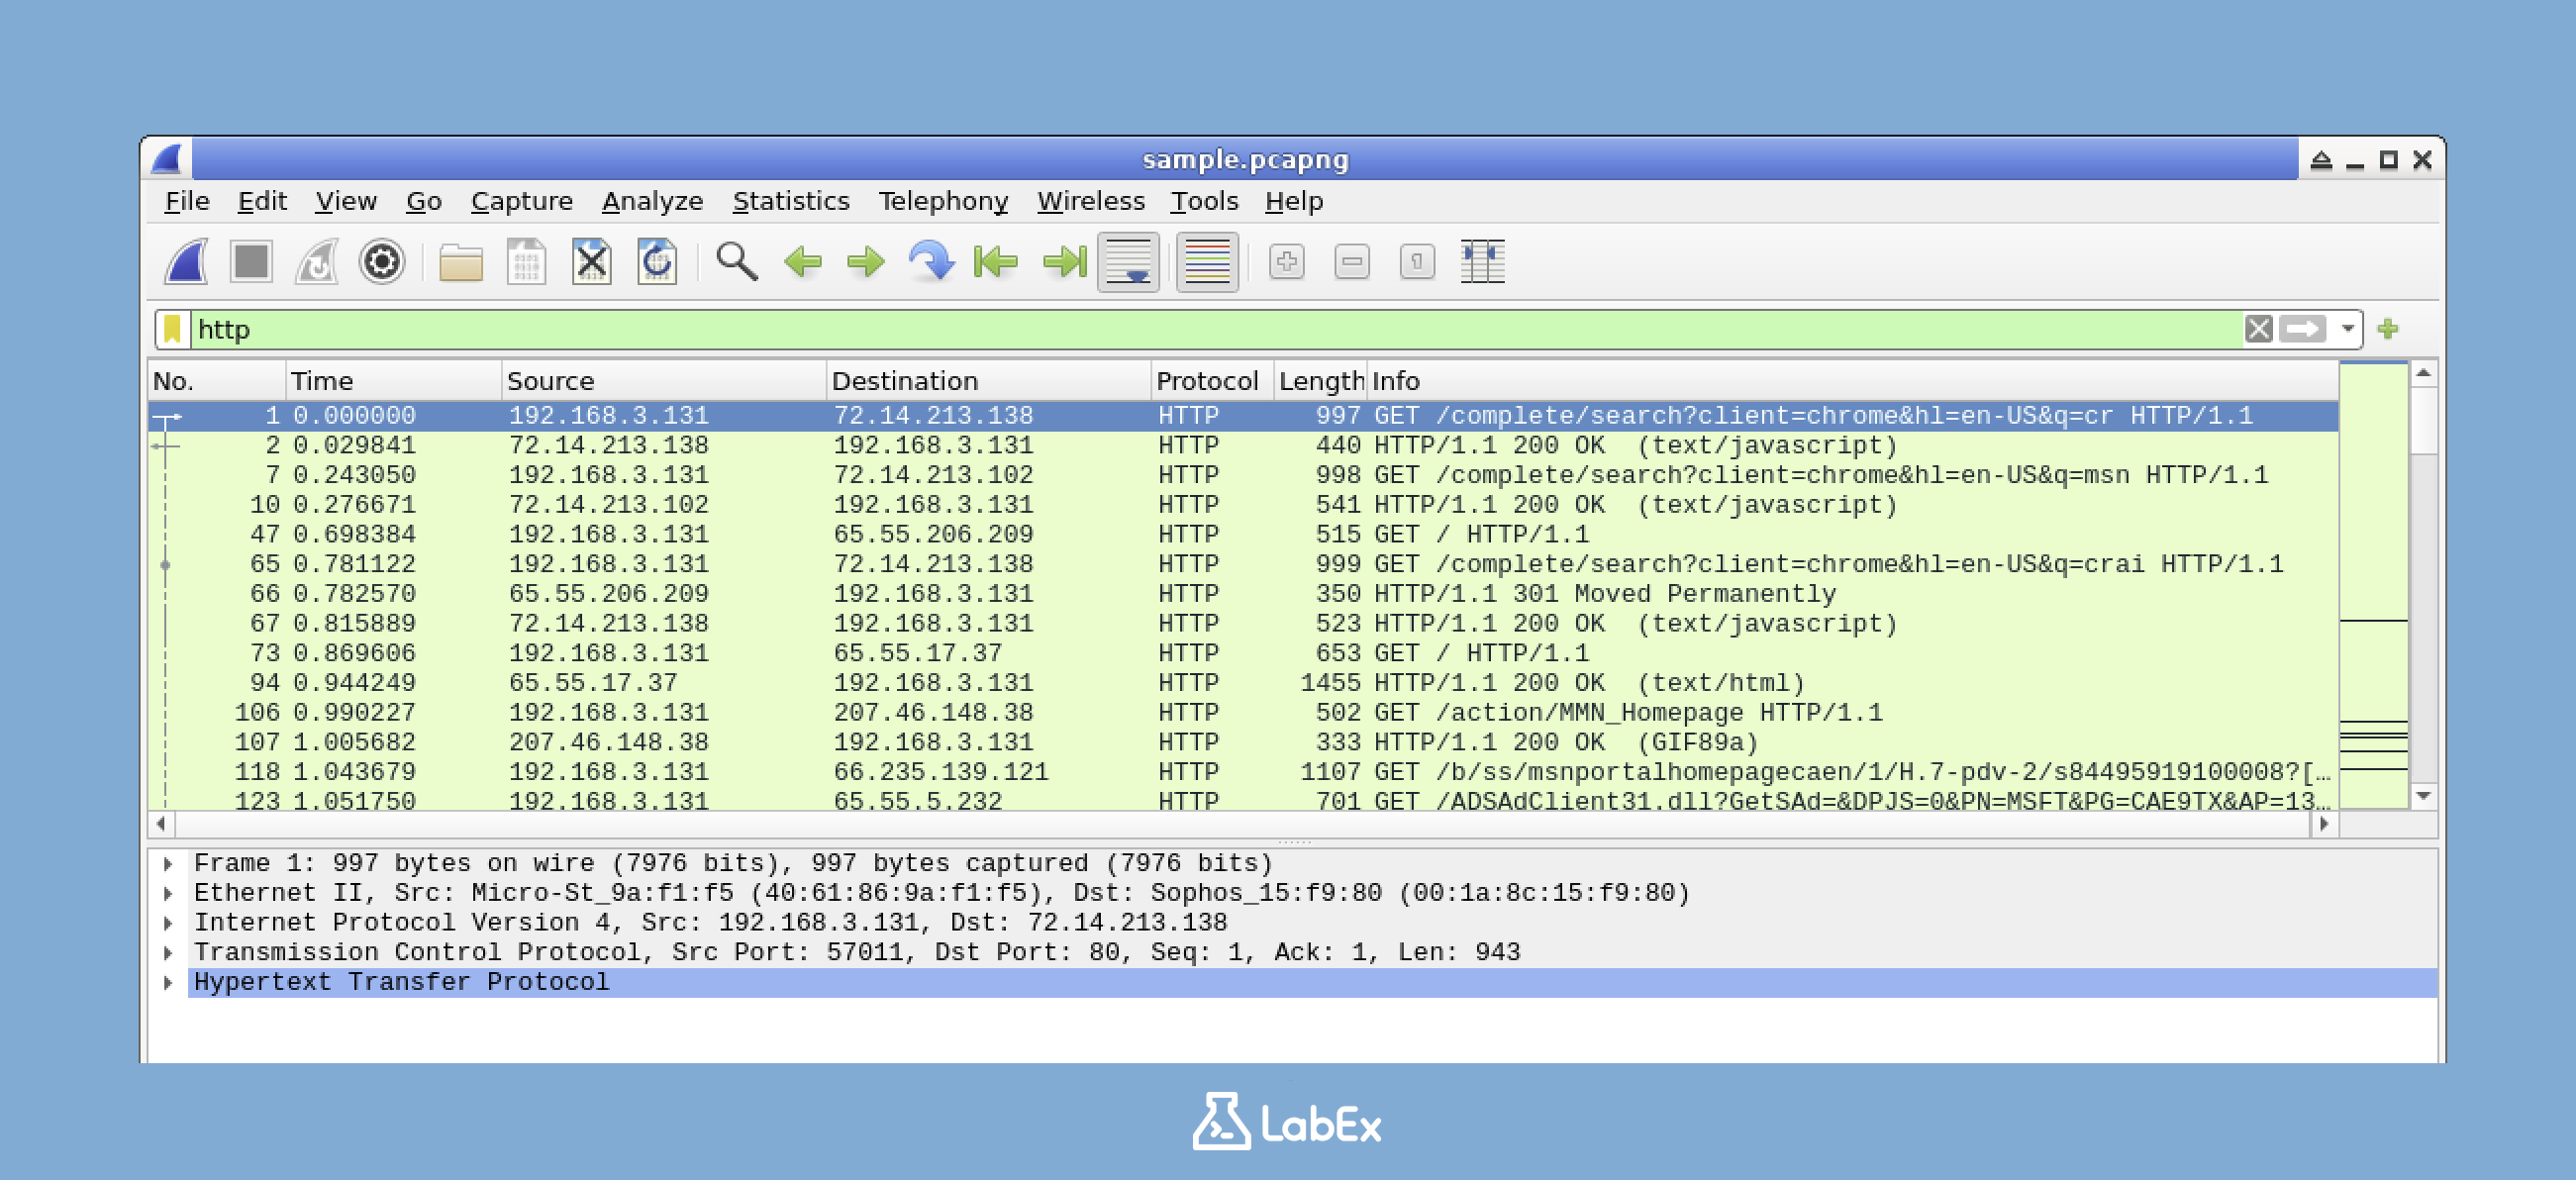
Let's try to capture login credentials.
Analysis Steps:
- If you haven't already, perform a capture where you use the test UE to visit an HTTP-only login page (e.g.,
http://testphp.vulnweb.com/login.php) and attempt to log in. - Open the resulting
enb_gtpu.pcapin Wireshark. - Apply the display filter
http.request.method == "POST". POST requests are commonly used to submit login forms. - You should see a packet with info similar to
POST /login.php HTTP/1.1. Select it. - In the packet details pane, expand the "Hypertext Transfer Protocol" layer. You may be able to see the form data directly, including
usernameandpasswordfields in cleartext. - For an even clearer view, right-click the packet and select Follow > TCP Stream. A new window will appear showing the entire conversation. The client's request (including the password) will be in one color (typically red), and the server's response will be in another (typically blue).
This video provides a complete, practical lab demonstrating exactly this attack.
Wireshark Crash Course — See All Network Secrets | FULL Beginner to Pro (1 Hour Masterclass)
To see this attack in action, watch this lab from the 'Wireshark Crash Course' video. The presenter captures a login to a vulnerable web application and exposes the password in plain text.
Watch the demonstration from 01:06:44 to 01:13:00. Follow the steps of filtering for the HTTP POST request, inspecting the packet details, and using 'Follow TCP Stream' to reveal the credentials. This is the core of our user-plane data analysis.
By following these steps, you have moved from passively capturing traffic to actively extracting sensitive user credentials, fulfilling the goal of this lesson.
4. Decrypting the User Plane (When Necessary)
In our srsRAN setup, we are capturing traffic on the gtpu interface after the base station has handled the radio-layer encryption. This means the IP packets inside the GTP tunnel are already decrypted for us.
However, if you were to capture traffic at a lower layer (e.g., the MAC layer), the user data payloads would still be encrypted. The Analysing the srsRAN LTE MAC layer with Wireshark article you've seen before discusses this. In Section 4, "User data: ping packets", the author shows how to provide Wireshark with the user plane encryption keys (K_up_enc) from the srsUE logs to decrypt the traffic.
For our current goal, this step isn't necessary, but it's crucial to understand that access to these keys is what allows the eNodeB—and by extension, our rogue eNodeB—to decrypt user traffic before tunneling it to the core.
Conclusion
In this lesson, you leveraged your man-in-the-middle position to move from capturing traffic to actively analyzing it for sensitive information. You have demonstrated how a rogue base station can compromise user privacy and security by intercepting unencrypted communications.
Key Takeaways:
- GTP-U traffic captured from
srsenbcontains the UE's raw, decrypted IP packets. - Wireshark display filters like
dnsandhttpare essential for isolating unencrypted protocols. - DNS queries can be intercepted to track a user's browsing activity.
- The "Follow TCP Stream" feature is powerful for reconstructing entire conversations and extracting data from unencrypted sessions, such as HTTP login credentials.
- Any application that uses unencrypted protocols is vulnerable to this form of interception when connected to a malicious base station.
Preview of the Next Lesson:
So far, our attacks have focused on LTE. However, many vulnerabilities arise from forcing a device onto older, less secure standards. In our next lesson, we will tackle the learning outcome: "Execute a downgrade attack by advertising a rogue 2G cell to an LTE-capable UE." You'll learn how to exploit the backward-compatibility of cellular networks to push a modern phone onto a 2G network, opening it up to a new class of attacks.