Introduction
Welcome to the second module of our course, "Passive Reconnaissance with Software-Defined Radio." In the previous module, we built a solid theoretical foundation, culminating in our look at the Authentication and Key Agreement (AKA) protocol. We learned that while 4G security is robust cryptographically, it has a significant procedural weakness: the IMSI can be sent in cleartext before security is established.
This module is where the theory meets reality. We'll shift from diagrams and protocol flows to the raw radio waves that carry these messages. Today's lesson directly addresses the learning outcome: Configure an RTL-SDR to scan for cellular signals. We will get your SDR hardware connected, verify it's working, and use powerful open-source tools to hunt for the tell-tale signs of cellular base stations.
This is the first practical step towards your goal of understanding telecommunications hacking. Before you can intercept, decode, or attack a signal, you must first be able to find it. Your proficiency with Linux and the command line will be put to good use today as we explore the software that turns your RTL-SDR from a simple dongle into a powerful cellular scanner.
1. From Hardware to Software: The SDR Environment
First, let's briefly define what a Software-Defined Radio (SDR) is. You own an RTL-SDR, and understanding its role is key.
Intro to Software Defined Radio and GSM/LTE
This article from Black Hills Information Security provides a great introduction to SDR hardware and the frequency ranges relevant to our work.
Read the first two subsections, 'Software Defined Radio encapsulated' and 'Hardware.' Focus on the definition of SDR and the frequency range of the RTL-SDR. This will help you understand its capabilities and limitations.
As you read, the RTL-SDR is a receiver that can tune to a wide range of frequencies (typically 24 MHz to 1.7 GHz). The "software-defined" part means that tasks traditionally done by physical hardware (like demodulating a signal) are instead handled by software on your computer. This gives us incredible flexibility.
The Operating Environment
To harness this flexibility, we need the right software environment. While it's possible to use SDRs on other operating systems, the vast majority of security research tools are built for and optimized on Linux.
DragonOS 10/LTS Track LTE cells (LTE-Cell-Scanner)
The creator of the DragonOS Linux distribution, which is purpose-built for SDR work, explains why a native Linux installation is strongly recommended over a virtual machine.
Watch the first two minutes of this video (00:00 - 02:04). The key takeaway is the discussion on performance issues with USB pass-through in virtual machines.
The advice is clear: for the best performance and fewest headaches, running a Linux distribution natively (either as your main OS or from a bootable USB drive) is the way to go. Given your goal of setting up a practical lab, starting with a stable, native environment like Kali Linux, Ubuntu, or the recommended DragonOS will save you a lot of trouble.
2. Verifying Your Hardware
With your RTL-SDR plugged into your Linux machine, the first step is to confirm the system recognizes it. A standard utility for this is rtl_test. Open a terminal and run the following command:
rtl_test -t
If everything is working correctly, you should see output indicating the device found, the tuner type (e.g., R820T, E4000), and a series of readings from the device. If you get a "No supported devices found" error, you may need to troubleshoot your Linux udev rules to ensure your user has permission to access the USB device.
3. Knowing Where to Look: Cellular Frequency Bands
A radio scanner is useless if you don't know which frequencies to scan. Cellular networks operate on specific, licensed frequency bands.
Intro to Software Defined Radio and GSM/LTE
Let's revisit the Black Hills Information Security article to learn about the common cellular bands in North America.
Read the 'Frequency information' subsection. Note the bands listed for GSM (850/1900 MHz) and LTE (700, 1700-2100, 1900, 2500-2700 MHz). These are your primary targets.
To summarize, the key bands you'll be interested in scanning are:
- GSM: 850 MHz and 1900 MHz (PCS)
- LTE: 700 MHz, 1700/2100 MHz (AWS), 1900 MHz (PCS), and 2.5-2.7 GHz
Your RTL-SDR can cover up to 1.7 GHz, so the 700, 850, and 1700 MHz bands are well within its range. The 1900 MHz and higher bands would require a more capable SDR like a HackRF One or an RTL-SDR with an upconverter. For now, we'll focus on what your current hardware can receive.
4. Your First Scan: Finding Cellular Signals
Now we get to the exciting part. We will use command-line tools specifically designed to scan these bands and find base stations. The two most common tools for finding GSM cells are kalibrate-rtl and grgsm_scanner.
Installing the Tools
These tools are often included in security-focused distributions like Kali Linux or DragonOS. If you're on a standard Ubuntu/Debian system, you'll need to install them.
Building a Cellphone IMSI Catcher (Stingray) – Hackers Arise
The security blog 'Hackers Arise' has a clear, step-by-step guide for installing the necessary tools. We'll focus on installing kalibrate-rtl.
Follow the instructions in 'Step #1' to install kalibrate-rtl using sudo apt install kalibrate-rtl. You can ignore the gr-gsm and IMSI-catcher installation for now; we will cover those later. Then, look at the command shown in 'Step #2' to see how it's used.
The command from the article is a perfect example of how to start a scan:kal -s GSM850
Here, kal is the executable, -s tells it to scan, and GSM850 specifies the band to scan. It will step through the frequencies in that band looking for the strong, continuous signal of a base station's broadcast channel.
A More Advanced Scanner: grgsm_scanner
Another powerful tool is grgsm_scanner. It provides more detailed output and fine-grained control over the SDR settings.
GSM Decoding Part One: Hardware/Software Setup And Finding GSM Base Stations With 'grgsm_scanner'
This video gives a fantastic walkthrough of using grgsm_scanner and explains its most important command-line arguments. This will be very natural for you, given your command-line experience.
Watch from 07:42 to 15:04. Pay close attention to the breakdown of the command-line arguments: -b: The band to scan (e.g., GSM850, DCS1800). --samp-rate: The sample rate for your SDR (usually 2.4e6 for an RTL-SDR). -p: PPM frequency correction. Cheap oscillators in RTL-SDRs drift; this value compensates for it. You may need to experiment to find the right value for your device, but starting with a small number like 1 or 2 is common. --gain: Sets the receiver gain. You may need to adjust this based on your proximity to cell towers. -v: Verbose mode, which gives you more information.
A typical command for you to try might look like this, scanning the North American GSM 850 MHz band:
grgsm_scanner -b GSM850 --samp-rate 2.4e6 -p YOUR_PPM_VALUE -v
Replace YOUR_PPM_VALUE with an estimate for your SDR (e.g., 1). When you run this, the tool will begin scanning and, if it finds any GSM base stations, it will print their frequency, ARFCN (a channel number), and signal strength.
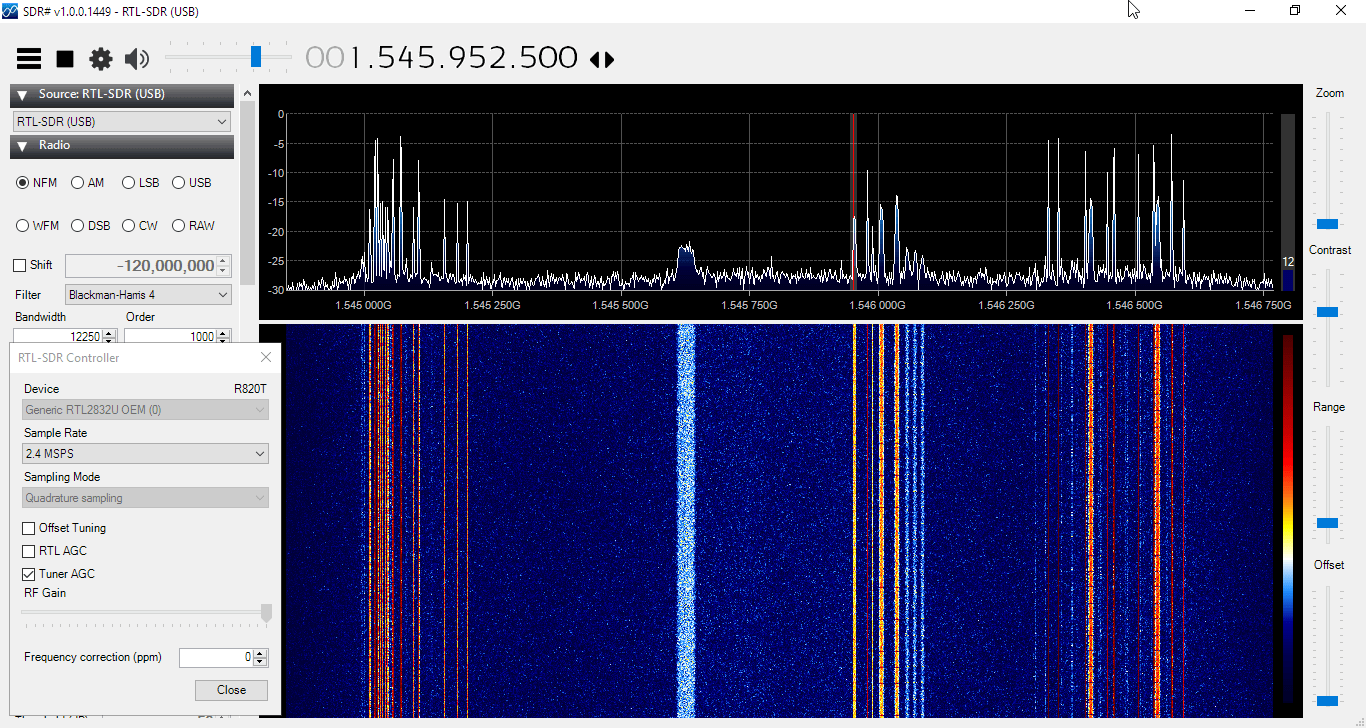
Finding a signal with one of these tools is the "Hello, World!" of cellular reconnaissance. It's the confirmation that your hardware, software, and understanding of the radio spectrum are all working together.
Conclusion
In this lesson, we made the crucial leap from theory to practice. You've configured your system to be a cellular signal scanner and have the tools and knowledge to find your first target signals.
Key Takeaways:
- A native Linux environment is highly recommended for SDR work to avoid USB and performance issues common with virtual machines.
- The
rtl_testcommand is your first-line check to ensure your RTL-SDR is recognized by the system. - Knowing the correct frequency bands (e.g., GSM 850/1900 MHz) is essential for effective scanning.
- Command-line tools like
kalibrate-rtlandgrgsm_scannerare used to automate the process of scanning these bands for base station signals.
Preview of the Next Lesson:
You now know how to run a scan. But what do you do with the results? In our next lesson, "Use kalibrate-rtl or similar tools to identify the frequencies of nearby GSM base stations," we will focus on interpreting the output of these scanners. You'll learn how to pinpoint the exact frequency of a nearby cell tower, which is the necessary next step before we can try to decode its broadcast messages.