Hello! Welcome back.
In our last lesson, you assembled all your design elements—imagery, fonts, title, and subtitle—into a complete, full-wrap cover file in Canva. You now have a PDF that represents your book's new "first impression."
Today, we'll complete the final, crucial checks before that cover is ready to go live. The goal of this lesson is to export a final print-ready PDF and verify its professional appearance, especially at the small thumbnail size seen by customers on Amazon.
This is a vital step. A cover that looks great on your large monitor can fail in two ways: it might have technical flaws that cause printing errors, or it might turn into an unappealing, blurry smudge in Amazon's search results, making it invisible to potential buyers. Mastering this final verification stage is key to ensuring your redesign efforts translate into actual clicks and sales.
Let's make sure your cover is ready for both the printer and the market.
1. Finalizing the "Print-Ready" PDF
In the previous lesson, we exported a "Flattened PDF" to prevent errors. Now, let's refine those settings for optimal print quality. The two most important concepts here are the file type and the color profile.
For printing, the industry standard is PDF Print, which ensures high resolution. The color profile is a bit more nuanced. Your screen displays colors in RGB (Red, Green, Blue), but printers use CMYK (Cyan, Magenta, Yellow, Black). Exporting in CMYK helps ensure the printed colors more closely match what you intend.
This video gives a clear explanation of why these settings matter for professional printing.
How to Export Canva PDFs for Printing (Bleed, CMYK, & Crop Marks)
Watch this segment from 'How to Export Canva PDFs for Printing' by Mike The Print Man. It clearly explains the difference between PDF Standard and PDF Print, and the importance of the CMYK color profile.
Watch from 07:12 to 09:55. Focus on his explanation for choosing 'PDF Print' for high resolution and 'CMYK' for color accuracy in printing. Note that the CMYK option in Canva requires a Pro account. If you have a free account, RGB is your only option, and KDP's printers can handle it, but there might be minor color shifts.
Now, let's see these exact settings applied in the context of a KDP book.
How to Create and Publish a Coloring Book on Amazon KDP (Canva Tutorial)
This short clip from 'How to Create and Publish a Coloring Book on Amazon KDP' shows the final export settings perfectly.
Watch from 07:28 to 08:03. Notice the two key selections: 'PDF Print' for file type and 'CMYK' for the color profile.
Your Action Step: Export the Final File
Go back to your cover design in Canva and export it one last time with these settings:
- Click Share > Download.
- File type:
PDF Print. - Color Profile:
CMYK (best for professional printing). If you have a free Canva account, selectRGB. - Check the box for Flatten PDF. This is still a crucial step to prevent elements from shifting.
- Click Download.
You now have your final, technically correct, print-ready cover file.
2. The Thumbnail Test: Will Your Cover Get the Click?
A technically perfect file is useless if it doesn't attract customers. Most shoppers will first see your cover as a tiny image—a thumbnail—in a list of search results. If it's not clear and compelling at that size, they will scroll right past it. This is a common failure point for new KDP publishers.
How to Design a Book Cover - And Avoid Fatal Mistakes
The article 'How to Design a Book Cover - And Avoid Fatal Mistakes' has an excellent section on this exact topic. It explains why thumbnail readability is so important and how to test for it.
Read the section titled '6. Test your cover at thumbnail size'. Pay close attention to the checklist of questions it provides for evaluating your shrunken-down cover.
Your Action Step: Perform the Thumbnail Test
It's time to be brutally honest with your design.
- Open the cover PDF you just downloaded.
- Zoom out until the cover image is about 1 to 2 inches (2.5 to 5 cm) tall on your screen. This simulates how it will look on an Amazon search page.
- Now, answer these questions from the article you just read:
- Is the title still legible? You don't need to read every letter perfectly, but can you make out the shape and general words?
- What about the central image? Is it a recognizable object (like a cat), or has it become an unidentifiable smudge?
- Does the cover still convey the right "vibe" or genre? Does it still look like a fun, cute coloring book?
- Is there enough contrast? Or have the colors blended into a single muddy patch?
If your cover fails this test—for example, if a script font becomes an illegible squiggle or your main character is unrecognizable—you must go back and fix it. This might mean choosing a bolder font, increasing the contrast, or simplifying the imagery. A cover that fails the thumbnail test is a major liability.
3. The Final Check: The KDP Print Previewer
After you've confirmed your cover passes the thumbnail test, there's one last step in the verification process. When you upload your files to KDP, Amazon provides a tool called the Print Previewer. This tool shows you exactly how your book will be printed, including the cover and interior pages. It is your final opportunity to catch any errors before publishing.
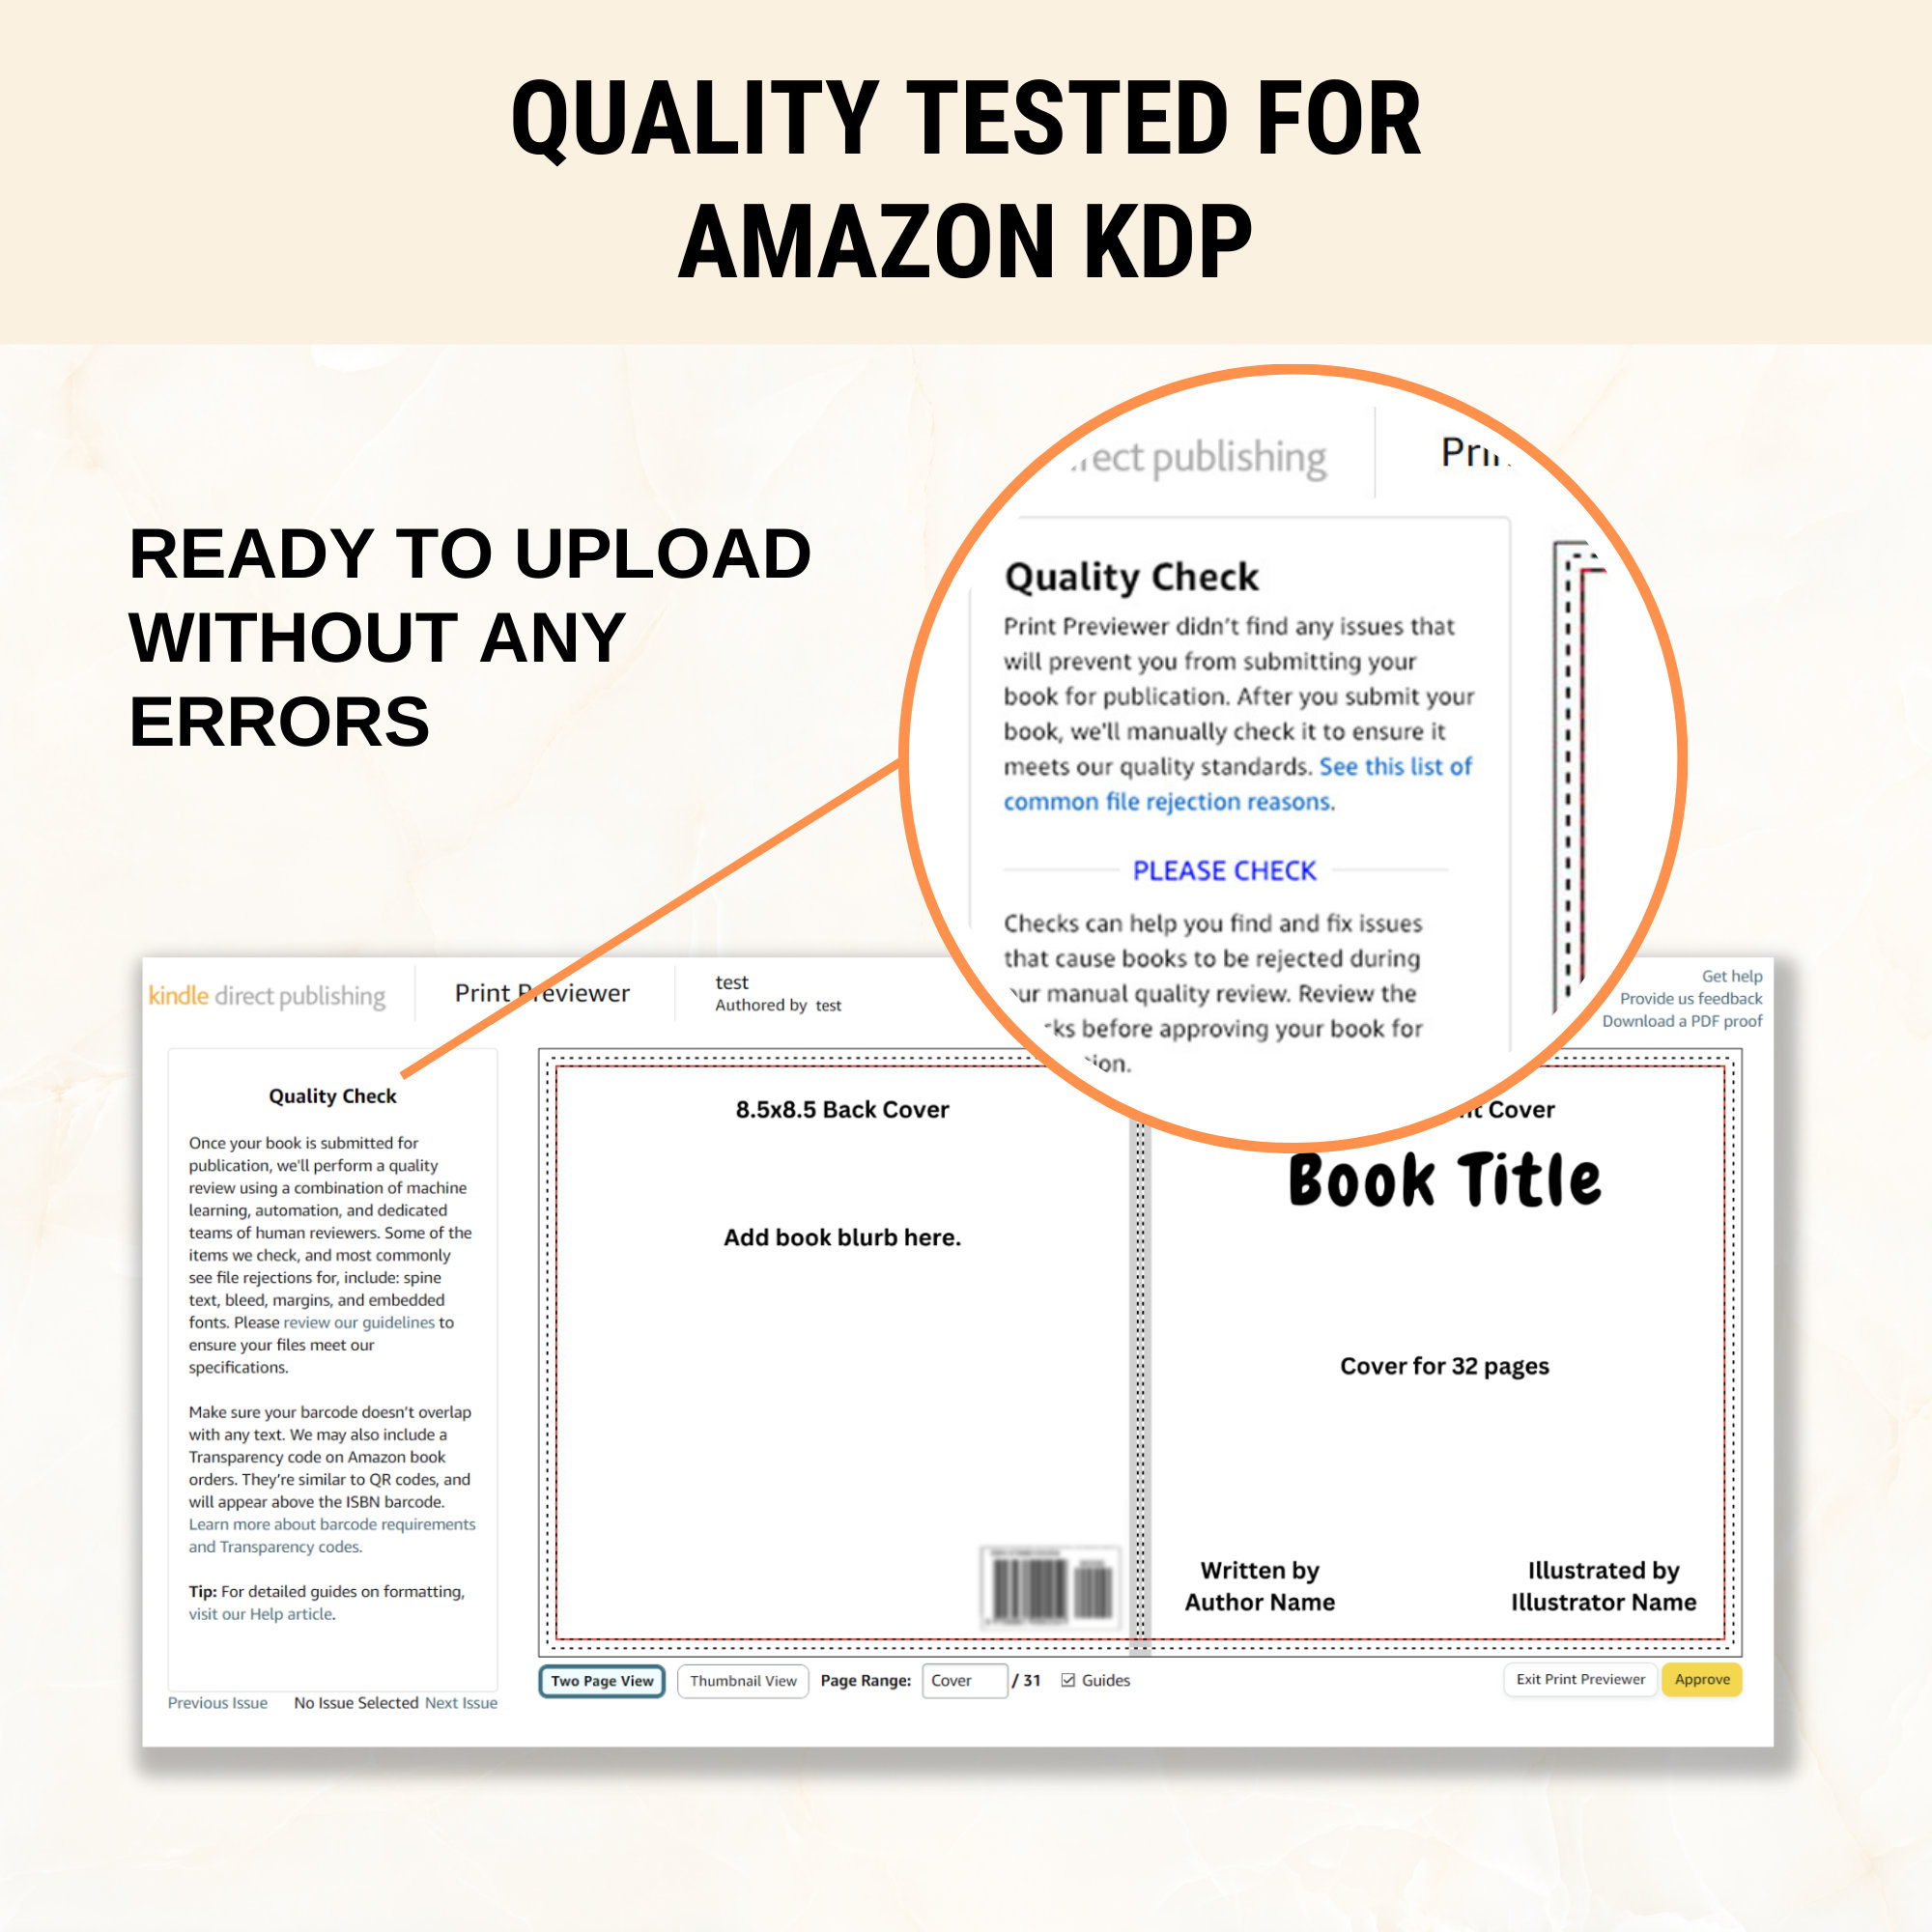
This previewer is the ultimate source of truth. As one experienced author advises, elements can sometimes shift slightly when you download a PDF from Canva. What looks perfect in your design tool might be misaligned in the final print file.
Doing a Full Paperback Wrap in Canva for KDP Print
In this article, an experienced indie author shares some hard-won wisdom. Pay attention to the final tip about the KDP previewer.
Read the final bullet point in the 'Some odds and ends I picked up on the way' section. It begins with 'Elements (font, symbols ) can shift...'. This is a critical warning.
While we won't be uploading to KDP in this lesson, knowing how to use the previewer is part of a complete verification process. The following video shows you what to expect.
How to Create and Publish a Coloring Book on Amazon KDP (Canva Tutorial)
Let's return to the KDP upload tutorial. This section shows the Print Previewer in action.
Watch from 09:35 to 10:07. See how the user navigates the previewer, flipping through the pages to check the cover and interior. This is the exact process you will follow.
When you eventually use the Print Previewer, you will check for:
- Alignment: Is your spine text perfectly centered? Has any text shifted too close to the edge?
- Bleed: Does your background image extend all the way to the edges, with no weird white slivers?
- Safe Zones: Is all your important text and imagery safely inside the margins, away from where the printer might trim?
- Resolution: Does anything look blurry or pixelated?
If you notice any issues in the previewer, you must go back to Canva, fix them, and re-upload. As the author from the article warned: If you don’t like anything in the previewer, fix it, because printing won’t change it.
Conclusion
Congratulations! You have now completed the entire cover redesign process, from analysis and design to final technical verification. You have a print-ready, market-tested PDF file ready for your book's relaunch.
Key Takeaways:
- For the highest quality, export your cover as a PDF Print with the CMYK color profile and Flatten PDF checked.
- Your cover's effectiveness hinges on the thumbnail test. If it's not clear and compelling at a small size, it will fail to attract buyers.
- The KDP Print Previewer is your final, non-negotiable quality check before publishing. It shows you exactly how the final product will look.
Preview of the Next Lesson:
With the cover complete, we now turn our attention inward. In the next module, we'll begin with "Quality Interiors & Persuasive Descriptions." You'll learn how to legally source and select high-quality illustrations to ensure your book's interior lives up to the promise of its new cover, and how to write a book description that converts browsers into buyers.