Hello! Welcome to your next lesson in the course.
In our last lesson, we dug into the financial side of your KDP business. You learned how to track revenue, calculate royalties, and understand the core metrics of profitability like ACoS. This knowledge is your foundation for building a sustainable business.
Now, we're going to build on that by focusing on efficiency. To grow your revenue, you'll need to publish more than one book. Creating each book from scratch is time-consuming and prone to errors. This lesson is about building a system. By creating a reusable interior template, you'll dramatically speed up your production process, allowing you to focus your energy on creating great illustrations and marketing your books.
By the end of this lesson, you will be able to create reusable templates for KDP interiors, including essential pages like the copyright page and color test pages, which is a crucial step toward scaling your publishing efforts.
Part 1: The Foundation - Correct Document Setup
Before you add any content, you must set up your file correctly. Mistakes at this stage can lead to frustrating printing errors from KDP. The three most important settings are trim size, bleed, and margins.
- Trim Size: The final dimensions of your book (e.g., 8.5 x 11 inches).
- Bleed: This setting is for illustrations that you want to extend all the way to the edge of the page. If your designs have a white border around them, you'll choose "no bleed." If they fill the whole page, you'll choose "bleed."
- Margins: The "safe zone" inside the page where you should keep all important text and design elements to ensure nothing gets cut off during printing.
Canva is an excellent tool for this, and the following video provides a complete walkthrough of setting up a KDP-compliant file from scratch.
How to Create and Publish a Coloring Book to Sell on Amazon KDP | Step-by-Step Tutorial (2026)
This video by Ivy Hang will guide you step-by-step through finding KDP's official specifications and using them to create a perfectly sized interior file in Canva.
Watch the segment from 01:25 to 09:40. Pay close attention to: How she determines the book specifications (trim size, page count). Where to find KDP's dimension and margin tables. The difference between 'bleed' and 'no bleed' and how it affects the page dimensions you enter into Canva. The process of setting up the correct margins using Canva's rulers.
This initial setup is the most critical part of your template. Once you've done it correctly, you won't have to worry about it for future books using this same trim size.
Part 2: Building Your Reusable Front Matter
"Front matter" refers to the pages at the beginning of a book before the main content. For a coloring book, these pages add professionalism and improve the customer's experience. Let's build the essential ones for your template.
A. Title Page and "This Book Belongs To" Page
These pages are straightforward but important for personalizing the book for the customer.
- The Title Page typically includes the book's title, subtitle, and your author/pen name.
- The "This Book Belongs To" Page provides a space for the owner to write their name, which is especially popular for children's coloring books but is a nice touch for adult books as well.
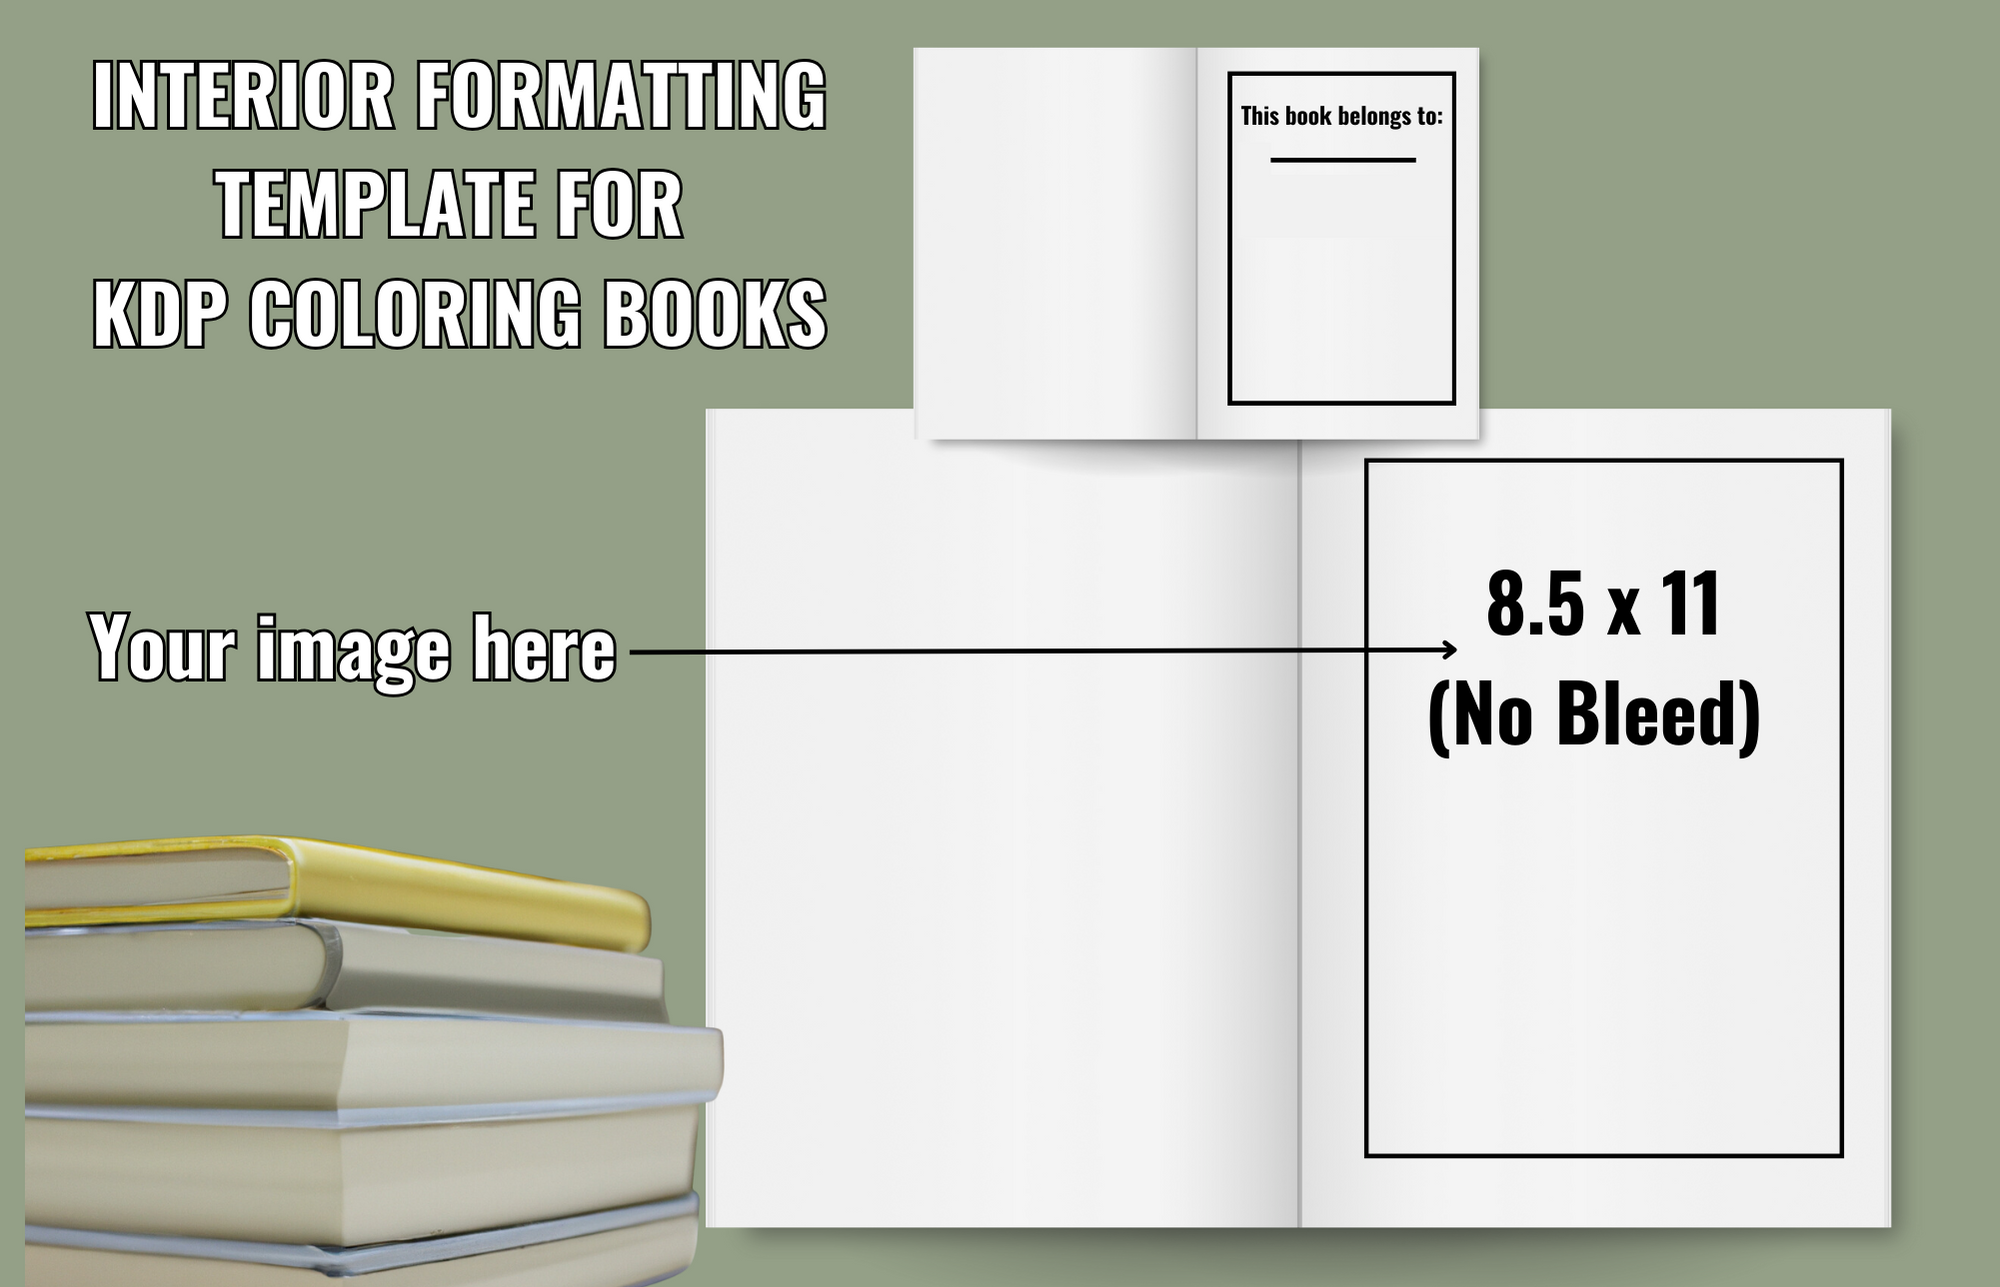
The following video segment demonstrates how to design these pages.
How to Create and Publish a Coloring Book to Sell on Amazon KDP | Step-by-Step Tutorial (2026)
Let's continue with the video from Ivy Hang. She now moves from setup to designing the first few pages of the book.
Watch the segment from 21:00 to 25:48. Notice how she uses text, fonts with a 'hollow' effect suitable for coloring, and simple graphics to create: A professional-looking Title Page. A simple Copyright Page (we will create a more robust one next). An engaging 'This book belongs to' page.
B. The Copyright Page
This is a crucial page that declares you are the owner of the work. The legal wording can be intimidating, but there are standard templates you can use. You don't need to be a lawyer to create a sufficient copyright page for your coloring book.
The article below from Kindlepreneur is an excellent resource that not only explains the purpose of a copyright page but also provides simple, copy-and-paste templates.
How to Write a Book Copyright Page (With Examples & Templates)
This article, 'How to Write a Book Copyright Page,' is your guide to creating a professional copyright notice. We'll focus on the template designed specifically for books like yours.
First, scroll down to the section titled 'Low or No Content Books Copyright Page Template' and read it carefully. This is the template you can copy and paste directly into your Canva design. Then, to understand the 'why' behind the text, read the beginning of the section titled 'What Does a Copyright Page Include?' focusing on the explanations for the first few elements: 'Copyright Notice,' 'Rights Reserved Notice,' and 'Credits.' This will give you confidence in what the text means.
Action Step: Copy the "Low or No Content Books" template from the article, paste it into a text box on the second page of your Canva file, and replace the bracketed information (like [Year of First Publication] and [Author or Pen Name]) with your own details.
C. The Color Test Page
A color test page is a simple but powerful feature that adds significant value for your customers. It provides them a dedicated space to test their markers, crayons, or pencils to see how the colors look on the paper and whether they bleed through.

You can create this page in Canva by:
- Adding a title like "Color Test" or "Test Your Colors."
- Using the "Elements" tab to find a grid or creating your own by duplicating shapes (like circles or squares) and arranging them neatly on the page.
Part 3: Structuring Your Template for a Full Book
With your front matter complete, the rest of your template consists of placeholders for your illustrations and the blank pages that go with them.
- Single-Sided Pages: It is standard practice in coloring books to leave the back of each illustration page blank. This helps prevent ink from markers from bleeding through and ruining the design on the next page.
- Duplicating Pages: In your Canva file, you will have your front matter (e.g., Title, Copyright, Belongs To, Color Test), followed by a repeating pattern of
[Illustration Page]and[Blank Page]. - Placeholders: You can create a simple placeholder page with the text "Your Illustration Here" inside the margins.
- Assemble the Full Template: Duplicate your
[Illustration Page]and[Blank Page]pair until you reach your desired total page count (e.g., 30 coloring pages would mean 30 illustration pages + 30 blank pages + your front matter pages).
When you start a new book, you will simply replace the placeholder content on each illustration page with your new designs.
An Alternative Workflow: Using Microsoft Word
While Canva is very user-friendly for beginners, some people prefer using Microsoft Word. If you're more comfortable with Word, you can use KDP's official templates to achieve the same result. The following article provides a detailed guide on this process.
Publishing Your Coloring Book on KDP A Step-by-Step Guide
For an alternative approach, this article, 'Publishing Your Coloring Book on KDP,' walks through using a Microsoft Word template.
Read the sections titled 'KDP's Word Template Tips,' 'Adding Images to Pages,' and the following paragraphs about creating solid black pages and saving the file. You don't have to follow this method, but it's good to know it exists. Focus on how it explains setting margins, inserting images, and importantly, saving the file as a template for reuse.
Conclusion
You have now created a powerful asset for your KDP business. This template is more than just a file; it's a system that will allow you to produce high-quality books consistently and efficiently. By solving the technical setup once, you can now focus on the creative work that will attract customers.
Key Takeaways:
- A Template Saves Time: The core of scaling your KDP business is creating efficient, repeatable workflows.
- Master the Setup: Correct trim size, bleed settings, and margins are non-negotiable for successful printing.
- Essential Front Matter: A professional coloring book template should include a Title Page, a robust Copyright Page, a "This Book Belongs To" page, and a Color Test page.
- Structure for the User: Use single-sided designs with a blank back page to prevent bleed-through and improve the customer experience.
Preview of the Next Lesson:
You've now learned how to analyze your book's performance, track its profitability, and create an efficient system for producing more books. In our final lesson of this module, we will consolidate everything you've learned. You will develop a personal checklist covering all steps from niche validation to post-launch monitoring for your next book, giving you a complete roadmap for success.