Hello! Welcome to the final lesson in our module on building command-line tools.
In our previous lesson, you learned how to produce clean, professional, and column-aligned output for your CLI tools using the fmt and text/tabwriter packages. You now have the skills to build a complete CLI application, from parsing arguments and reading configuration to presenting results to the user.
Now, we'll address the final and crucial step in the lifecycle of any tool: distribution. How do you get your compiled Go program from your development machine into the hands of users or onto your servers, which might be running different operating systems?
This lesson covers exactly that. The learning outcome is to create installable, cross-compiled binaries for different operating systems. We'll start with the manual approach to understand the fundamentals and then move to a powerful automation tool that you, as a DevOps engineer, will find invaluable for creating professional release pipelines.
1. The Foundation: Manual Cross-Compilation
One of Go's most celebrated features is its ability to easily cross-compile code. This means you can build an executable file for a different operating system and architecture from the one you are developing on. For example, you can build a Linux binary from your macOS laptop.
This is achieved by setting two environment variables before running the go build command:
GOOS: The target Operating System (e.g.,linux,windows,darwinfor macOS).GOARCH: The target hardware Architecture (e.g.,amd64,arm64).
This short video provides a quick and clear demonstration of this process.
Building Go Executables: Cross compilation made easy!
Watch this clip from Ardan Labs to see how simple it is to cross-compile a Go program for Linux from another OS.
Watch the first minute of the video (00:00 - 01:15). Notice how setting the GOOS environment variable before the go build command is all that's needed to create a binary for a different platform.
To effectively use cross-compilation, you need to know the valid combinations of GOOS and GOARCH. You can list all supported platforms using a built-in Go tool.
For a deeper dive into how this works and how to see all possible targets, the following article is an excellent reference.
Building Go Applications for Different Operating Systems ...
This article from DigitalOcean, "Building Go Applications for Different Operating Systems ...", provides a detailed look at the GOOS and GOARCH variables.
First, read the section Possible Platforms for GOOS and GOARCH. It explains how to use go tool dist list to see all available target platforms. Next, read the section Using Your Local GOOS and GOARCH Environment Variables. This section provides concrete examples of building for Windows and Linux and using the file command to inspect the resulting binary. It reinforces what you saw in the video.
A Note on CGo
When cross-compiling, you may encounter issues if your program (or one of its dependencies) uses C code via CGo. To create a pure Go binary with no dependencies on the target system's C libraries, it's a common practice to disable CGo. This produces a statically-linked binary, which is ideal for easy distribution.
You can do this by setting the CGO_ENABLED environment variable:
# Example: Build a statically-linked 64-bit Linux binary
CGO_ENABLED=0 GOOS=linux GOARCH=amd64 go build -o my-linux-tool .
This manual method is powerful for quick builds, but it quickly becomes tedious if you need to build for many platforms, create archives, and generate checksums. This is where automation tools shine.
2. Professional Releases with GoReleaser
For any serious project, you'll want to automate the entire release process. The standard tool for this in the Go ecosystem is GoReleaser. It handles cross-compilation, archiving, checksum generation, changelog creation, and publishing to platforms like GitHub Releases, all based on a single configuration file.
This aligns perfectly with DevOps principles: automating repetitive tasks to create reliable, repeatable release workflows.
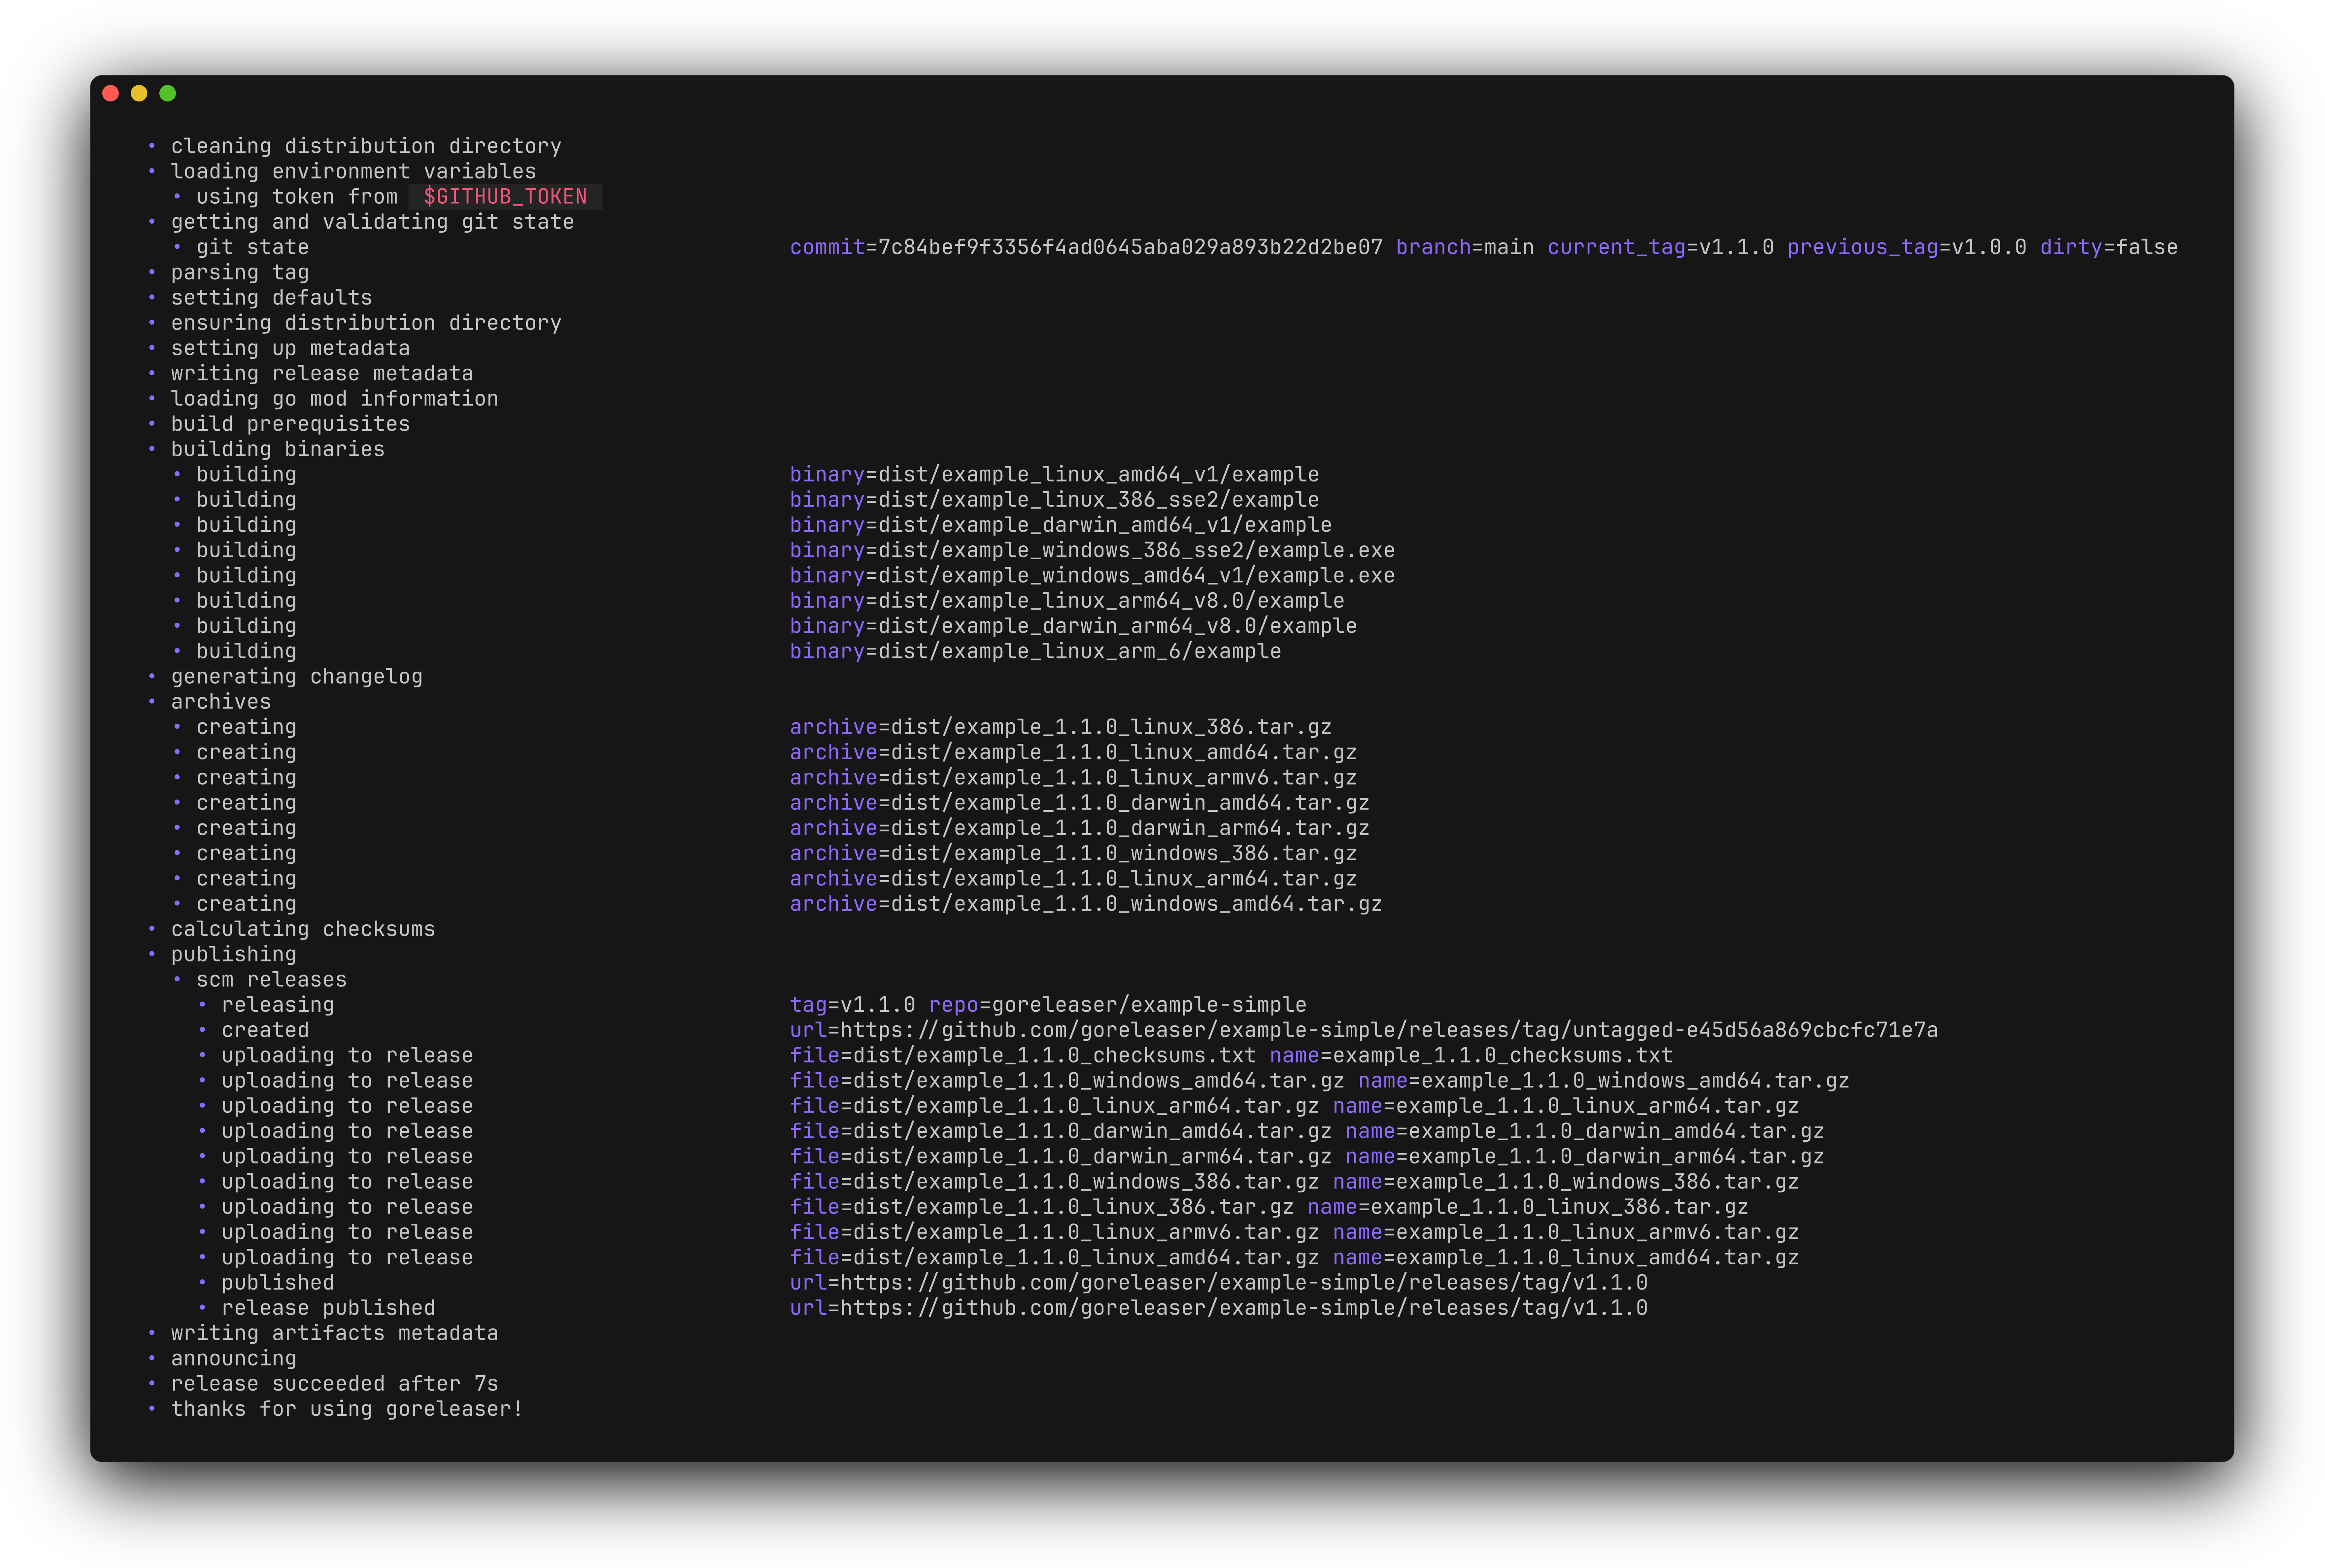
Let's walk through setting it up.
how to distribute your CLI tools with goreleaser
The article "how to distribute your CLI tools with goreleaser" from Applied Go is a great tutorial for getting started. We'll work through the initial setup and a local release.
Please read the following sections to understand the core workflow: Meet goreleaser: Introduces the tool and its purpose. Using goreleaser on the command line: Covers installation and the goreleaser init command to create a default configuration file. The default config file: Explains the key sections of the .goreleaser.yml file, such as builds and archives. This is the most important part. Release!: Walks through the process of creating an annotated Git tag and running goreleaser release to publish to GitHub. Pay attention to the requirement for a GitHub access token.
After following these steps, you'll have a local GoReleaser configuration that can build and release your tool for multiple platforms with a single command.
Test your understanding!
You've created a CLI tool and want to distribute it for macOS (Intel and Apple Silicon), Linux (amd64), and Windows (amd64). What would the builds section of your .goreleaser.yml file look like?
Show answer
Your builds section would look something like this. Note that darwin is the GOOS for macOS. GoReleaser will create separate binaries for amd64 (Intel) and arm64 (Apple Silicon).
builds:
  - env:
      - CGO_ENABLED=0
    goos:
      - linux
      - windows
      - darwin
    goarch:
      - amd64
      - arm64
    ignore: # We don't want to build for windows/arm64
      - goos: windows
        goarch: arm64
The ignore field is useful for excluding combinations that you don't need to support.
3. Full Automation: A CI/CD Pipeline for Releases
The ultimate goal for a DevOps professional is to create a fully automated "tag-to-release" pipeline. The process should be: a developer pushes a Git tag (e.g., v1.2.0), and a CI/CD job automatically runs GoReleaser to build the binaries, create a GitHub Release, and even publish the tool to a package manager like Homebrew.
The following video provides a complete, end-to-end walkthrough of this exact scenario. It combines everything we've discussed and puts it into a practical GitHub Actions workflow.
How to Install Golang, Build a CLI App, and Distribute it with Github Actions and HomeBrew
This video by Learn Fast Make Things, "How to Install Golang, Build a CLI App, and Distribute it...", is a fantastic demonstration of a production-ready release pipeline for a Go CLI tool.
This is a detailed walkthrough. I recommend following along with a test project if you can. The key stages are: GoReleaser Build Config (05:19 - 06:38): See how to configure the builds section for different OS and architectures. Homebrew Integration (07:10 - 09:03): Learn how to configure the brews section in .goreleaser.yml to publish to a Homebrew tap. GitHub Actions Workflow (09:28 - 11:36): See how to use GoReleaser's official GitHub Action, trigger it on tag pushes, and pass in the necessary secrets. GitHub Secrets (12:28 - 13:30): Learn how to create a Personal Access Token (PAT) and add it as a repository secret for the action to use. The Final Result (13:30 - 16:07): Watch how pushing a Git tag triggers the entire pipeline, and then install the final application using brew install.
By implementing this pattern, you create a seamless and professional distribution strategy for your Go tools, making them easily accessible to your team and other users.
Conclusion
Congratulations on completing the module on building command-line tools! You've gone from the fundamentals of parsing flags to the professional practice of automated, cross-platform distribution.
Key Takeaways:
- Manual Cross-Compilation: Use the
GOOSandGOARCHenvironment variables withgo buildfor simple, one-off builds. Always considerCGO_ENABLED=0for dependency-free static binaries. - Automated Releases with GoReleaser: This is the industry-standard tool for automating the building, archiving, and publishing of Go applications. The
.goreleaser.ymlfile is the heart of this process. - CI/CD Integration: The true power of GoReleaser is unlocked when it's integrated into a CI/CD pipeline (like GitHub Actions) that triggers on Git tags.
- Package Managers: GoReleaser can publish directly to package managers like Homebrew, making your tools trivial for users to install and update.
Next Up
You've now built a solid foundation in creating distributable tools with Go. In the next module, we will shift gears and explore one of Go's most powerful and defining features: concurrency. We will begin by learning how to launch concurrent tasks using goroutines and understanding why they are so lightweight and efficient. This will open up a new dimension of performance and responsiveness for the applications and services you build.