Hello! Welcome to the third lesson in our module on Dynamic Routing and Layouts.
In our last lesson, you mastered one of Astro's most powerful features: getStaticPaths. You learned how to create a single template file, src/pages/blog/[slug].astro, that can generate an infinite number of individual blog post pages directly from your content collection. This is a massive step towards building a scalable, content-driven website.
However, a collection of individual pages isn't a blog without a central hub. Right now, the only way to visit a post is to know its exact URL. Today, we will fix that. Our goal is to build a blog listing page that queries all your blog posts and displays them in a neat, chronological list, providing the main entry point for your readers.
From Individual Pages to a Blog Index
Just like a physical book needs a table of contents, your blog needs an index page. In Astro, thanks to its file-based routing, creating this page is straightforward. A file located at src/pages/blog/index.astro will automatically become the page available at the /blog/ URL.
On this page, we'll perform three main actions:
- Fetch all entries from our
blogcontent collection. - Sort them so that the newest posts appear first.
- Display them as a list, with each item linking to the full post page you built in the last lesson.
1. Querying Your Content with getCollection
To get all the posts, Astro provides a handy function called getCollection from the astro:content API. It's an async function that returns a promise, so we'll need to await its result. Your experience with JavaScript promises and async/await will make this feel very natural.
This function takes the name of the collection as a string (in our case, 'blog') and returns an array of all the entries in that collection.
Astro Content Collections: Typed Markdown
The CloudCannon tutorial 'Astro Content Collections: Typed Markdown' provides a concise explanation of the getCollection API and, importantly, shows how to sort the results by date—a crucial step for any blog.
Please read the sections 'Astro collection APIs' and 'Adding the blog roll'. Focus on how getCollection is used and the JavaScript sort method that is applied to the results to order the posts chronologically.
2. Building the Blog Index Page
Let's put this into practice. First, create the new page file: src/pages/blog/index.astro.
Inside this file, we'll start by fetching and sorting the posts in the frontmatter script.
// src/pages/blog/index.astro
---
import { getCollection } from 'astro:content';
import BaseLayout from '../../layouts/BaseLayout.astro';

// 1. Fetch all blog posts
const allPosts = await getCollection('blog');

// 2. Sort posts by date, newest first
const sortedPosts = allPosts.sort((a, b) => b.data.pubDate.valueOf() - a.data.pubDate.valueOf());
---

<BaseLayout title="My Blog" description="A collection of my thoughts and writings.">
  <section>
    <h1>My Blog</h1>
    <ul>
      {sortedPosts.map(post => (
        <li>
          <a href={`/blog/${post.slug}/`}>
            <h2>{post.data.title}</h2>
            <p>Published on: {post.data.pubDate.toDateString()}</p>
            <p>{post.data.description}</p>
          </a>
        </li>
      ))}
    </ul>
  </section>
</BaseLayout>
Let's break this down:
- We use
getCollection('blog')to get an array of all our post objects. - We then use the standard JavaScript
Array.prototype.sort()method. Since ourpubDateschema field is a Zoddate, it becomes a JavaScriptDateobject. We can subtract their values (.valueOf()) to sort them in descending order (newest first). - In the HTML template, we use
map()to iterate over oursortedPostsand render the details for each one. - Crucially, the
hrefattribute is set to/blog/${post.slug}/. This creates the link between the listing page and the dynamic post pages you created in the last lesson.
3. Refactoring with Reusable Components
The code above works perfectly, but as a UI Engineer focused on clean architecture, you can probably see a place for improvement. The markup for each list item is repeated inside the map function. If we want to make our post preview more complex or reuse it elsewhere, this becomes hard to maintain.
A better approach is to create a dedicated PostCard.astro component. This aligns perfectly with your goal of building with reusable components.
The following video provides an excellent walkthrough of this exact refactoring process. It demonstrates how to create a PostCard component, pass the post data to it as a prop, and ensure everything remains type-safe.
You may not ACTUALLY understand Content Collections…
This video from Coding in Public, 'You may not ACTUALLY understand Content Collections…', clearly shows how to abstract the logic for displaying a single post into a reusable component. This is a core practice for building scalable frontends.
Please watch from 19:15 to 25:25. The first part covers creating the PostCard.astro component and passing props to it. The second part shows how to use the data within that component to display metadata like the date and create the link to the full post.
Inspired by the video, let's create our component.
1. Create src/components/PostCard.astro:
This component will receive a single post object as a prop and handle its presentation.
// src/components/PostCard.astro
---
import type { CollectionEntry } from 'astro:content';

interface Props {
  post: CollectionEntry<'blog'>;
}

const { post } = Astro.props;
---
<article class="post-card">
  <a href={`/blog/${post.slug}/`}>
    <h3>{post.data.title}</h3>
    <time datetime={post.data.pubDate.toISOString()}>
      {post.data.pubDate.toDateString()}
    </time>
    <p>{post.data.description}</p>
  </a>
</article>

<style>
  .post-card {
    border: 1px solid #e0e0e0;
    border-radius: 8px;
    padding: 1.5rem;
    margin-bottom: 1rem;
    transition: box-shadow 0.2s ease-in-out;
  }
  .post-card:hover {
    box-shadow: 0 4px 12px rgba(0,0,0,0.08);
  }
  .post-card a {
    text-decoration: none;
    color: inherit;
  }
  h3 {
    margin-top: 0;
    color: #333;
  }
  time {
    font-size: 0.875rem;
    color: #666;
    display: block;
    margin-bottom: 0.5rem;
  }
</style>
Notice we use CollectionEntry<'blog'> to get full TypeScript type safety and autocompletion for our post prop. This is the same technique you've seen before and is excellent practice.
2. Update src/pages/blog/index.astro:
Now we can simplify our blog index page significantly.
// src/pages/blog/index.astro
---
import { getCollection } from 'astro:content';
import BaseLayout from '../../layouts/BaseLayout.astro';
import PostCard from '../../components/PostCard.astro'; // <-- Import the new component

const allPosts = await getCollection('blog');
const sortedPosts = allPosts.sort((a, b) => b.data.pubDate.valueOf() - a.data.pubDate.valueOf());
---
<BaseLayout title="My Blog" description="A collection of my thoughts and writings.">
  <section class="post-list">
    <h1>My Blog</h1>
    {sortedPosts.map(post => (
      <PostCard post={post} />
    ))}
  </section>
</BaseLayout>

<style>
  .post-list {
    max-width: 720px;
    margin: 0 auto;
    padding: 2rem 1rem;
  }
</style>
This is much cleaner! The index.astro page is now only responsible for fetching data and orchestrating the layout, while the PostCard.astro component handles the presentation of a single item. This separation of concerns is fundamental to building maintainable applications.
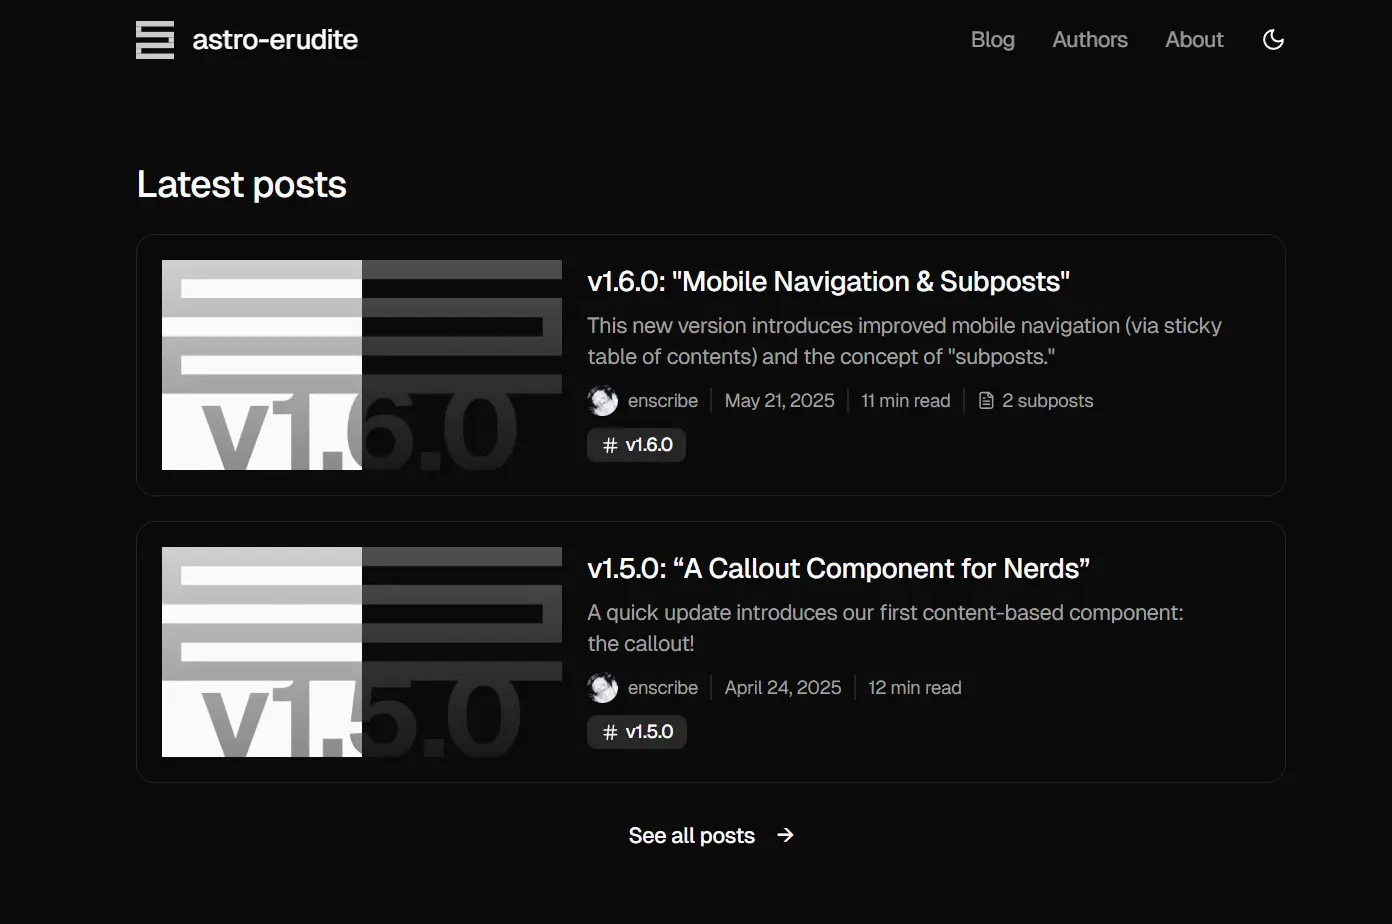
The final result should look something like this, a clean list of posts ready for your visitors.
Test your understanding!
For your accounting website, it would be professional to show the author of each blog post. Let's add this feature.
- Update the Schema: Go to your
src/content/config.tsfile and add anauthor: z.string()field to yourblogcollection's schema. - Update Content: Add the
authorfrontmatter property to one or two of your.mdor.mdxblog post files (e.g.,author: 'John Doe'). - Update the Component: Modify your
src/components/PostCard.astrocomponent to display the author's name underneath the publication date.
This task will test your ability to work across the full content pipeline: from schema definition to content authoring to component rendering.
Show answer
1. Updated src/content/config.ts:
// src/content/config.ts
import { defineCollection, z } from 'astro:content';

const blog = defineCollection({
  type: 'content',
  schema: z.object({
    title: z.string(),
    description: z.string(),
    pubDate: z.date(),
    // Add the new field
    author: z.string(),
  }),
});

export const collections = { blog };
Remember to run npm run astro sync or restart your dev server to have TypeScript recognize the new schema field.
2. Updated Markdown Frontmatter:
---
title: "Understanding Tax Deductions"
description: "A guide for small businesses."
pubDate: 2024-08-20
author: "Jane Smith, CPA"
---

Content of the blog post...
3. Updated src/components/PostCard.astro:
// src/components/PostCard.astro
---
import type { CollectionEntry } from 'astro:content';

interface Props {
  post: CollectionEntry<'blog'>;
}

const { post } = Astro.props;
---
<article class="post-card">
  <a href={`/blog/${post.slug}/`}>
    <h3>{post.data.title}</h3>
    <div class="meta">
      <time datetime={post.data.pubDate.toISOString()}>
        {post.data.pubDate.toDateString()}
      </time>
      <span>by {post.data.author}</span>
    </div>
    <p>{post.data.description}</p>
  </a>
</article>

<style>
  /* ... previous styles ... */
  .meta {
    font-size: 0.875rem;
    color: #666;
    margin-bottom: 0.5rem;
  }
  .meta span {
    margin-left: 0.5rem;
  }
</style>
Now, your post cards will display the author's name, pulling the data all the way from your Markdown files.
Conclusion
Excellent work today! You have successfully built the central hub for your blog. By creating a blog listing page, you've connected all the individual articles into a cohesive and navigable section of your site.
Key Takeaways:
- An
index.astrofile inside a directory (e.g.,/pages/blog/) creates the root page for that path (/blog). - The
getCollection()function is the primary tool for fetching all content from a specific collection. - You can use standard JavaScript array methods like
.sort()and.map()to process the data before rendering. - Encapsulating repeated markup into reusable Astro components like
PostCard.astrois a key strategy for writing clean, maintainable, and scalable code.
Up Next:
Our blog listing page works beautifully, but what happens when you have 20, 50, or 100 posts? Displaying them all on one page would be slow and overwhelming for the user. In the next lesson, we will solve this by implementing pagination, splitting the list of posts into multiple, manageable pages.