Welcome back. In our last lesson, we systematically designed the 'before' state for the photoshoot's narrative: the modest persona. By deconstructing "modesty" into the operational variables of gaze, posture, and hand placement, you engineered a precise starting point.
This lesson addresses the other side of that equation. We will now design the 'after' state to maximize the narrative impact of the transformation. Our learning outcome is to: Design 3-4 final poses in the plunge bra that showcase the bust and toned figure, specifying body positioning and camera angles to convey confidence.
Where the previous poses were about creating closed, protective, and indirect postures, today's objective is the exact opposite. We will engineer open, powerful, and direct poses. The goal is not just to create appealing images, but to create a set of poses that represent the peak of the persona-subversion curve, generating maximum contrast with the initial saree shots.
1. The Engineering of "Confidence"
From an optimization perspective, "confidence" in boudoir photography is the output of a system where the inputs are specific, controllable physical variables. While our last lesson focused on minimizing visual confrontation, this one aims to maximize it. We will again use gaze, posture, and hand placement as our primary decision variables, but we will set them to new values.
The foundational principles for this engineering task are expertly broken down in the following video. The speaker explains how to use S-curves to accentuate the body's natural form and triangles (created by bent limbs) to add dynamism and structure. This is the core logic we will use to build our poses.
Boudoir Photography Posing Guide: Curves & Confidence with Yuliya Panchenko
Watch this guide from Professional Photographers of America, where Yuliya Panchenko provides a masterclass in the geometry of boudoir posing. It will give you the underlying framework for constructing our poses.
First, watch the segment on triangles and curves to understand the two fundamental building blocks of a dynamic pose. Next, focus on how these principles are applied to the hips and back, which is key to showcasing a toned figure. Note the brief but important mention of accentuating the curves of the breast. Finally, pay close attention to the systematic method for building a pose from the ground up: legs, hips, back, shoulders, arms, and head. This procedural approach is exactly how we will construct our final shots.
With this framework in mind, we can define the parameters for our "confident" persona:
- Gaze: Direct and unwavering eye contact with the camera. A slight smirk or a knowing smile replaces shyness. The chin is often tilted up, a classic signifier of confidence.
- Posture: Open, expansive, and powerful. We will use the S-curve by arching the back and pushing a hip to one side. This simultaneously pushes the chest forward, accentuating the bust, and highlights the curve of the waist and hip. Shoulders are pulled back and down, elongating the neck and opening up the chest.
- Hand Placement: Hands are no longer used to shield or hide. Instead, they actively frame the body, draw attention to features, or project power. Examples include hands on hips, running through hair, or interacting playfully with the lingerie itself.
2. Designing the Final Poses
The following poses are engineered to be the narrative climax of the photoshoot. Each one maximizes a different aspect of the "confident" persona while showcasing the plunge bra and toned figure. The images below serve as our visual targets for the desired aesthetic.

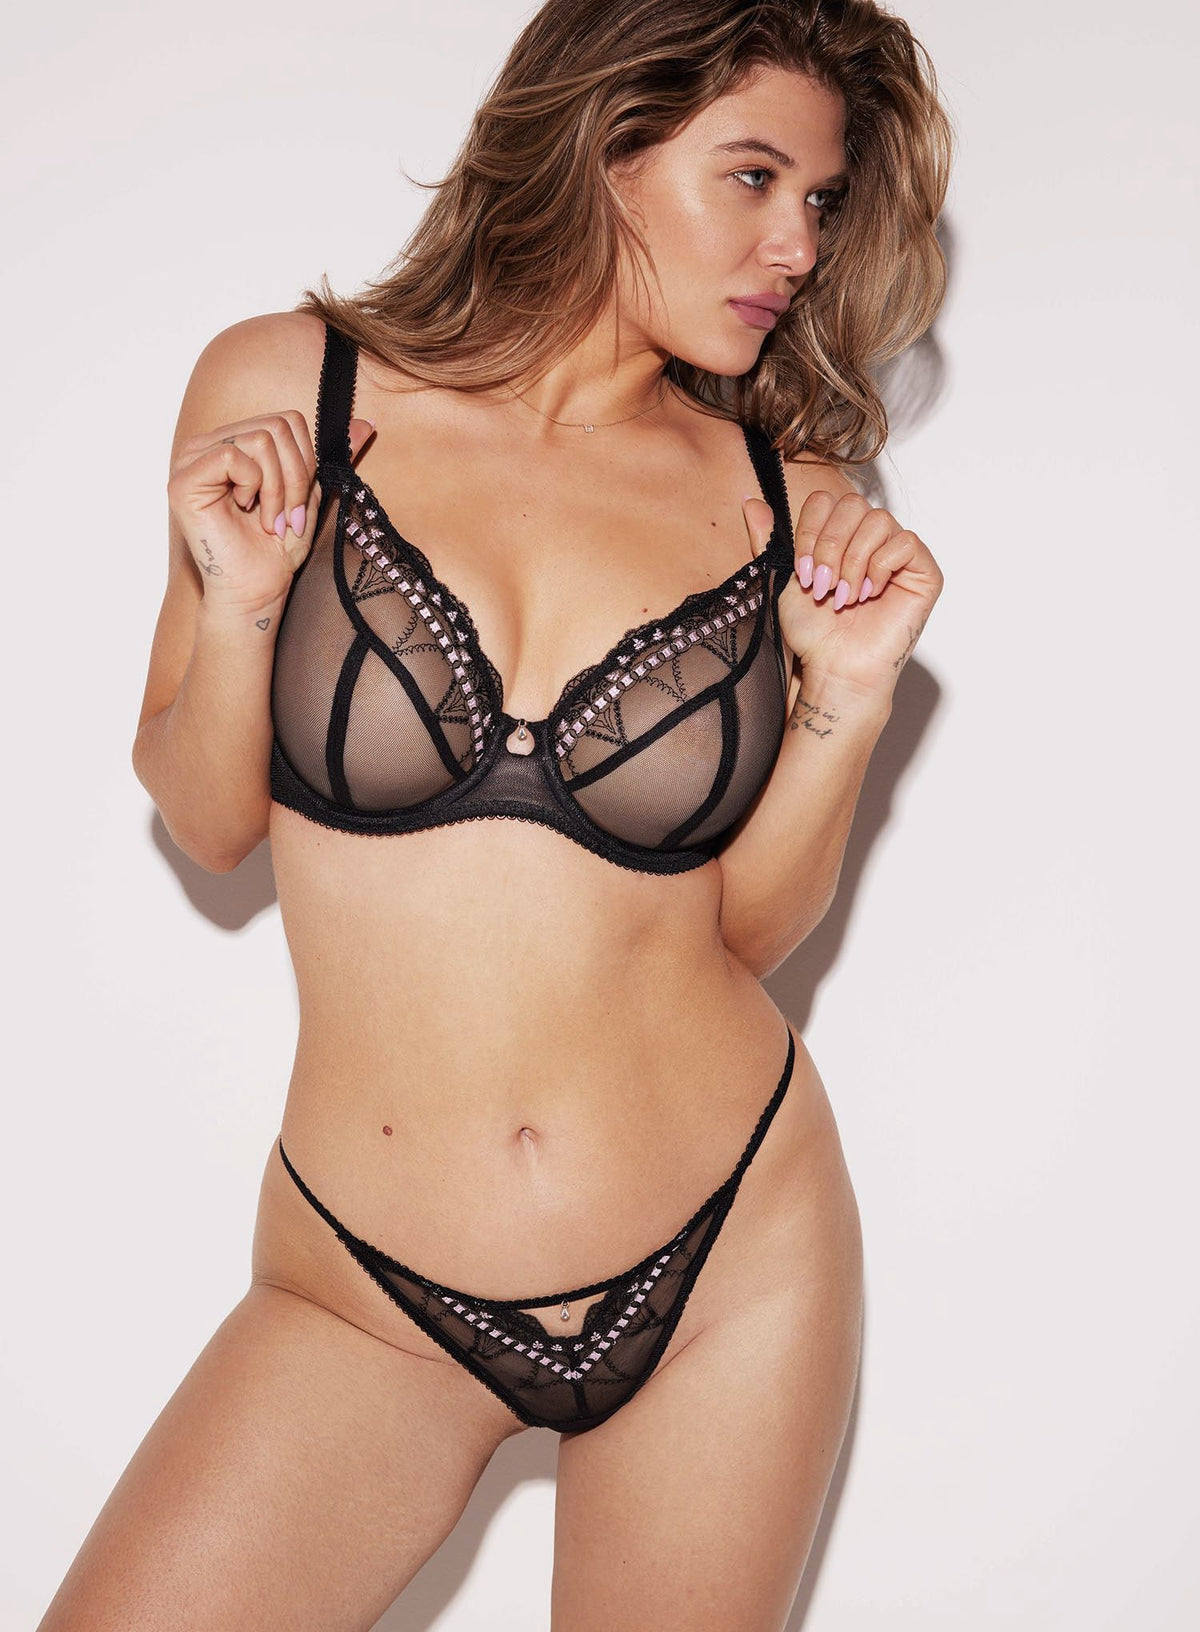
For detailed techniques on constructing these types of poses, the following reading provides a catalogue of options we will adapt.
The Best Boudoir Poses for Your Boudoir Photo Session
This guide from Chicago Boudoir Photography offers a concise list of classic, powerful boudoir poses. We will extract the core mechanics from several of these.
Focus on the descriptions for Standing with hands overhead, Straddling a chair, Kneeling on a bed, and Lounging on Your Side. Analyze how each pose uses body mechanics to project confidence.
Here are three primary poses and one alternative, specified with operational detail.
Pose 1: The Overhead Power Arch
This standing pose is designed to elongate the entire body, creating a powerful silhouette that showcases the torso and the lift of the plunge bra.
- Body Positioning: The model stands facing the camera, with her weight shifted to her back leg. The front leg is slightly bent. Hips are pushed to the side of the weighted leg, initiating the S-curve. The back is arched, pushing the chest and bust forward. Arms are raised overhead, with hands either running through her hair or lightly clasped behind her head. This action further elongates the abdominal muscles and lifts the bust.
- Gaze: Chin up, looking directly into the camera lens with a strong, confident expression.
- Camera Angle: A low angle, shooting slightly upward. This enhances the sense of power and height, making the model appear more dominant and statuesque. It also emphasizes the arch of the back and the lift provided by the bra.
Pose 2: The Kneeling Bust Showcase
This pose uses a kneeling position to create a focused composition that directs all attention to the upper body, the bust, and the details of the plunge bra.
10 Boudoir Photo Poses That Will Make Her Look Stunning
This article from Pompy Portraits gives highly specific, actionable instructions for bed and furniture poses.
Read the section on the Point Them Toes, Queen pose. While it's described for sitting on the edge of a bed, we will adapt the core mechanic of pushing the chest out to a kneeling posture.
- Body Positioning: The model kneels on a bed or a plush surface, with her body angled about 45 degrees to the camera. Following the principle from the "Point Them Toes, Queen" pose, she arches her back significantly to push her chest forward and out. Shoulders are pulled down and back. One hand can gently tug on the center gore or a strap of the plunge bra, drawing the eye directly to the product. The other hand rests on her upper thigh.
- Gaze: The model looks down towards her hand on the bra strap, with a subtle, knowing smile. This directs the viewer's gaze to the product while conveying intimate confidence.
- Camera Angle: Eye-level with the model's chest or slightly above, angled down. This perspective maximizes the view of the bra's plunge detail and the resulting cleavage.
Pose 3: The Side-Lying Curve
This reclining pose is optimized to display the elegant S-curve of the body in its entirety, highlighting the toned figure from shoulder to hip while giving the bust a natural and flattering profile.
- Body Positioning: The model lies on her side, facing the camera, propped up on one elbow. The bottom leg is extended straight, with toes pointed to elongate the line. The top leg is bent sharply at the knee, with the foot placed either in front of or behind the bottom leg's knee, creating a dynamic triangle. The top hand rests on her hip, with the elbow pointing up and back to accentuate the hourglass shape, as demonstrated in the PPA video.
- Gaze: Looking directly at the camera over her shoulder, with an inviting and confident expression.
- Camera Angle: A very low angle, positioned to capture the entire length of the body. This angle makes the curves of the waist and hip the primary subject, with the plunge bra visible in profile.
Pose 4 (Alternative): The Chair Straddle
This is the apex power pose, conveying maximum dominance and confidence. It is direct, confrontational, and explicitly designed to showcase a "femme fatale" persona.
- Body Positioning: The model straddles a simple chair or stool, facing the camera. She leans forward, resting her elbows or forearms on the back of the chair. This posture naturally forces an arch in the back and pushes the bust forward. Her legs are planted firmly on either side of the chair, creating a wide, stable, and powerful base.
- Gaze: Intense, unbroken eye contact with the camera. The expression is serious or a slight smirk—no full smiles.
- Camera Angle: Eye-level or slightly below. This captures the intensity of her gaze directly and makes the viewer feel they are being addressed, amplifying the power dynamic of the pose.
Conclusion
You have now engineered the 'after' state. By systematically manipulating gaze, posture, and hand placement, you've designed four distinct poses, each optimized to project confidence and showcase the specific physical attributes and lingerie central to the photoshoot's objective.
Key Takeaways:
- Confidence is operationally defined by open postures, direct gazes, and powerful hand placements.
- The fundamental geometric principles for achieving this are the S-curve (arching the back, pushing out the hip) and triangles (bending limbs).
- Poses can be optimized for different objectives: the Overhead Arch for height and elongation, the Kneeling Showcase for bust focus, the Side-Lying Curve for the overall figure, and the Chair Straddle for maximum power.
- Camera angle is a critical variable that must be specified to amplify the intended effect of each pose (e.g., low angles for power, high angles for cleavage).
Having designed the 'before' (modest) and 'after' (confident) states, our next task is to map the transition between them. In the next lesson, we will move to the outcome: Map the model's persona arc across the photoshoot sequence, specifying the corresponding facial expression and body language for each stage. This involves sequencing the shots to build the narrative of transformation, moving from the poses you designed last lesson to the ones you've designed today.