Hello! Welcome back to our Full-Stack Task Manager project.
In the last lesson, we built the complete backend for our application. We now have a secure, robust REST API with endpoints for user registration, login, and all the necessary CRUD (Create, Read, Update, Delete) operations for tasks. Our server is running and ready to handle requests.
Today, we shift our focus entirely to the frontend. Our goal is to transform our simple React app into a multi-page application using React Router. We will create the main pages, or "views," for our app—specifically the Dashboard, Profile, and Project pages—and set up the navigation that allows users to move between them seamlessly, all without a single full-page reload.
This is a critical step in building any modern Single Page Application (SPA), as it creates the user experience of a traditional multi-page website while retaining the speed and dynamism of React.
Why Do We Need Client-Side Routing?
In a traditional website, clicking a link sends a request to a server, which then returns a new HTML page. This causes a full-page refresh. In a React SPA, we only have one index.html file. We want to change the content on the screen and update the URL in the browser without asking the server for a whole new page. This is called client-side routing.
React Router is the standard library for handling this in React. It keeps your UI in sync with the URL.
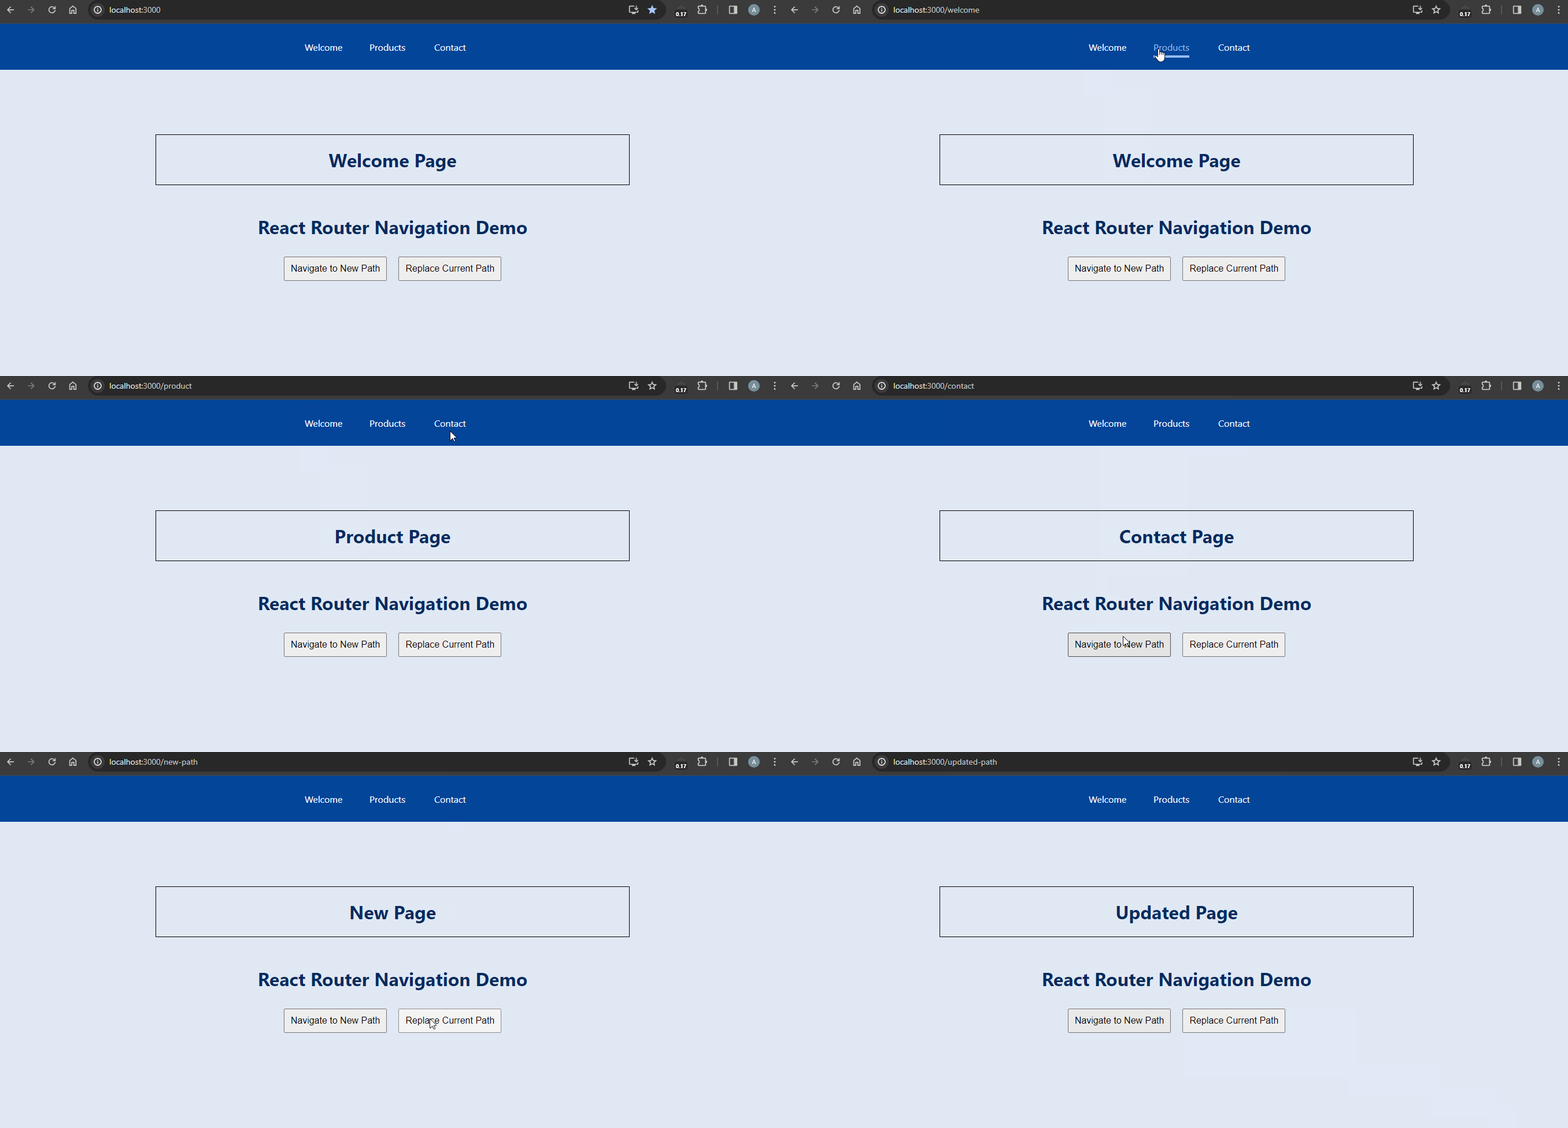
By the end of this lesson, we will have a structure similar to the application design we're working towards, with a persistent sidebar for navigation and a main content area that dynamically displays the selected page.

Part 1: Understanding React Router's Core Concepts
Before we write any code, let's get familiar with the main tools React Router provides. The following article gives an excellent overview of the key concepts.
React Router Basics to Advanced (v6+)
Please read the first few sections of the article 'React Router Basics to Advanced (v6+)' from DEV Community to understand the fundamental building blocks of React Router.
Read the sections titled 'What is ROUTING?', 'Why Routing in React?', 'Key Concepts 🔑', and the 'Understanding React Router with a Highway Analogy' table. Focus on understanding the role of BrowserRouter, Routes, Route, and Link/NavLink.
To summarize the key components from the article:
BrowserRouter: The main wrapper that enables routing for your entire application. It uses the browser's History API to keep track of the URL.Routes: A container that holds all your individual routes. It looks at the current URL and renders the first matching route.Route: Defines a single route. It maps apath(like/profile) to anelement(a React component).Link/NavLink: The components you use to create navigation links. They render as<a>tags but handle navigation on the client-side, preventing page reloads.NavLinkis a special version that knows when it's "active" (when itstoprop matches the current URL), making it easy to style.
Part 2: Setting Up the Project and Basic Routes
Let's apply these concepts to our Task Manager.
Step 1: Install React Router
Navigate to your client directory in the terminal and install react-router-dom:
# Make sure you are in the client directory
npm install react-router-dom
Step 2: Wrap Your App in BrowserRouter
Open client/src/main.jsx. You need to wrap your root <App /> component with <BrowserRouter> to make routing available throughout your application.
// client/src/main.jsx
import React from 'react';
import ReactDOM from 'react-dom/client';
import { BrowserRouter } from 'react-router-dom'; // Import BrowserRouter
import App from './App.jsx';
import './index.css';

ReactDOM.createRoot(document.getElementById('root')).render(
  <React.StrictMode>
    <BrowserRouter> {/* Wrap App with BrowserRouter */}
      <App />
    </BrowserRouter>
  </React.StrictMode>,
);
Step 3: Create Page Components
Let's create the components for our different pages. In your client/src/ folder, create a new folder named pages. Inside pages, create the following files:
DashboardPage.jsx: This will be our main page, showing the tasks.ProfilePage.jsx: For user profile settings.ProjectsPage.jsx: A placeholder for project views.LoginPage.jsx: The login form.RegisterPage.jsx: The registration form.NotFoundPage.jsx: To show when a URL doesn't match any route.
For now, just put simple placeholder content in each file. For example:
// client/src/pages/DashboardPage.jsx
import React from 'react';

const DashboardPage = () => {
  return <h1>Dashboard</h1>;
};

export default DashboardPage;
Create similar placeholder components for ProfilePage, ProjectsPage, LoginPage, RegisterPage, and NotFoundPage.
Step 4: Define Your Routes
Now, let's configure the routes in client/src/App.jsx. Clear out the default content and set up your routes.
// client/src/App.jsx
import { Routes, Route } from 'react-router-dom';
import DashboardPage from './pages/DashboardPage';
import ProfilePage from './pages/ProfilePage';
import ProjectsPage from './pages/ProjectsPage';
import LoginPage from './pages/LoginPage';
import RegisterPage from './pages/RegisterPage';
import NotFoundPage from './pages/NotFoundPage';

function App() {
  return (
    <Routes>
      <Route path="/" element={<DashboardPage />} />
      <Route path="/projects" element={<ProjectsPage />} />
      <Route path="/profile" element={<ProfilePage />} />
      <Route path="/login" element={<LoginPage />} />
      <Route path="/register" element={<RegisterPage />} />
      <Route path="*" element={<NotFoundPage />} /> {/* Catch-all route */}
    </Routes>
  );
}

export default App;
At this point, you can run your React app (npm run dev in the client folder) and manually navigate to http://localhost:5173/profile, http://localhost:5173/login, etc., to see the different page components render.
Part 3: Creating a Shared Layout with Nested Routes
A common requirement is to have a shared layout (like a sidebar or navbar) that's visible on multiple pages. We don't want to copy-paste this layout into DashboardPage, ProfilePage, and ProjectsPage. Instead, we can use nested routes.
The idea is to create a parent "layout" route that renders the shared UI and a placeholder for the child page's content. This placeholder is the <Outlet /> component.
Step 1: Create the Layout Component
In your client/src/ folder, create a components folder. Inside it, create Layout.jsx. This component will contain our sidebar and the <Outlet /> for the page content. We'll use <NavLink> for our navigation links so we can style the active one.
// client/src/components/Layout.jsx
import React from 'react';
import { NavLink, Outlet } from 'react-router-dom';

const Layout = () => {
  // This function will be used by NavLink to apply styles
  const navLinkStyles = ({ isActive }) => {
    return {
      fontWeight: isActive ? 'bold' : 'normal',
      textDecoration: isActive ? 'underline' : 'none',
    };
  };

  return (
    <div style={{ display: 'flex' }}>
      <aside style={{ width: '200px', borderRight: '1px solid #ccc', padding: '1rem' }}>
        <h2>Task Manager</h2>
        <nav>
          <ul style={{ listStyle: 'none', padding: 0 }}>
            <li style={{ marginBottom: '1rem' }}>
              <NavLink to="/" style={navLinkStyles}>Dashboard</NavLink>
            </li>
            <li style={{ marginBottom: '1rem' }}>
              <NavLink to="/projects" style={navLinkStyles}>Projects</NavLink>
            </li>
            <li style={{ marginBottom: '1rem' }}>
              <NavLink to="/profile" style={navLinkStyles}>Profile</NavLink>
            </li>
          </ul>
        </nav>
      </aside>
      <main style={{ flex: 1, padding: '1rem' }}>
        <Outlet /> {/* Child routes will render here */}
      </main>
    </div>
  );
};

export default Layout;
Note: We are using inline styles for simplicity. In a real project, you would use CSS classes.
Step 2: Refactor Routes to Use the Layout
Now, let's update App.jsx to use this new layout. We'll create a parent route for the Layout component and nest the dashboard, projects, and profile routes inside it. The login, register, and not found pages will remain outside this layout.
// client/src/App.jsx
import { Routes, Route } from 'react-router-dom';

// Layout Component
import Layout from './components/Layout';

// Page Components
import DashboardPage from './pages/DashboardPage';
import ProfilePage from './pages/ProfilePage';
import ProjectsPage from './pages/ProjectsPage';
import LoginPage from './pages/LoginPage';
import RegisterPage from './pages/RegisterPage';
import NotFoundPage from './pages/NotFoundPage';

function App() {
  return (
    <Routes>
      {/* Routes with the shared sidebar layout */}
      <Route path="/" element={<Layout />}>
        <Route index element={<DashboardPage />} /> {/* Default child route */}
        <Route path="projects" element={<ProjectsPage />} />
        <Route path="profile" element={<ProfilePage />} />
      </Route>

      {/* Routes without the layout */}
      <Route path="/login" element={<LoginPage />} />
      <Route path="/register" element={<RegisterPage />} />
      <Route path="*" element={<NotFoundPage />} />
    </Routes>
  );
}

export default App;
Notice two key changes:
- The
<Route>forLayoutnow wraps the other routes. - The dashboard route now has the
indexprop. This tells React Router to renderDashboardPageinside theLayout's<Outlet />when the path is exactly/.
Test your understanding!
What would happen if you removed the <Outlet /> component from Layout.jsx?
Show answer
If you removed <Outlet />, the shared layout (the sidebar) would still render, but the components for the child routes (DashboardPage, ProjectsPage, ProfilePage) would never appear. The <Outlet /> acts as the designated "slot" where child route elements are rendered.
Step 3: See It in Action
The following video demonstrates a very similar process of building a dashboard with a fixed sidebar, nested routes, and the <Outlet /> component. Watching it will help solidify your understanding of how these pieces fit together.
React Router v6 Tutorial - Dashboard example with Typescript
The 'React Router v6 Tutorial' by Bikash web is a great practical guide. We'll focus on the parts that cover setting up the main routes, implementing the shared layout with an Outlet, and creating nested routes.
Watch the video from 04:26 to 33:12. Pay close attention to: How Routes and Route are used to define the main pages (Dashboard, Tabs, Settings). The introduction of the Outlet component (around 20:30) and why it's essential for the layout to work. How nested routes are created for the 'Tabs Demo' section, which is conceptually identical to how we nested our pages within the Layout component.
Conclusion
Excellent work! You have successfully laid the navigational foundation for our Task Manager application. You now have a multi-page React app with a clean, reusable layout structure.
Key Takeaways:
- You can set up client-side routing by installing
react-router-domand wrapping your app in<BrowserRouter>. - You can define mappings between URL paths and components using the
<Routes>and<Route>components. - You can create navigation between pages without page reloads using the
<Link>and<NavLink>components. - You have implemented a powerful and common UI pattern—a persistent layout—using nested routes and the
<Outlet />component.
Preview of the Next Lesson:
Our application now has its core structure, but the pages are just placeholders. In the next lesson, "Create a responsive and interactive UI for creating, viewing, updating, and deleting tasks," we will begin to bring the DashboardPage to life. We will build the UI components to list tasks, add new ones, and prepare to wire them up to the backend API we've already built.