Hello! Welcome back to the workshop.
In our last session, we constructed the first physical prototype of your bodice. By transforming the flat pattern into a 3D muslin, you created a testable artifact that is now ready to provide crucial data on fit and structure.
Today, we'll apply the same prototyping mindset to the lower half of your gown. Your design calls for a multi-layered sheer A-line skirt, and our goal is to understand and validate its two most important characteristics: fullness (the volume and shape) and drape (how the fabric hangs and moves).
Our learning outcome is to cut and assemble a muslin skirt to test fullness and drape. We'll move from the 2D pattern to a 3D skirt prototype, preparing it with specific markings that will allow us to objectively evaluate its behaviour in the next lesson.
1. Understanding Fullness and Drape
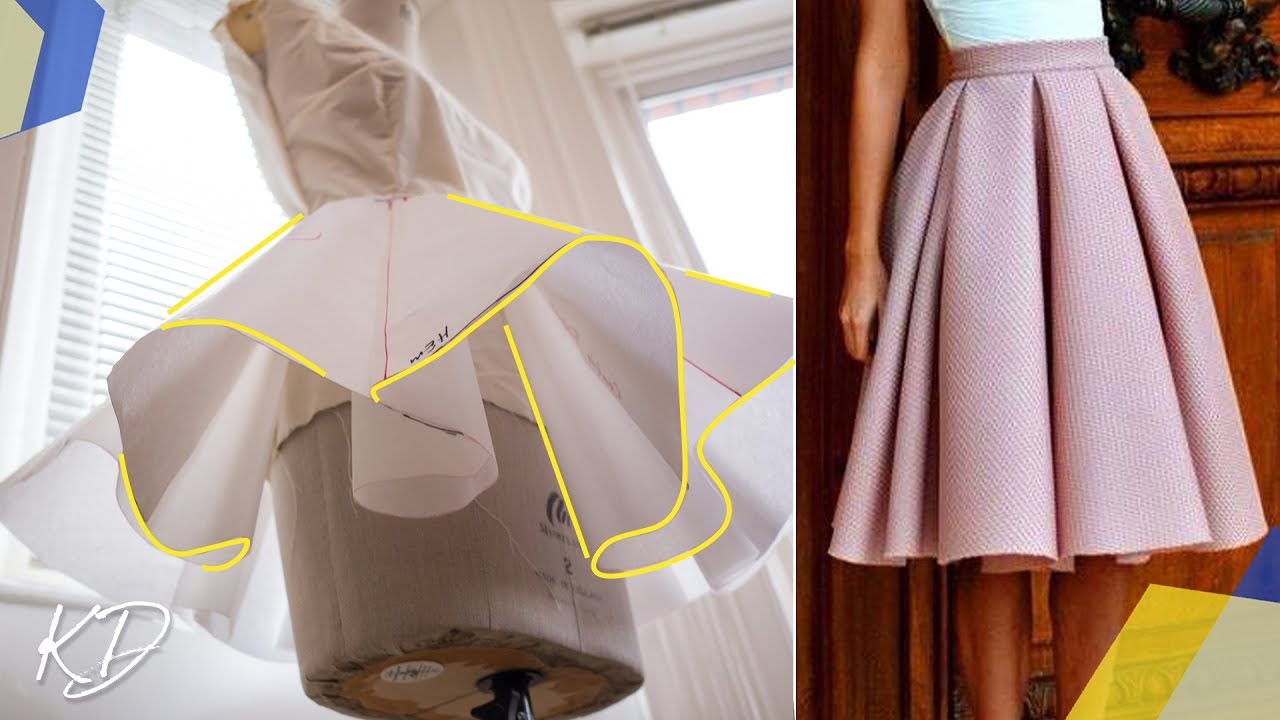
Before we cut any fabric, let's first explore the principles behind creating the A-line shape. In pattern drafting, the transition from a straight skirt to a flared A-line is achieved by adding volume that radiates from the waist down.
This is often done using a "slash and spread" technique on a basic pattern block. Visualizing this principle helps you understand the geometry embedded in your skirt pattern.

Another way to explore and understand fullness is through draping—sculpting fabric directly on a dress form. While you are working from a flat pattern, watching a draping demonstration can provide a powerful, physical understanding of how fabric volume creates shape.
The video 'Draping for Fashion Design' by Catherine Sews offers an excellent visual for this. Pay close attention to how dropping the fabric's position on the dress form directly adds fullness to the skirt.
Watch the segment from 20:49 to 23:49. Notice the contrast she makes between draping a straight skirt versus a fuller skirt. Observe how letting the fabric drop lower as she moves toward the side seam (the key moment is around 22:10) introduces that beautiful, smooth A-line fullness.
This draping method is the three-dimensional equivalent of the "slash and spread" flat pattern technique. Both are ways of controlling fabric to create a desired silhouette.
2. Preparation: Cutting and Marking for an Accurate Test
With the theory clear, let's move to the practical steps of preparing your skirt muslin. You'll be using the lightweight cotton voile or batiste you selected previously to simulate the drape of your final sheer fabrics.
Cutting Large Panels
For large, symmetrical pieces like skirt panels, cutting on a single layer of fabric—rather than on the fold—ensures greater accuracy and prevents the layers from shifting. This is a professional work habit that will be essential when you handle the slippery silk organza for your final dress.
Sewing a Bridal Gown Part 1: Muslin
In 'Sewing a Bridal Gown Part 1: Muslin', the creator gives this exact advice when cutting the overlay skirt.
Watch from 03:47 to 04:26. She explains why she prefers to cut large skirt pieces in a single layer to avoid mistakes. Follow this method for your skirt panels, remembering to flip the pattern piece over to create a mirror image for the second half.
Marking for Assembly and Fitting
Just as with the bodice, precise markings are crucial. However, for the skirt, we'll add a new set of markings specifically for evaluating drape: Horizontal Balance Lines (HBLs).
These are reference lines drawn on the muslin that should be parallel to the floor when the garment is worn. They provide a clear, objective grid to diagnose issues like uneven hemlines or pulling, which can be hard to "eyeball." Your experience with grids and alignment in digital design will make this technique feel very intuitive.
The article 'Foolproof Skirt Fitting' from Threads Magazine provides the definitive guide to this technique. We will focus on preparing the muslin with these gridlines.
Read the section 'Work the grid,' specifically the steps under 'Establish the grid.' You will draw a Horizontal Balance Line (HBL) across your skirt front and back pattern pieces at the full hip level. Then, transfer this line to your cut muslin fabric. Also transfer your seam lines and any notches.
3. Assembling the Skirt Muslin
Now you're ready to assemble the panels into a skirt. The process is straightforward and, because this is a prototype, we can prioritize efficiency.
The key is to remember the purpose: this is a test garment. You don't need to worry about perfect seam finishes, a final hem, or a zipper. You'll pin the back opening closed during the fitting.
How To Sew A Skirt Muslin: Step-by-Step Guide
The blog post 'How To Sew A Skirt Muslin' offers an excellent, streamlined workflow that aligns perfectly with a prototyping mindset.
This article will guide your assembly process. First, quickly review the section 'This is important' to reinforce what you can omit from a muslin. Next, read 'Step 2: Pin Your Skirt Muslin' and 'Step 3: Sew Your Skirt Muslin.' The concept of sewing in 'rounds' and 'batching' tasks is highly efficient. Pin your side seams together, matching the HBLs precisely. Sew the seams using a long basting stitch (4-5mm length), just as you did for the bodice. Finally, read 'Step 4: Press Your Skirt Muslin' and press your seam allowances open.
As with the bodice, the hands-on work of cutting, marking, and sewing will take the majority of your time. Plan for about 1 to 1.5 hours for this practical stage.
Once assembled, you should have a simple A-line skirt made from your lightweight muslin, with a visible Horizontal Balance Line running around the hip.
Conclusion
Excellent work. You have now prototyped the two core components of your gown: the structured bodice and the draped skirt. By focusing on the essential geometry and behaviour of each part, you've created the necessary test artifacts to move into full-system diagnostics.
Key Takeaways:
- Fullness is Geometric: The A-line shape is created by adding volume evenly across a pattern, a principle that can be understood through both flat-pattern techniques and 3D draping.
- Cut for Accuracy: Cutting large skirt panels on a single layer of fabric is a professional habit that ensures precision.
- Mark for Data: Adding Horizontal Balance Lines (HBLs) to your muslin creates an objective grid, turning a subjective fitting into a more data-driven analysis.
- Assemble for Efficiency: A muslin is a test, not a final product. Use basting stitches and efficient "batching" of tasks to assemble it quickly.
In our next lesson, the two halves become a whole. We will join the bodice and skirt muslins and conduct your first complete fitting. We'll use the HBLs you drew today and the fit of the bodice to identify and analyze any issues, preparing you to make targeted adjustments to your patterns.