Hello! Welcome back to your wedding dress project.
In our last lesson, you accomplished a major milestone: you stitched the bodice and skirt together, and for the first time, you could see the complete silhouette of your gown. This was the moment where two complex components became one unified structure.
However, joining a boned bodice to a multi-layered skirt has created a very thick, bulky seam at the waist. If left as is, this bulk would create a visible ridge on the outside of your dress and feel stiff.
Today, we will address this by applying a professional finishing technique. The learning outcome for this lesson is to grade the waistline seam allowance to reduce bulk. Think of this as a refinement phase in product design—now that the main assembly is complete, we optimize it for the best possible form and function by strategically removing excess material.
1. What is Grading? Engineering a Flatter Seam
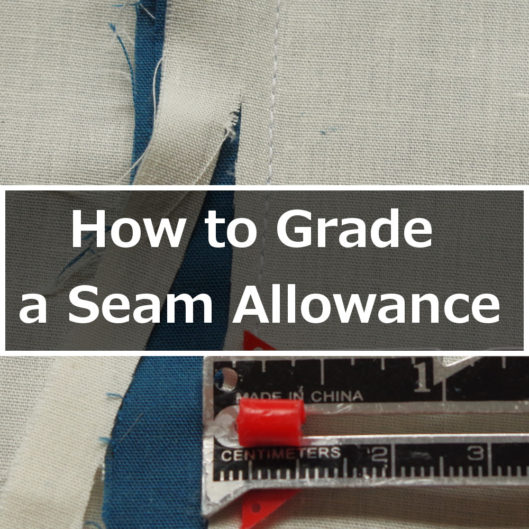
Grading is the process of trimming the multiple layers of a seam allowance to different widths. By staggering the edges of the fabric layers, you create a gradual "slope" instead of an abrupt cliff, which eliminates the visible ridge on the right side of the garment. It's a fundamental technique for achieving a high-end, couture finish.
Let's start with a foundational article that explains this concept clearly.
Nerdy Sewing Tips: Trimming, grading and reducing bulk at your seams
The sewing blog 'By Hand London' offers an excellent, concise explanation of grading. It clearly defines what it is, why it's necessary for enclosed seams like your waistline, and shows clear photographic examples.
Please read the first section, titled 'Grading your seams.' Focus on the 'What & why?' and 'How?' portions. The images provide a great visual for what you are about to do.
As you can see from the reading, the core idea is to prevent all the raw edges from stacking up in one place.
2. The Core Principle: Staggering the Layers
The non-negotiable rule of grading is that the seam allowance layer that will sit closest to the outside of the garment (the "public side") must be the longest. This ensures that the shorter, trimmed edges underneath are cushioned by the longest layer, preventing them from creating a visible line through the fashion fabric.
This video provides a very clear demonstration of how to apply this principle, especially when dealing with more than two layers of fabric.
10 Tips - How to Trim, Grade & Clip Seams
The 'Sew Essential' YouTube channel has a great tutorial on seam finishes. We'll focus on the specific section that demonstrates grading multiple layers.
Watch the section from 05:27 to 06:34 for a clear explanation of the grading rule. Then, watch from 13:34 to 15:26, where the presenter demonstrates how to grade three layers of fabric, clearly applying the principle of staggering the widths.
3. Practical Application: Grading Your Gown's Waistline
Now, let's apply this directly to your dress. Your waistline seam is likely the bulkiest seam in the entire garment, consisting of the bodice shell (with underlining) and the skirt (with its own underlining and sheer overlays).
Step 1: Press the Seam Allowance
Before you begin trimming, press the entire waistline seam allowance upwards, towards the bodice. Use a press cloth to protect your fabric. This sets the direction of the seam and makes the layers easier to handle.
Step 2: Identify Your Layers and Apply the Rule
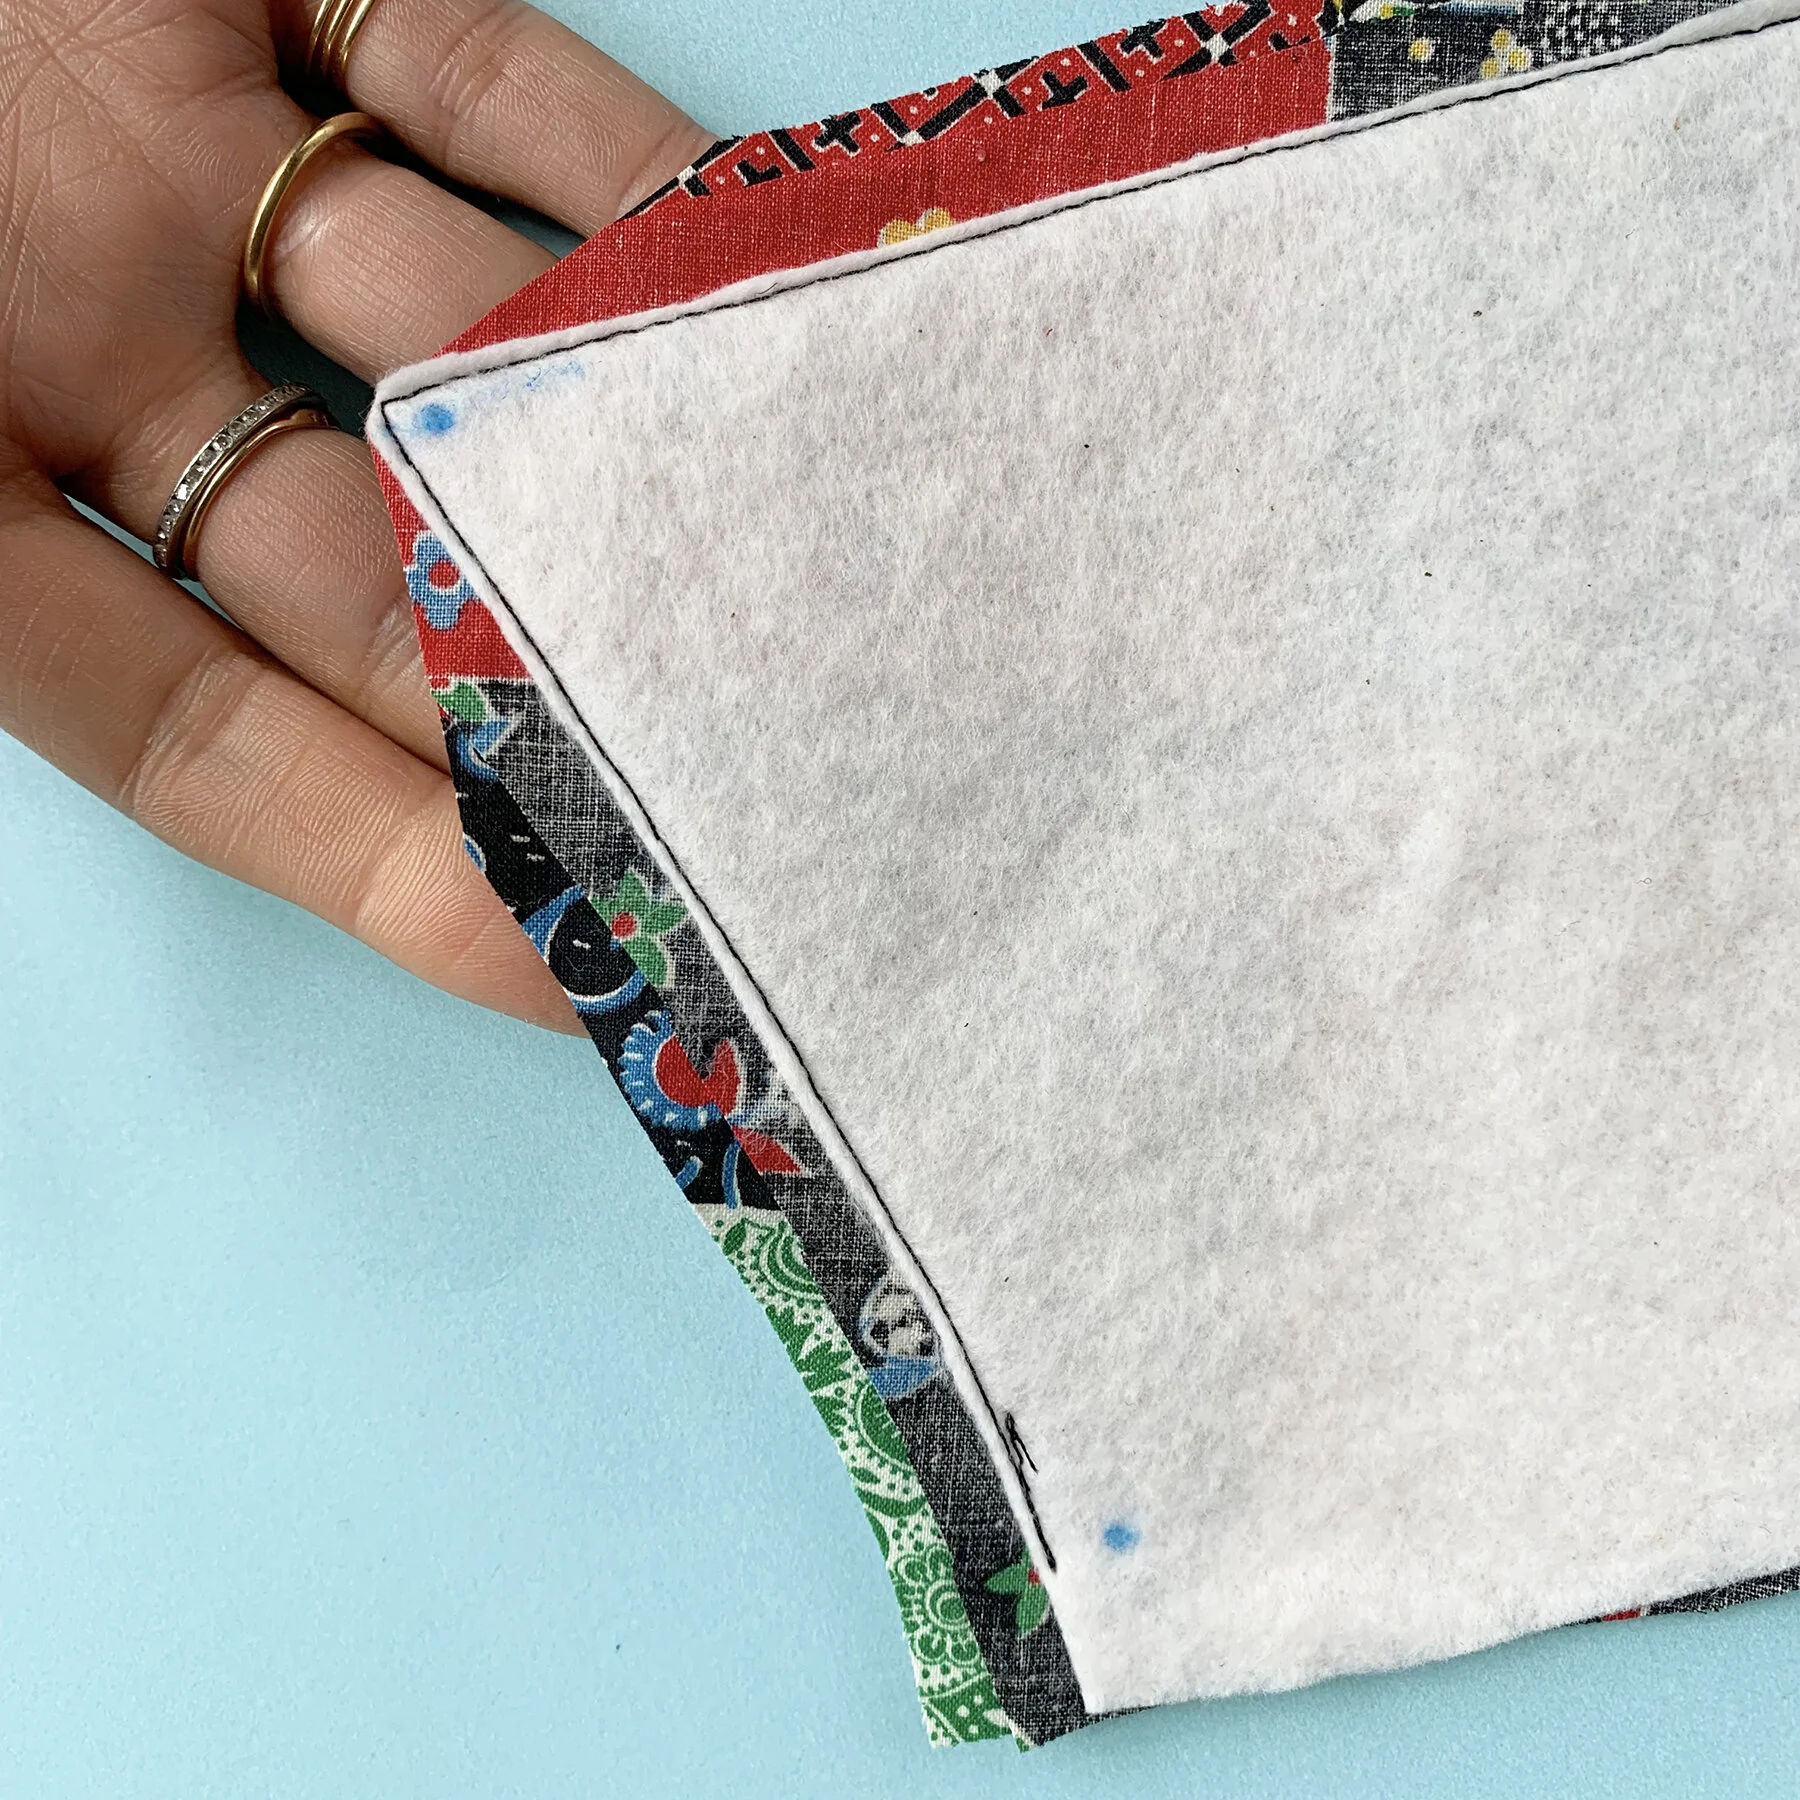
With the seam allowance pressed up, the seam allowance belonging to the bodice is now closest to the exterior of the dress. Therefore, the bodice seam allowance must be the longest layer. The multiple layers of the skirt seam allowance will be trimmed progressively shorter.
Here is a systematic plan for your specific dress, assuming a standard () seam allowance:
- Isolate the Layers: Carefully separate the layers of the seam allowance with your fingers. You should have the bodice seam allowance and the various skirt seam allowances.
- Longest Layer (Bodice): The seam allowance from your bodice shell is your longest layer. You can leave it as is or trim it slightly to about () for neatness.
- Middle Layer(s) (Skirt Overlays): Trim the seam allowance from your sheer skirt overlays (which you basted together) to about ().
- Shortest Layer (Skirt Underlining): Trim the seam allowance from the skirt's underlining layer to about ().
Important Considerations:
- Tools: Use small, sharp scissors for this task. Embroidery scissors or small-bladed tailor's scissors give you the most control for this precise work.
- Seam Intersections: Your waistline seam crosses vertical seams (side seams, dart legs). This creates extra-bulky spots. You can carefully snip away small triangular pieces of the vertical seam allowances that are caught inside the waistline seam allowance to further reduce bulk. The "By Hand London" article you read earlier shows this in the section "Reducing bulk at a multiseam intersection."
4. A Note on Curves
While your waistline is a relatively gentle curve, it's worth knowing how grading applies to more pronounced curves, as you will encounter them later (for example, when finishing the neckline). For an inward (concave) curve, you also need to clip into the seam allowance. For an outward (convex) curve, you notch it by cutting out small V-shapes.
When, Why and How to Clip, Trim, Notch and Grade Seam Allowances When Sewing
Let's watch a final short clip that explains the logic behind handling curves, which builds on the concept of grading.
Watch the segment from 05:55 to 07:51. The presenter, Londa Rohlfing, gives an excellent analogy about a runner on a track to explain why you must notch an outer curve and clip an inner curve. This principle of managing fabric excess or tension is the same reason we grade seams.
For your waistline, the grading is the primary task. You may only need to make a few small clips if you find the seam isn't lying perfectly flat around the curve after grading.
Conclusion
You have now executed a crucial finishing technique that separates homemade garments from professionally tailored ones. By grading the waistline seam, you have ensured the silhouette of your dress will be smooth and elegant, without a bulky ridge disrupting the line of the gown.
Key Takeaways:
- Grading reduces bulk by trimming seam allowance layers to different, staggered widths.
- The cardinal rule is to leave the seam allowance layer closest to the garment's exterior the longest.
- For your dress, press the waistline seam up towards the bodice and trim the skirt seam allowance layers shorter than the bodice layer.
- Use small, sharp scissors for precision and control.
In our next lesson, we will build directly upon this smooth, flat seam. You will install a waist stay, an internal grosgrain ribbon belt that provides crucial support, carries the weight of the skirt, and ensures your strapless bodice stays securely in place.