Hello! Welcome to the final lesson of our first day. In our previous sessions, you've done a fantastic job of fetching data from a local file, rendering it on the page, and learning how to diagnose and fix issues using browser tools and your AI assistant. You now have a solid, working data display.
Today, we'll build on that foundation by adding a key interactive feature: a dropdown filter. This will allow users to dynamically control the data they see, a fundamental component of almost any data-driven website. By the end of this lesson, you'll have implemented a filter that lets a user select a category and instantly see the corresponding results, tying together everything we've covered so far. This directly addresses one of your main project goals and moves your application from a static display to an interactive tool.
The Anatomy of an Interactive Filter
A dropdown filter might seem complex, but it breaks down into a few logical steps. We're going to create a <select> element in our HTML, populate it with options, and then use JavaScript to listen for changes and update the view.
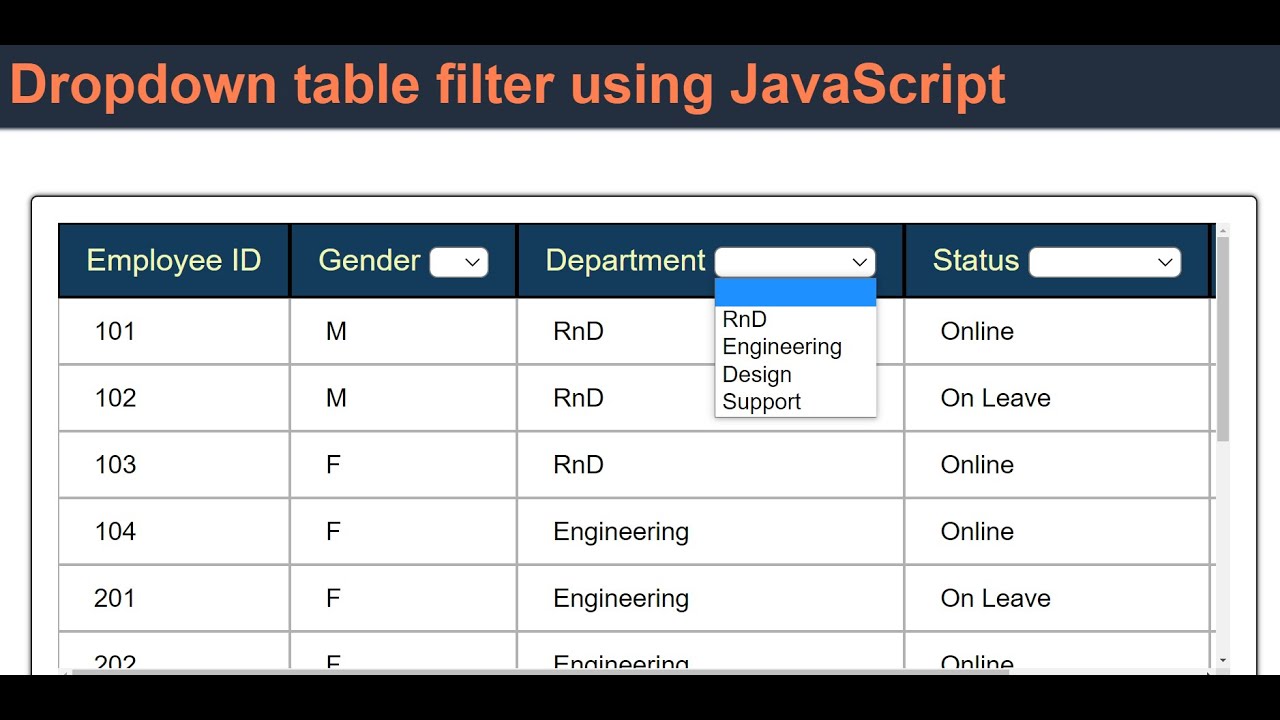
The core of the filtering logic in JavaScript relies on array methods. One of the most powerful and commonly used is Array.prototype.filter(). Before we dive into the implementation, let's get a clear understanding of how it works.
The video below from the Coding2GO channel provides an excellent tutorial on the .filter() method. Pay close attention to how it creates a new array based on a condition, without changing the original data.
How to use map() filter() reduce() | JavaScript Array Methods Tutorial
Watch the section that specifically covers the .filter() method.
You can focus on the segment from the explanation of filter. Notice how it takes a callback function and returns true to keep an element or false to discard it.
As you saw, .filter() is incredibly concise. The general flow for our feature will be:
- Add UI: Place a
<select>dropdown element in your HTML. - Populate Options: After fetching your data, find all the unique categories and dynamically create an
<option>for each one inside the<select>element. - Listen for Changes: Add a
'change'event listener to the dropdown. - Filter and Re-render: When the user selects a new option, use the
.filter()method on your full dataset to create a new array containing only the matching items. Then, pass this new filtered array to your existing display function to update the page.
Populating the Dropdown Dynamically
To make our filter useful, its options should be generated from the data itself. For instance, if your JSON contains products from "Electronics," "Books," and "Apparel" categories, the dropdown should automatically contain those three options. This ensures the filter always stays in sync with the data.
The process involves two main steps:
-
Extract Unique Categories: Loop through your data array and collect all the unique values for the property you want to filter by (e.g.,
product.category). A modern and efficient way to do this in JavaScript is by using aSet, which automatically handles uniqueness.For an array of products, the code would look like this:
const allCategories = products.map(product => product.category); const uniqueCategories = [...new Set(allCategories)]; // uniqueCategories is now an array like ['Electronics', 'Books', 'Apparel'] -
Create
<option>Elements: Loop through youruniqueCategoriesarray and for each category, create an<option>element and append it to your<select>dropdown.
The following video provides a fantastic, practical walkthrough of this entire process, from fetching JSON to dynamically populating dependent select menus. While it shows two dropdowns, the logic for populating the first one is exactly what you need.
Dynamic Drop Down Select Menus with JavaScript and JSON 🌟
This video by Digital Fox clearly demonstrates populating a select menu from JSON data.
Watch the section where the JavaScript is written to populate the first dropdown. Pay attention to how it iterates through the data to build the option tags and set their innerHTML. Then, see how an event listener is used to react to user selection in the segment from get the selected value.
Putting It All Together with Your AI Assistant
Now you have all the conceptual pieces. Let's translate this into a concrete task for your AI assistant. You can adapt the code from your previous lessons and use a detailed prompt to get the exact feature you need. This is where your AI proficiency becomes a major asset.
Based on the prompt engineering techniques from our last lesson, here is a template you can adapt.
Your Prompt to the AI:
"I want to add a dropdown filter to my webpage. My current JavaScript fetches an array of product objects from
data.jsonand displays them all using a function calleddisplayProducts(products).I need you to modify my code to achieve the following:
- Assume I have added a
<select id="category-filter"></select>to my HTML.- After the initial data fetch is successful, you need to find all unique values from the
categoryproperty of the product objects.- Dynamically populate the
category-filterdropdown with these unique categories. Also, add a default option at the top with the text "All Categories" and an empty value (value="").- Add a 'change' event listener to the
category-filterdropdown.- When the user selects a category, filter the original product array to show only products that match the selected category.
- If the user selects "All Categories" (the option with the empty value), display the full, unfiltered product array.
- In either case, use my existing
displayProducts(products)function to render the result.Here is my current JavaScript code:
// [Paste your full JavaScript code here]Here is a sample of an object from my
data.jsonfile:// [Paste one example object from your JSON here, e.g., { "id": 1, "name": "Laptop", "category": "Electronics", ... }] ```"
This prompt provides clear context, defines the exact steps, and gives the AI all the information it needs to generate the correct code with minimal follow-up.
For a deeper dive into the complete implementation, including the HTML structure and handling the form submission, the following article is a useful reference. It uses a slightly different approach (two linked dropdowns and API-side filtering) but the core principles of dynamic option generation and event handling are the same.
Using Vanilla Javascript to Filter Data Returned in a Fetch Request using Dropdown Lists in an HTML…
This article by Jeremiah Snidar provides a detailed, step-by-step guide to building filters.
Focus on the sections titled "The Attribute Dropdown List" to see another example of dynamically creating options, and "The Submit Button" section to understand how to handle the filtering event and use Array.prototype.filter() to solve a "bug" where partial string matches occurred.
Conclusion
You've now reached the end of our first day and have successfully built a significant piece of functionality. You started with a static HTML page and have now brought it to life with data fetched from a file, complete with debugging tools and interactive filtering.
Here are the key takeaways from this lesson:
- Filtering Logic: The standard pattern for client-side filtering is: Event Listener -> Filter Data -> Re-render View.
- The
.filter()Method: This is your primary tool for creating a new array from an existing one based on a specific condition. - Dynamic UI: You can make your UI more robust and scalable by dynamically generating elements (like dropdown options) from your data source, rather than hard-coding them.
- AI as a Partner: Crafting detailed, context-rich prompts allows you to delegate complex coding tasks to your AI assistant effectively, letting you focus on the application's logic and features.
This lesson completes our work with a purely frontend setup using a local JSON file. While functional, this approach has limitations, especially regarding security and scalability—anyone can view your data.json file. In our next lesson, we will begin Day 2: Migrating to a Serverless Backend with Firebase. You'll learn how to set up a cloud database, move your data to it, and refactor your frontend to fetch data from a secure, professional backend.