Welcome to Module 3! In the first two modules, we established the conceptual and mathematical groundwork for quantum computing. We've explored qubits, superposition, quantum gates, and the intriguing nature of entanglement. Now, it's time to move from theory to practice.
This lesson marks our first step into the practical world of quantum programming. Our goal is to set up your personal "quantum laboratory"—a development environment on your computer where you can build, simulate, and eventually run quantum circuits. By the end of this lesson, you will have a fully functional Qiskit environment ready for the hands-on work in the lessons to come.
1. Your Development Environment: Local vs. Cloud
There are two primary ways to work with Qiskit:
- Local Installation: You install Python and the Qiskit libraries directly on your computer. This gives you full control, allows you to work offline, and integrates with your preferred code editors like VS Code.
- Cloud Environment: You use a web-based platform like IBM Quantum Lab, which comes with everything pre-installed. This is a zero-setup option that's great for quick access.
For our course, we will focus on the local installation. Since your goal is to understand how to build and implement quantum algorithms, having a local setup is a more robust and standard approach in the long run. It's the way most developers and researchers work. We'll briefly touch on the cloud option as a useful alternative.
2. The Importance of Virtual Environments
Before we install anything, it's crucial to understand the concept of a virtual environment. Think of it as an isolated, self-contained "workbench" for a specific project. When you create a virtual environment for our Qiskit course, any packages you install will live only within that environment.
This is a standard practice in software development for two main reasons:
- Dependency Management: It prevents conflicts between packages required for different projects. For example, Project A might need version 1.0 of a library, while Project B needs version 2.0.
- Cleanliness and Reproducibility: It keeps your main system Python installation clean. If something goes wrong, you can simply delete the environment and start fresh without affecting anything else on your machine.
We will use Miniconda to manage our Python environments. It's a lightweight installer that includes Python and the conda package and environment manager.
3. Step-by-Step Installation Guide
The most effective way to walk through the installation is to follow a guided video. We will use an official tutorial from the Qiskit team that clearly explains each step. I'll break down the video into key stages and provide context for each.
How to Install Qiskit | Coding with Qiskit 1.x | Programming on Quantum Computers
This video from the Qiskit YouTube channel provides a comprehensive guide to installing Qiskit on your local machine using modern best practices.
We will work through this video in sections. Don't worry about watching it all at once. Install Miniconda: Begin by watching the first part of the video on installing Miniconda. This will set up the conda environment manager on your system. The presenter explains why Miniconda is chosen over the larger Anaconda distribution. Create a Virtual Environment: Next, watch the section on creating and activating a new environment. Pay close attention to the commands conda create --name <env_name> and conda activate <env_name>. This is where you build your isolated workbench. You can name your environment something memorable, like qiskit-course. Install Qiskit Packages: Finally, watch the segment on installing the necessary packages with pip. The video will instruct you to install the following: qiskit: The main Qiskit library for creating and working with quantum circuits. matplotlib: A powerful plotting library used by Qiskit to visualize results, such as histograms of measurement outcomes. qiskit-ibm-runtime: This package allows you to connect to and run your circuits on IBM's real quantum hardware. pylatexenc: A helper for rendering nice-looking circuit diagrams.
For your convenience, here is a summary of the commands you'll be using, as shown in the video and the official Qiskit documentation.
Install Qiskit | IBM Quantum Documentation
This is the official text-based installation guide. You don't need to read it in detail right now, but it's an excellent reference if you prefer written instructions or run into any issues.
Skim the "Install the Qiskit SDK and the Qiskit Runtime client" section. It mirrors the steps in the video but uses venv instead of conda. The pip install commands for Qiskit are the same regardless of which virtual environment tool you use.
4. Verifying Your Installation with Jupyter Notebooks
Now that everything is installed, let's make sure it works. The standard tool for interactive quantum computing is a Jupyter Notebook. It allows you to write and run code in blocks (or "cells"), see the output immediately, and mix code with text and images. It's perfect for experimentation and learning.
You can run Jupyter Notebooks in many tools, but using a modern code editor like Visual Studio Code (VS Code) is a popular and powerful option.
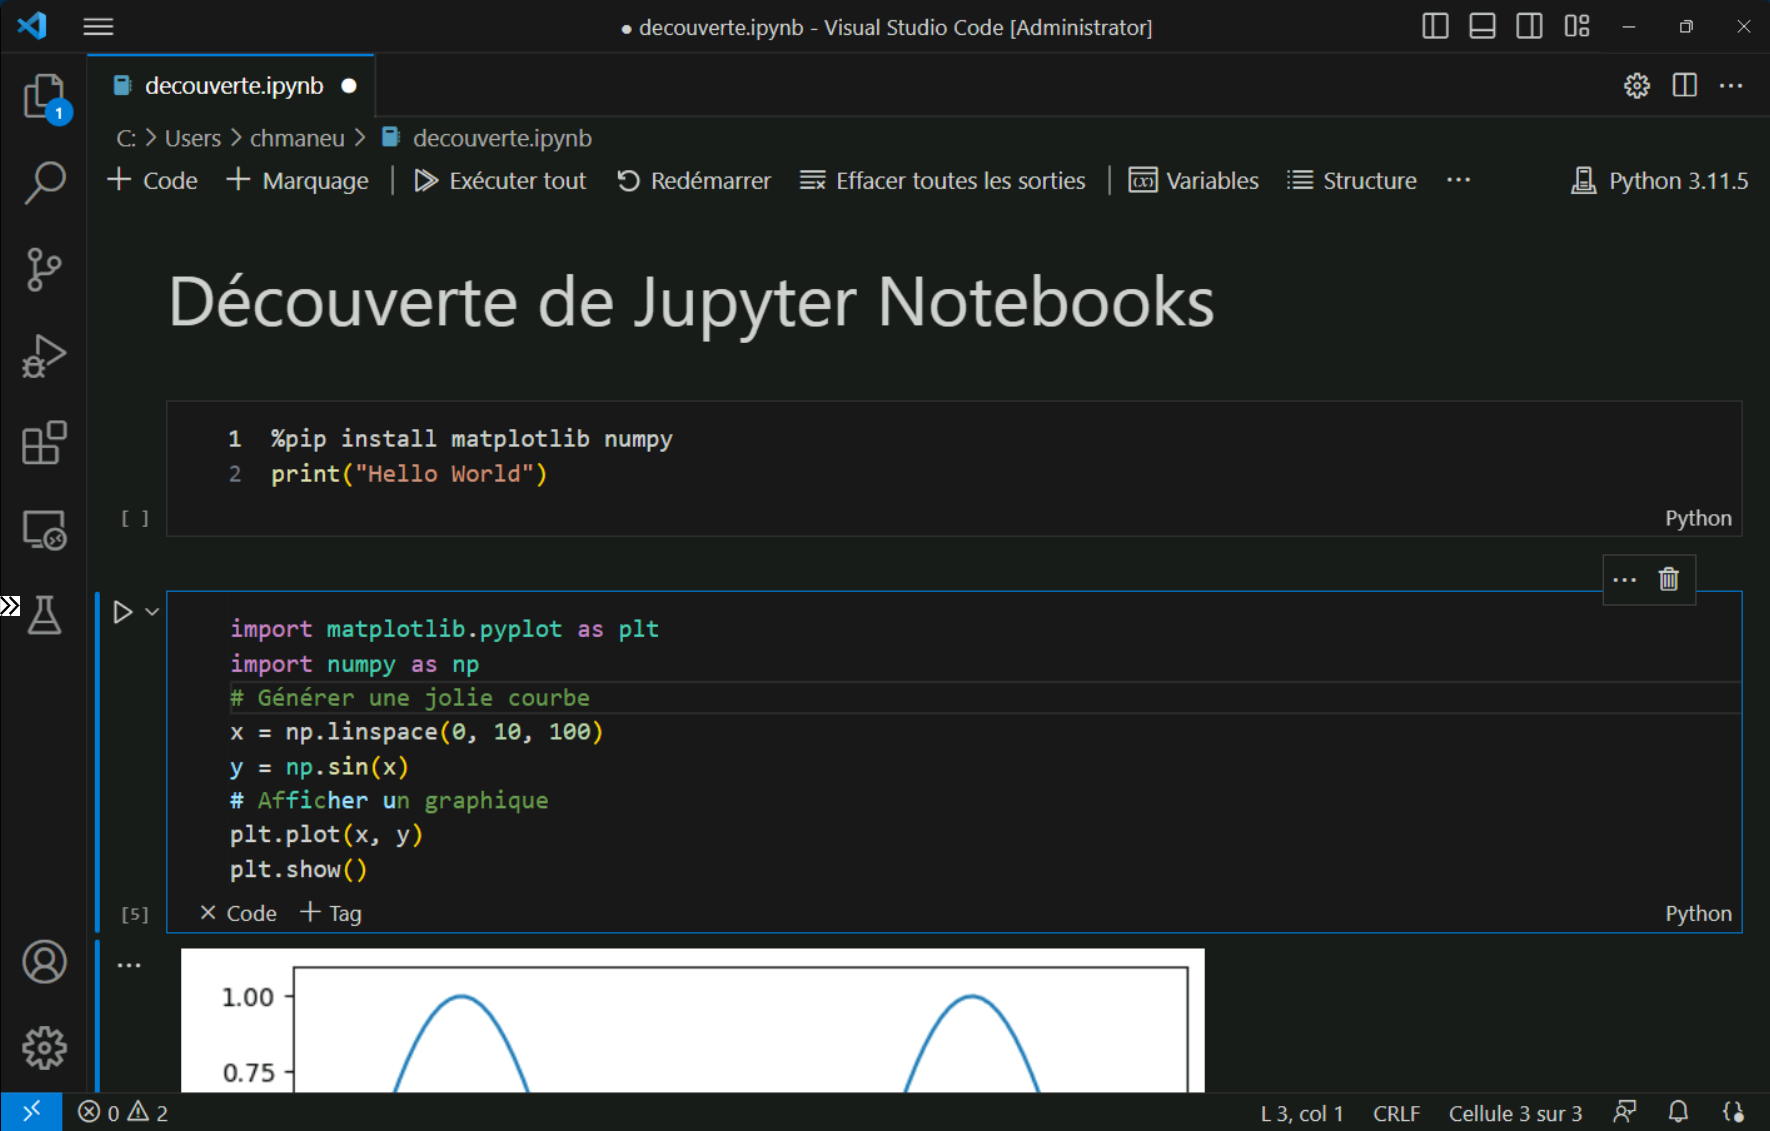
The video you watched demonstrates how to verify your installation inside a notebook.
How to Install Qiskit | Coding with Qiskit 1.x | Programming on Quantum Computers
This final clip from the installation video shows how to create a new Jupyter Notebook and confirm that Qiskit is installed correctly in your new environment.
Watch the segment on verifying the installation. Key steps are: Creating a new Jupyter Notebook file (with a .ipynb extension). Selecting the correct "kernel," which is your conda environment (e.g., qiskit-course). This tells the notebook which Python installation to use. Running import qiskit and qiskit.__version__ to check that the library can be found and to see which version you have. The video also shows that you might be prompted to install a package called ipykernel. This is normal; it's the package that allows your conda environment to communicate with the Jupyter Notebook interface.
If you can import Qiskit without errors, your installation is successful!
5. Accessing Real Quantum Hardware (Optional, but Recommended)
One of the most exciting features of Qiskit is the ability to run your code on actual quantum computers provided by IBM. To do this, you need to link your local environment to your IBM Quantum account using an API token.
The installation video guides you through this process.
How to Install Qiskit | Coding with Qiskit 1.x | Programming on Quantum Computers
This section demonstrates how to get your API token from the IBM Quantum website and save it to your local machine so Qiskit can access the cloud-based hardware and simulators.
Follow the steps in the video to connect to IBM Quantum. Go to the IBM Quantum platform and create a free account if you don't have one. On your account dashboard, copy your API token. Back in your Jupyter Notebook, use the QiskitRuntimeService.save_account() function to store your token locally. You only need to do this once. After it's saved, Qiskit can automatically authenticate in the future.
Don't worry about understanding all the code in this section for now. The key takeaway is that you are setting up the bridge between your laptop and a real quantum computer. We will explore how to use this connection in future lessons.
Conclusion
Congratulations! You've successfully set up a professional-grade development environment for quantum computing. While installing software may not seem as exciting as quantum physics, this is a critical and empowering step. You now have the tools to start building and exploring quantum circuits on your own.
Key Takeaways:
- A local development environment gives you the most control and is the standard for practical quantum programming.
- Virtual environments (managed with
condain our case) are essential for keeping your projects organized and avoiding dependency conflicts. - The core installation involves
pip install qiskitalong with visualization and runtime packages inside your activated virtual environment. - Jupyter Notebooks are the ideal interactive tool for writing and running Qiskit code.
- You can connect your local setup to real quantum hardware via an API token from IBM Quantum.
Preview of the Next Lesson:
With our quantum lab now open for business, we're ready to run our first experiment. In the next lesson, you will learn how to construct a quantum circuit in Qiskit, apply single-qubit and multi-qubit gates using code, and prepare the circuit for simulation. We'll put your new environment to immediate use