Hello! Welcome back.
In our previous lesson, we saw how an in-memory store like Redis can be used for high-performance deduplication to create idempotent consumers. That was just a glimpse of Redis's power. Today, we'll dive into its most common and critical use case in system design: caching.
High-performance applications are a cornerstone of modern software, and caching is one of the most effective tools for achieving speed and scalability. For mid-to-senior backend interviews, a deep understanding of caching is not just a plus—it's a requirement.
Your learning outcome for this lesson is to compare caching strategies (e.g., cache-aside, write-through) and implement caching with Spring Cache and Redis. We will cover the theoretical patterns that are staples of system design interviews and then translate that theory into a practical, production-ready implementation using Spring Boot.
1. The "Why" of Caching
Before we discuss how to cache, let's establish why. A cache is a high-speed data storage layer that stores a subset of data, typically transient in nature, so that future requests for that data are served up faster than is possible by accessing the data's primary storage location.
In a typical Spring Boot application, this means reducing the number of expensive operations, such as:
- Queries to a relational database (e.g., PostgreSQL, MySQL).
- Calls to downstream microservices over the network.
- Complex, CPU-intensive computations.
By serving frequently accessed data from a fast in-memory cache like Redis, you achieve two primary goals:
- Reduced Latency: Users get a much faster response.
- Reduced Load: You protect your databases and downstream services from being overwhelmed by repetitive requests, improving overall system stability.
2. Core Caching Strategies: The Theory
Different applications have different read/write patterns and consistency requirements. Therefore, several caching strategies have emerged, each with distinct trade-offs. Understanding these is crucial for system design interviews.
To get a solid overview of the most common strategies, please read the following article. We'll then break down the key concepts.
The article 'Types of Caching Strategies' by Vivek Bansal provides a clear and concise explanation of the fundamental read and write caching patterns.
Please read the sections titled 'Cache aside', 'Write through Cache', and 'Write behind Cache'. Focus on the flow of data for reads and writes, and the pros and cons of each approach.
Now, let's consolidate this knowledge with the help of a visual diagram.

Let's discuss the three most important patterns you'll encounter, which were covered in the reading.
a) Cache-Aside (Lazy Loading)
This is the most common caching strategy, especially for read-heavy workloads.
- Read Flow:
- The application first looks for the data in the cache.
- Cache Hit: If found, the data is returned directly to the client.
- Cache Miss: If not found, the application queries the database, retrieves the data, stores it in the cache for next time, and then returns it to the client.
- Write Flow: Data is written directly to the database. The cache is typically either ignored or invalidated (which we'll see later).
- Pros:
- Resilience: The application still functions if the cache is down (albeit more slowly).
- Efficiency: Only data that is actually requested gets cached ("lazy loading").
- Cons:
- Cache Miss Penalty: The first request for a piece of data is always slow.
- Stale Data: Data in the cache can become inconsistent with the database if the data is updated in the database and the cache entry isn't invalidated.
Spring's @Cacheable annotation, which we'll implement shortly, is a perfect example of the Cache-Aside pattern.
b) Write-Through
This strategy prioritizes data consistency between the cache and the database.
- Write Flow:
- The application writes data to the cache.
- The cache synchronously writes the data to the database.
- The operation is only considered complete after both writes succeed.
- Read Flow: Reads are handled the same way as in Cache-Aside. A cache hit returns data immediately.
- Pros:
- High Consistency: The cache and database are always in sync. No data is lost on writes.
- Cons:
- Higher Write Latency: The application must wait for two network hops (cache + database), making writes slower.
This pattern is ideal for applications where data integrity is paramount and you cannot afford to show stale data (e.g., financial or inventory systems).
c) Write-Back (or Write-Behind)
This strategy is optimized for write-heavy applications where low write latency is critical.
- Write Flow:
- The application writes data only to the cache, which is very fast.
- The cache acknowledges the write to the application immediately.
- The cache then asynchronously writes the data to the database in the background, often in batches.
- Pros:
- Low Write Latency: Writes are extremely fast from the application's perspective.
- Reduced DB Load: Can batch multiple writes into a single database operation.
- Cons:
- Risk of Data Loss: If the cache fails before the data is persisted to the database, the data is lost permanently. This makes it unsuitable for critical data unless the cache itself is fault-tolerant.
3. Implementation with Spring Cache and Redis
Now, let's move from theory to practice. The Spring Framework provides a powerful abstraction layer, Spring Cache, that allows you to add caching to your application with simple annotations, decoupling your business logic from the caching implementation.
We will use Redis as our cache store. The following tutorial provides a complete guide.
🚀 Redis as a Cache in Spring Boot — Full Code & Tutorial
This article, 'Redis as a Cache in Spring Boot', is a complete, hands-on tutorial. It will guide you through all the necessary steps, from configuration to implementation, using the core Spring Cache annotations.
Follow the tutorial from '1. Add Dependencies' through '6. Service Layer with Caching'. Pay close attention to the pom.xml dependencies, the application.properties, the RedisConfig bean, and how the @Cacheable, @CachePut, and @CacheEvict annotations are used in the ProductService.
Let's review the key annotations and concepts from that tutorial, as these are exactly what you'd be expected to explain in an interview.
Step 1: Configuration
- Dependencies: You need
spring-boot-starter-data-redisandspring-boot-starter-cache. - Enable Caching: Add
@EnableCachingto your main Spring Boot application class. - Properties: Set
spring.cache.type = redisinapplication.propertiesto tell Spring to use Redis as the cache manager.
Step 2: Customizing Cache Behavior (RedisConfig)
The default configuration is okay, but for production, you need more control. The RedisCacheConfiguration bean is where you define this.
Two critical settings are:
entryTtl(Duration.ofMinutes(5)): Time-To-Live (TTL) is essential. It ensures that cache entries expire automatically, preventing stale data and keeping memory usage in check.serializeValuesWith(...): The default Java serialization is brittle and not language-agnostic. Using aGenericJackson2JsonRedisSerializeris a best practice. It stores cache entries as JSON, which is human-readable, portable, and more resilient to class version changes.
Step 3: Applying the Caching Annotations
This is where Spring's magic happens. You apply annotations directly to your service methods.
-
@Cacheable(value = "productCache", key = "#id")- Implements: Cache-Aside.
- How it works: Before executing the method, Spring checks the
productCachefor an entry with the key (derived from theidparameter).- If found (cache hit), the method is not executed, and the cached value is returned.
- If not found (cache miss), the method is executed, and its return value is automatically placed in the cache before being returned.
- Use case: For slow, read-only operations like
getProductById().
-
@CacheEvict(value = "productCache", key = "#id")- Implements: Cache Invalidation.
- How it works: After the method executes successfully, Spring removes the entry with the specified key from the cache.
- Use case: For operations that make the cached data invalid, like
deleteProduct(). This ensures subsequent reads don't get stale data.
-
@CachePut(value = "productCache", key = "#product.id")- Implements: A form of Write-Through logic.
- How it works: This annotation is different from
@Cacheable. The method is always executed. After execution, its return value is used to update the cache. - Use case: For operations that update existing data, like
updateProduct(). You want to execute the database update and refresh the cache with the new state of the object.
Test your understanding!
You are building a UserProfileService with three methods:
public UserProfile getUserProfile(String userId): This method fetches a user's profile from a slow database.public UserProfile updateUserName(String userId, String newName): This method updates the user's name in the database and returns the updated profile.public void deactivateUser(String userId): This method flags a user as inactive in the database.
Which Spring Cache annotation would you apply to each method and why? Specify the value and key attributes for each.
Show answer
-
getUserProfile(String userId)- Annotation:
@Cacheable(value = "userProfiles", key = "#userId") - Reasoning: This is a read operation. We want to avoid hitting the slow database on subsequent requests for the same user.
@Cacheableimplements the Cache-Aside pattern perfectly for this: it will serve from the cache if possible, and only execute the method and populate the cache on a miss.
- Annotation:
-
updateUserName(String userId, String newName)- Annotation:
@CachePut(value = "userProfiles", key = "#userId") - Reasoning: This method modifies the data. We need to ensure the cache is updated with the fresh
UserProfileobject after the database write.@CachePutis ideal because it always executes the method to perform the database update and then puts the method's return value into the cache, ensuring the cache is not stale.
- Annotation:
-
deactivateUser(String userId)- Annotation:
@CacheEvict(value = "userProfiles", key = "#userId") - Reasoning: Deactivating a user makes the cached
UserProfileobject invalid. We don't want to serve a profile for a deactivated user.@CacheEvictensures that after the deactivation logic is executed, the corresponding entry is removed from the cache. The next timegetUserProfileis called for thisuserId, it will be a cache miss, and the application will fetch the new "inactive" state from the database.
- Annotation:
Conclusion
Today, you've connected caching theory to practical, interview-ready implementation. This ability to discuss trade-offs at a system design level and then drill down into framework-specific best practices is a key skill for senior engineering roles.
Key Takeaways:
- Caching Strategies: You can now compare Cache-Aside (for read-heavy loads), Write-Through (for data consistency), and Write-Back (for write-heavy loads), explaining the pros and cons of each.
- Spring Cache Abstraction: Spring provides a declarative, annotation-driven approach (
@Cacheable,@CachePut,@CacheEvict) that cleanly separates caching logic from business code. - Redis Implementation: You know how to configure Spring Boot to use Redis for caching, including best practices like setting a TTL and using JSON serialization.
Preview of the Next Lesson:
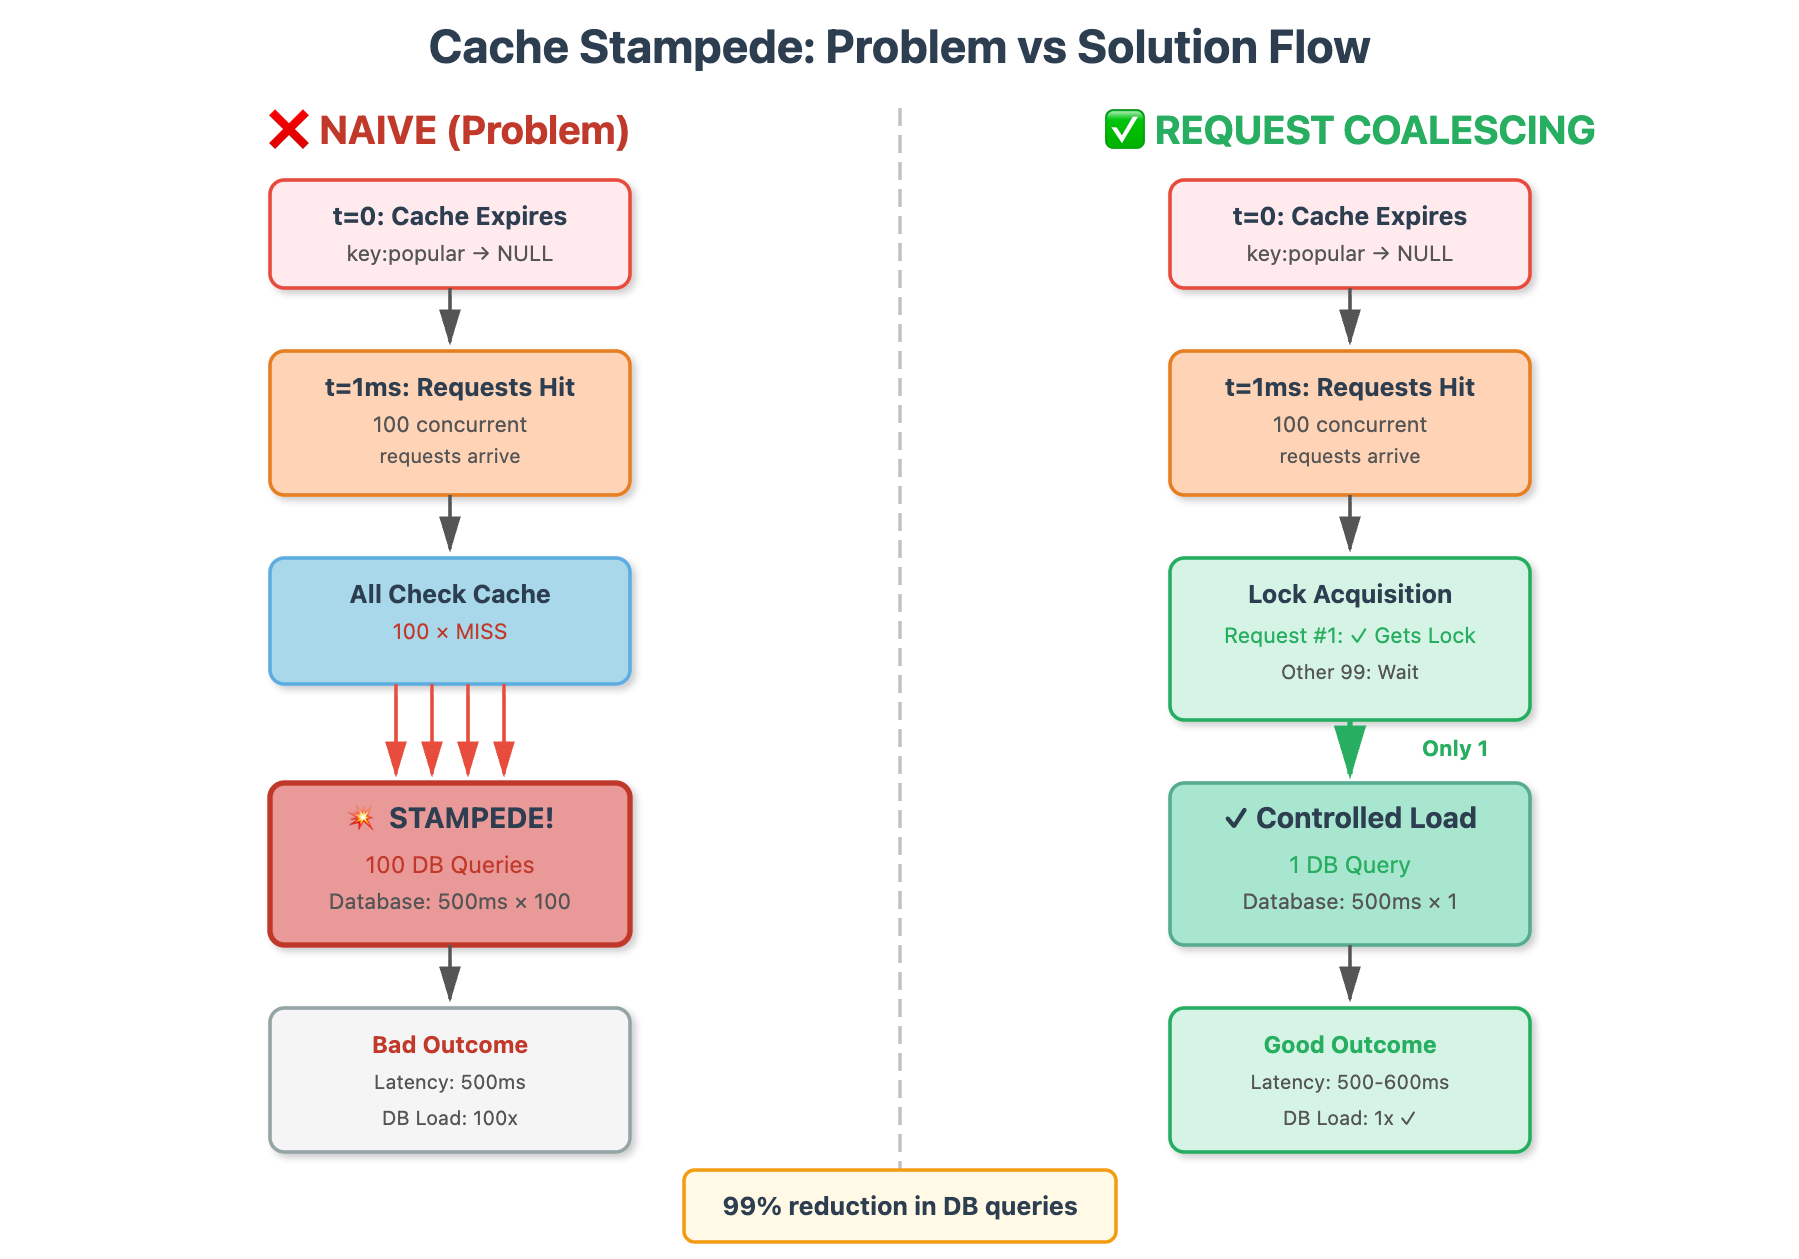
While caching solves many problems, it also introduces new ones. What happens when a very popular item in your cache (like the details of a trending product) expires? Thousands of concurrent requests might suddenly miss the cache and all try to hit the database at once, potentially causing it to crash. This is known as the Cache Stampede problem.
In our next lesson, we will explain the cache stampede problem and a strategy to mitigate it.